Satisfaction Guaranteed: Thin, Diner-Style Patties & “Special Sauce”

There’s no denying it, whether a “sometimes” or “all-the-time” burger eater, we all love a good hamburger when the moment is right. Hamburgers can be found in countries around the world and are probably the most popular food on the planet. Toasty buns, savoury meat patty, melted cheese, dressed to your liking…comfort food doesn’t get much more comfortable. Despite the fact that I am surrounded by today’s delicious new burger joints and gourmet burger options, I tend to gravitate back towards the classic. I’m a sucker for a simple, thin, charbroiled patty on a fluffy toasted bun. There is no school like the old school, after all.

IMG_5162

In a burger mood one night, I experimented with trying to create a simple diner-style hamburger sandwich at home. The results were incredibly DELISH! I was always so busy adding ingredients to my ground burger-meat, that I never thought to keep it simple and use…JUST MEAT when making burgers. These thin beef patties turned out surprisingly juicy and flavourful.

IMG_5588

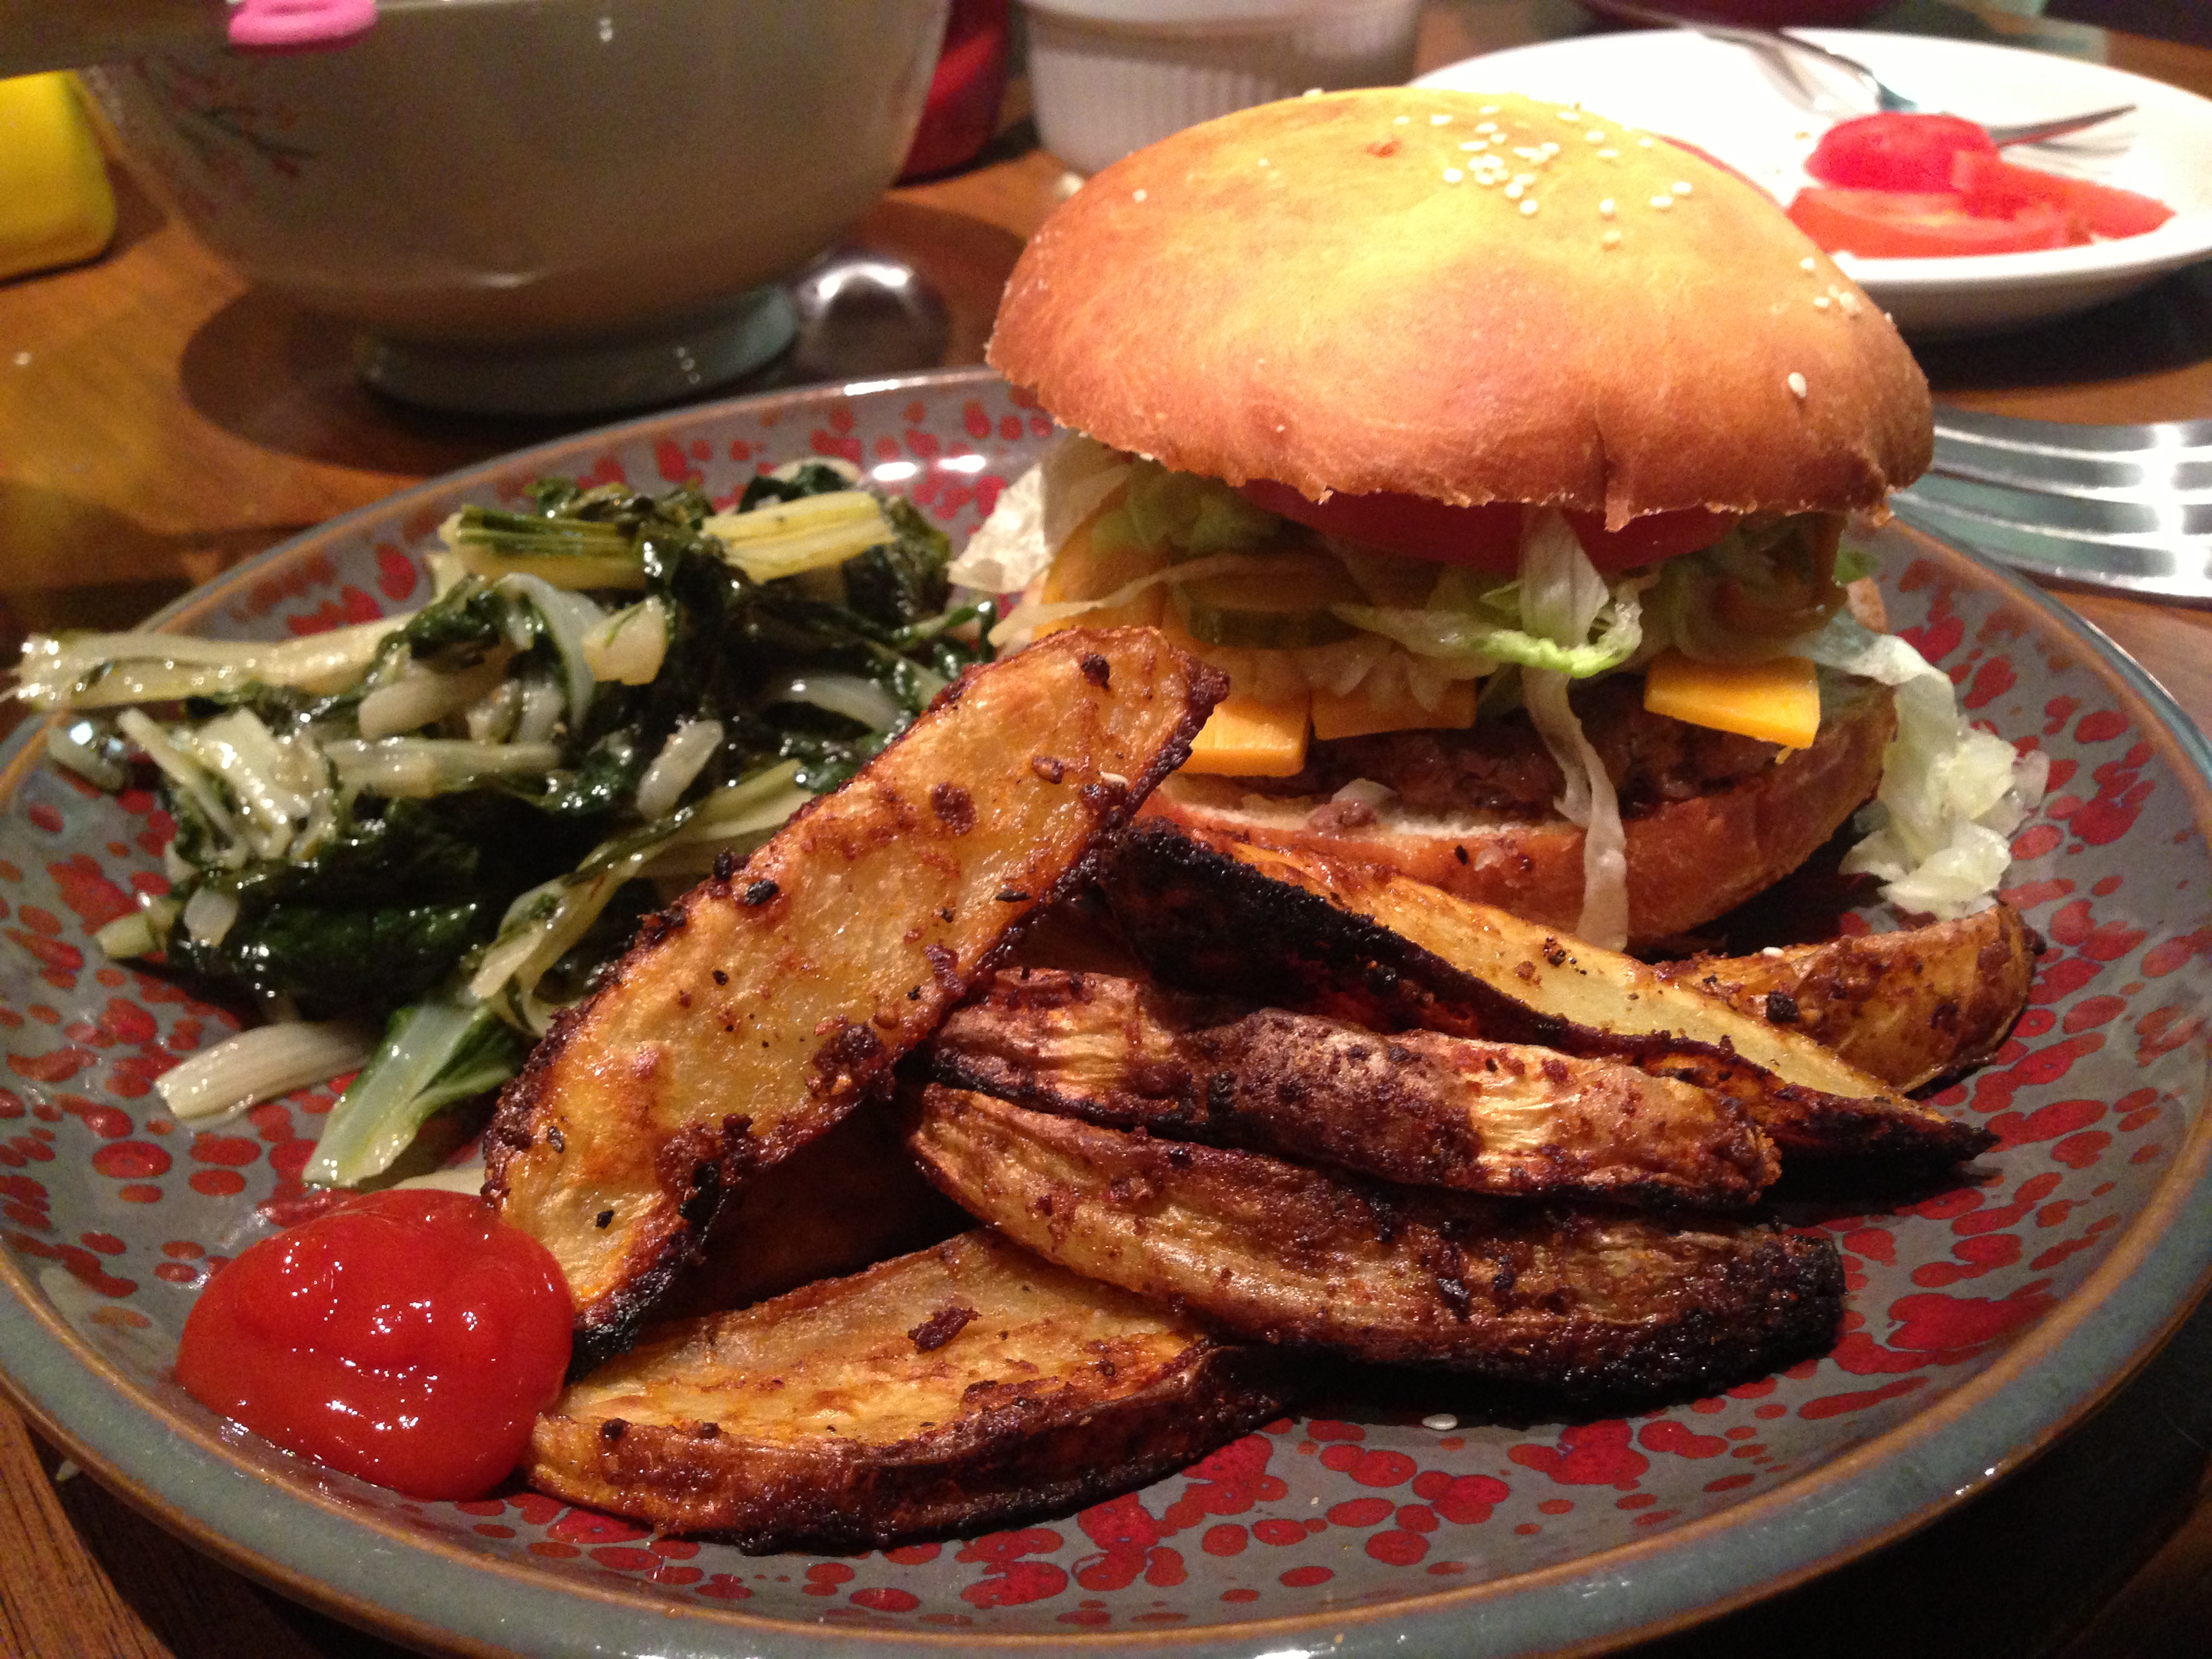
The first time around I served the patties on toasted Italian bread, for a perfect “burger sammie”. We were hooked, and these became a “quick dinner” staple at home. As word got out that my burgers were addictively yummy, I decided to have a weekend “burger party”. I was lucky enough to have a wonderfully talented friend bake homemade burger buns! (As you can see in the photos, they were perfectly baked. He even added a sprinkling of sesame seeds. A+!)

IMG_5155

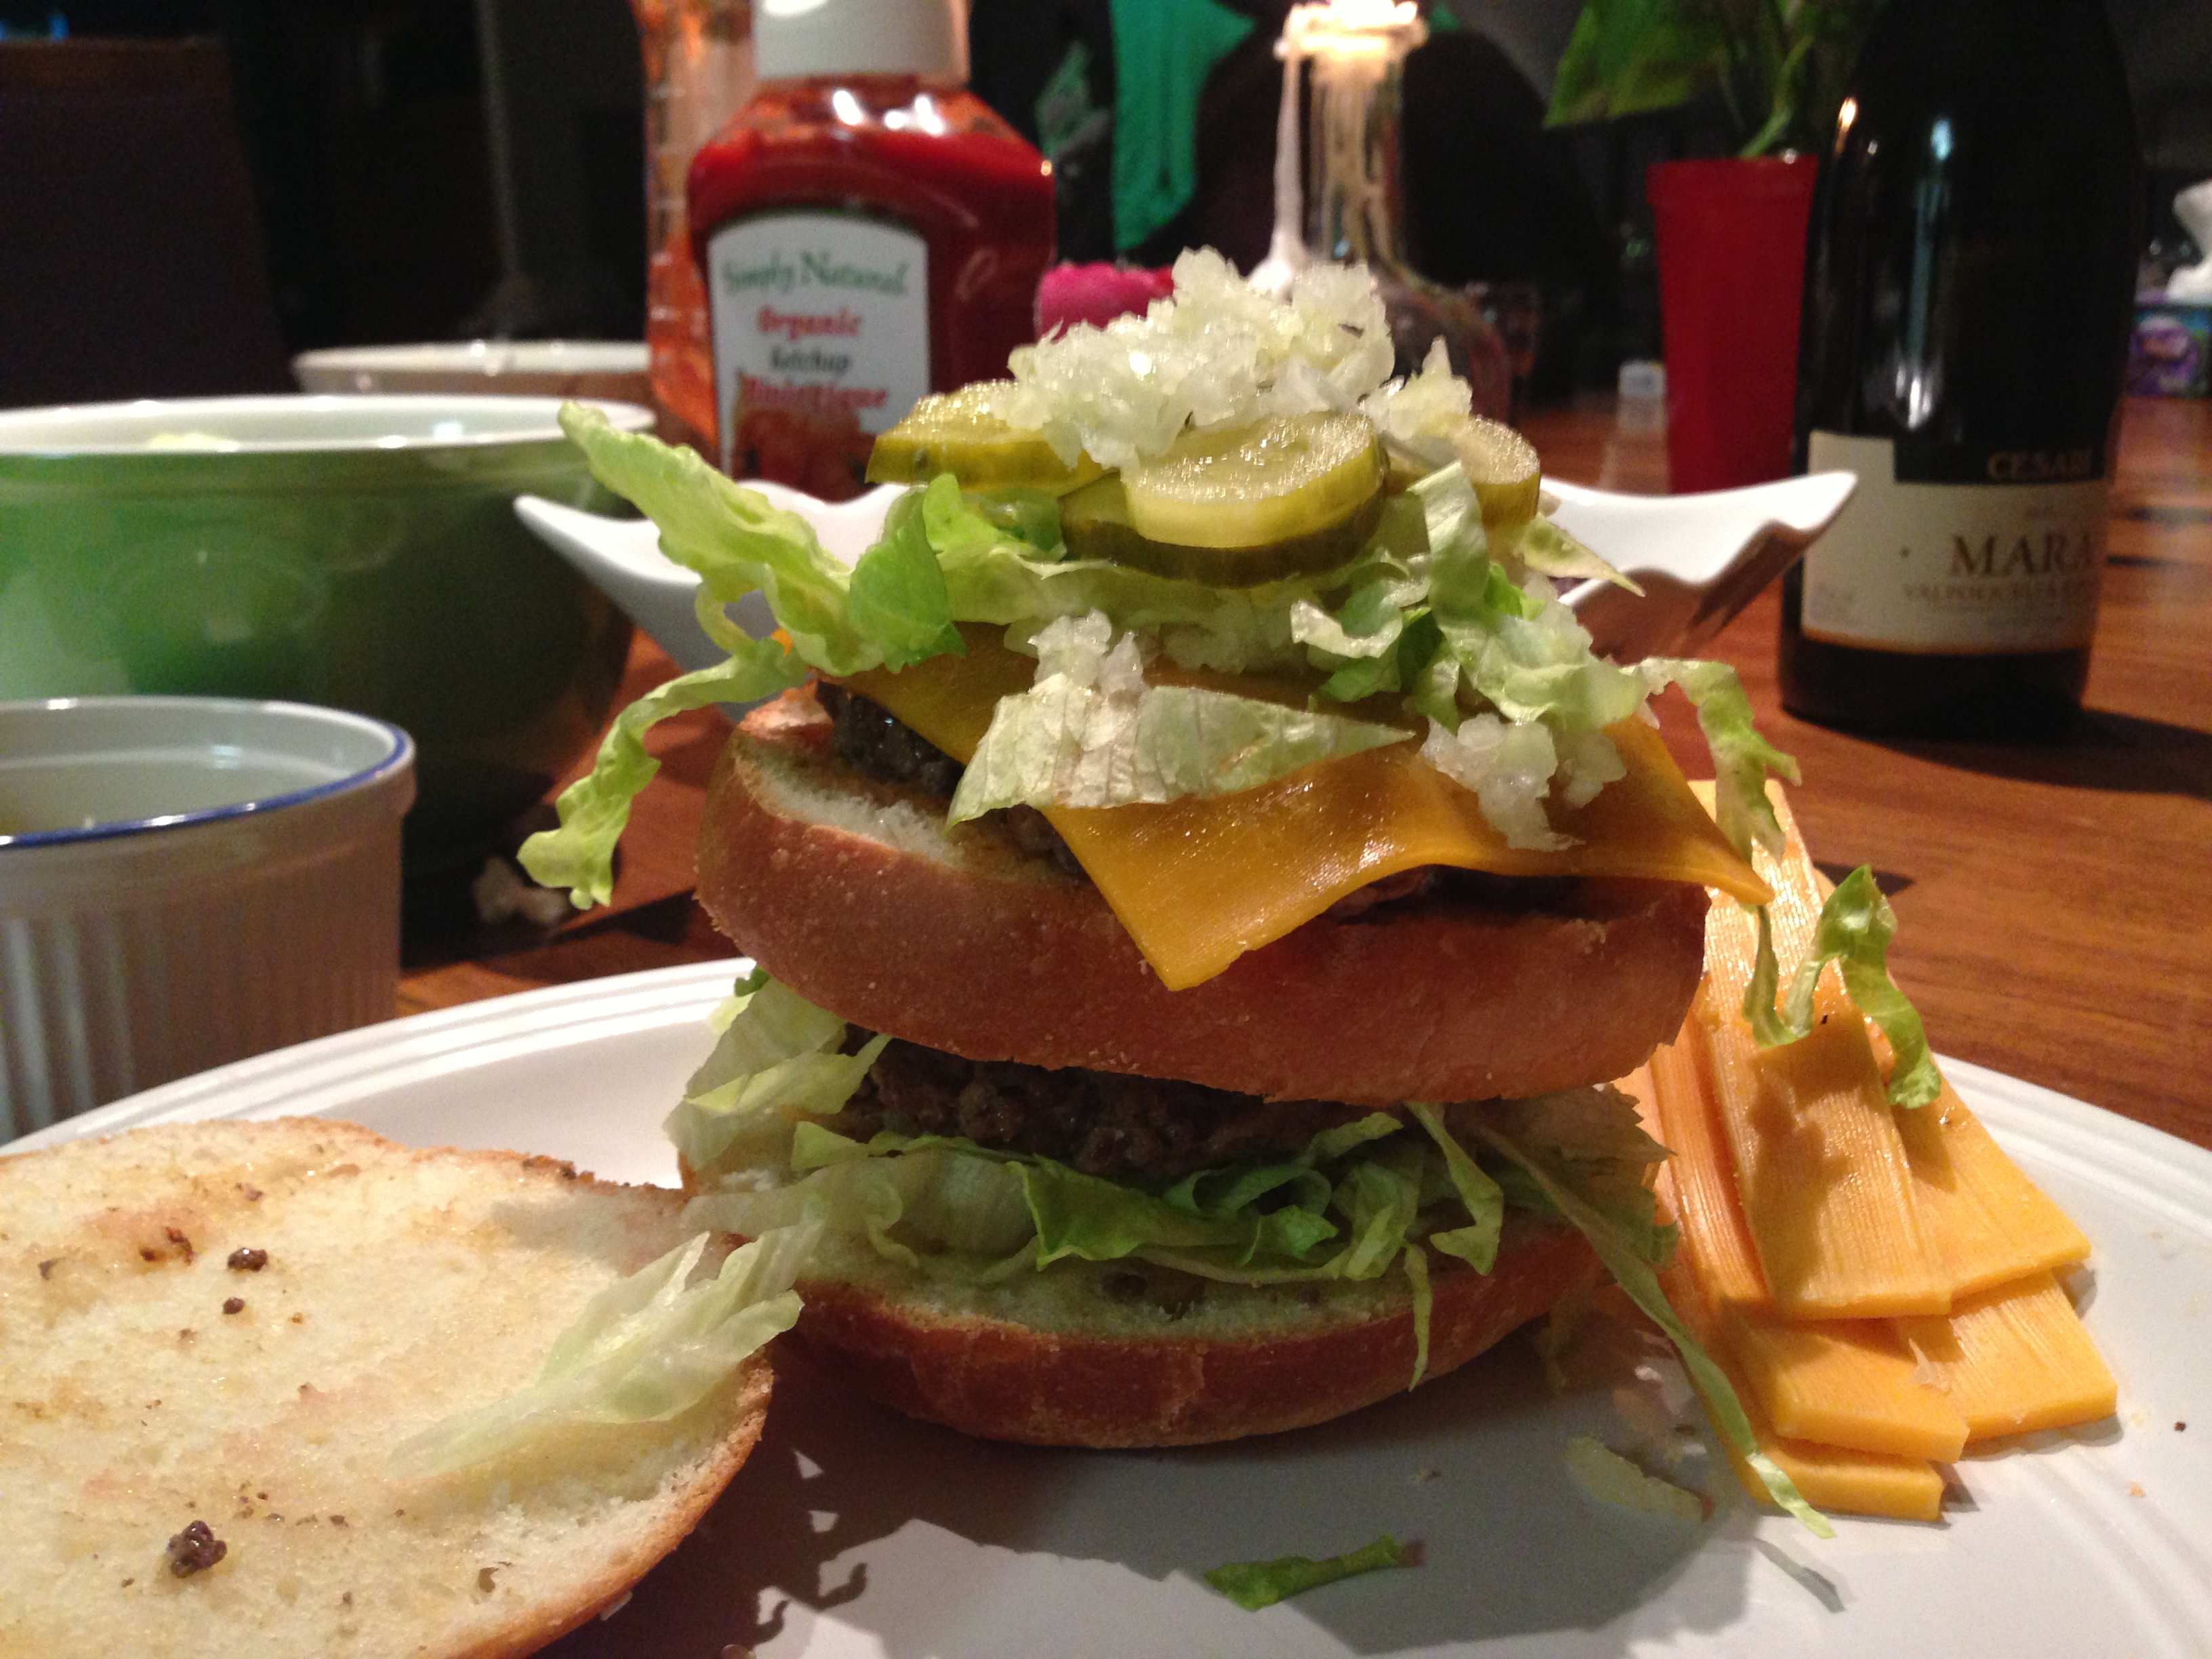
This is my take on America’s “favourite” sandwich. For the finishing touch I mixed together a “special sauce” for my burgers, a homemade version of McDonald’s Big Mac Sauce. It’s burger-sauce-crack and will add the perfect creamy, pickle-y tang to your sandwich. I dressed my burgers with simple toppings, but you can use any dressings you like! Play it up or keep it simple. These burger sammies are perfect for lunch, dinner, a meal with friends or a late night bite! They are really quick to make, and the patties freeze well too! Continue reading

Get Creative With Matzah: A Passover Breakfast Creation

Who says matzah is boring? You can have so much fun with it. Here’s a quick post on another Passover-friendly matzah breakfast creation. (You can totally do the same kind of thing for lunch or dinner.) Just think of it as bread…really hard, crispy bread.

IMG_5651

It’s breakfast time, and the boy is hungry. I’ve been having fun thinking up matzah creations, so I hurried to the kitchen to see what I could find. I only had one egg in the fridge. EMERGENCY! We eat more eggs than a family of komodo dragons. I took out some leftover brisket from last night and some other ingredients for my matzah work of art.

IMG_5628

Here’s a list of ingredients I used. You can use any combination of ingredients you have and flavours you love. I’m a fried, runny-egg sandwich LOVER. So, that’s what I was going for…in a matzah, flatbread, open-faced kind of way.

Open Faced Egg & Brisket Breakfast Sandwich On Matzah

Ingredients:

  • 1 sheet of matzah
  • leftover brisket
  • 1 large egg
  • oil to fry your egg
  • 1/2 tablespoon butter (or oil)
  • 2 small shallots, chopped
  • a tablespoon of chicken broth (if you like)
  • tomato slices (I used 4)
  • handful of arugula
  • salt & pepper
  • pinches of cayenne pepper, garlic powder, and paprika (whatever spices or seasoning you like)

Preheat the oven to 350 before starting everything else. Line a baking sheet with parchment paper. (You could use a toaster oven too.) Then fry your chopped shallots in butter in a small skillet.

IMG_5633

When the shallots started getting nice and translucent, I added a tablespoon or so of chicken broth and let it simmer until the liquid reduced to almost nothing. This made a kind of saucy mixture. Add salt and pepper and whichever other spices you’d like. I didn’t have any garlic, so I added garlic powder and a pinch of cayenne pepper for a little kick.

IMG_5635

IMG_5641

While the shallots were cooking, I placed my sheet of matzah on the lined baking sheet. I lay the tomatoes on the matzah and the brisket over the tomatoes.

IMG_5643

I stuck that in the oven for about 3-5 minutes. Just to warm it up, and get the tomatoes a little roasty.

IMG_5638

Once the shallots are reduced, remove them from the heat and set aside. Now fry an egg. I left my matzah in the oven while my egg fried, and that timing worked pretty well. Don’t over cook the egg! Runny yolks are key! (Unless you don’t like that.)

IMG_5646

I took the toasty matzah-tomato-brisket out of the oven, and put a handful of arugula over top. Arugula makes everything better.

IMG_5649

I put the fried egg over the arugula, then spooned the shallots over the egg, salted, peppered, and sprinkled a little paprika over top for some colour. A mountain of yum.

IMG_5650

Transfer matzah to a plate. Be careful not to break it! Cut it straight down the middle…and let the yolk ooze. 🙂

May be a little hard to eat because matzah breaks apart so easily. Try your best to eat over your plate…not the floor. We learned the hard way.

Hope you like it! xx