Fleur Du Cap Wine Tasting At The iYellow Wine Cave

Nothing cures a case of the Thursdays like relaxing music, good people and a glass (or two or three) of vino. It’s Thursday once again, and I am caught reminiscing of last week when I hurried down to Queen Street after work for a wine tasting at the iYellow Wine Cave.

20140515-164607.jpg

iYellow Wine Cave. 243 Queen St. West. Toronto.

Don’t know where that is? Neither did I. The space belongs to the iYellow Wine Club and its’ doors are on an alley just south of Queen Street; it’s a hidden gem…or basement. Upon entry, you immediately take a staircase down into “the cave”. We entered from the bright, sunny outdoors into a cool, dimly lit cellar. I felt a little like I had entered into another world. The room had a cozy, relaxed feel to it and was decorated with hanging lamps, candles, bookshelves, mirrors, tables, comfy couches and WINE (of course).
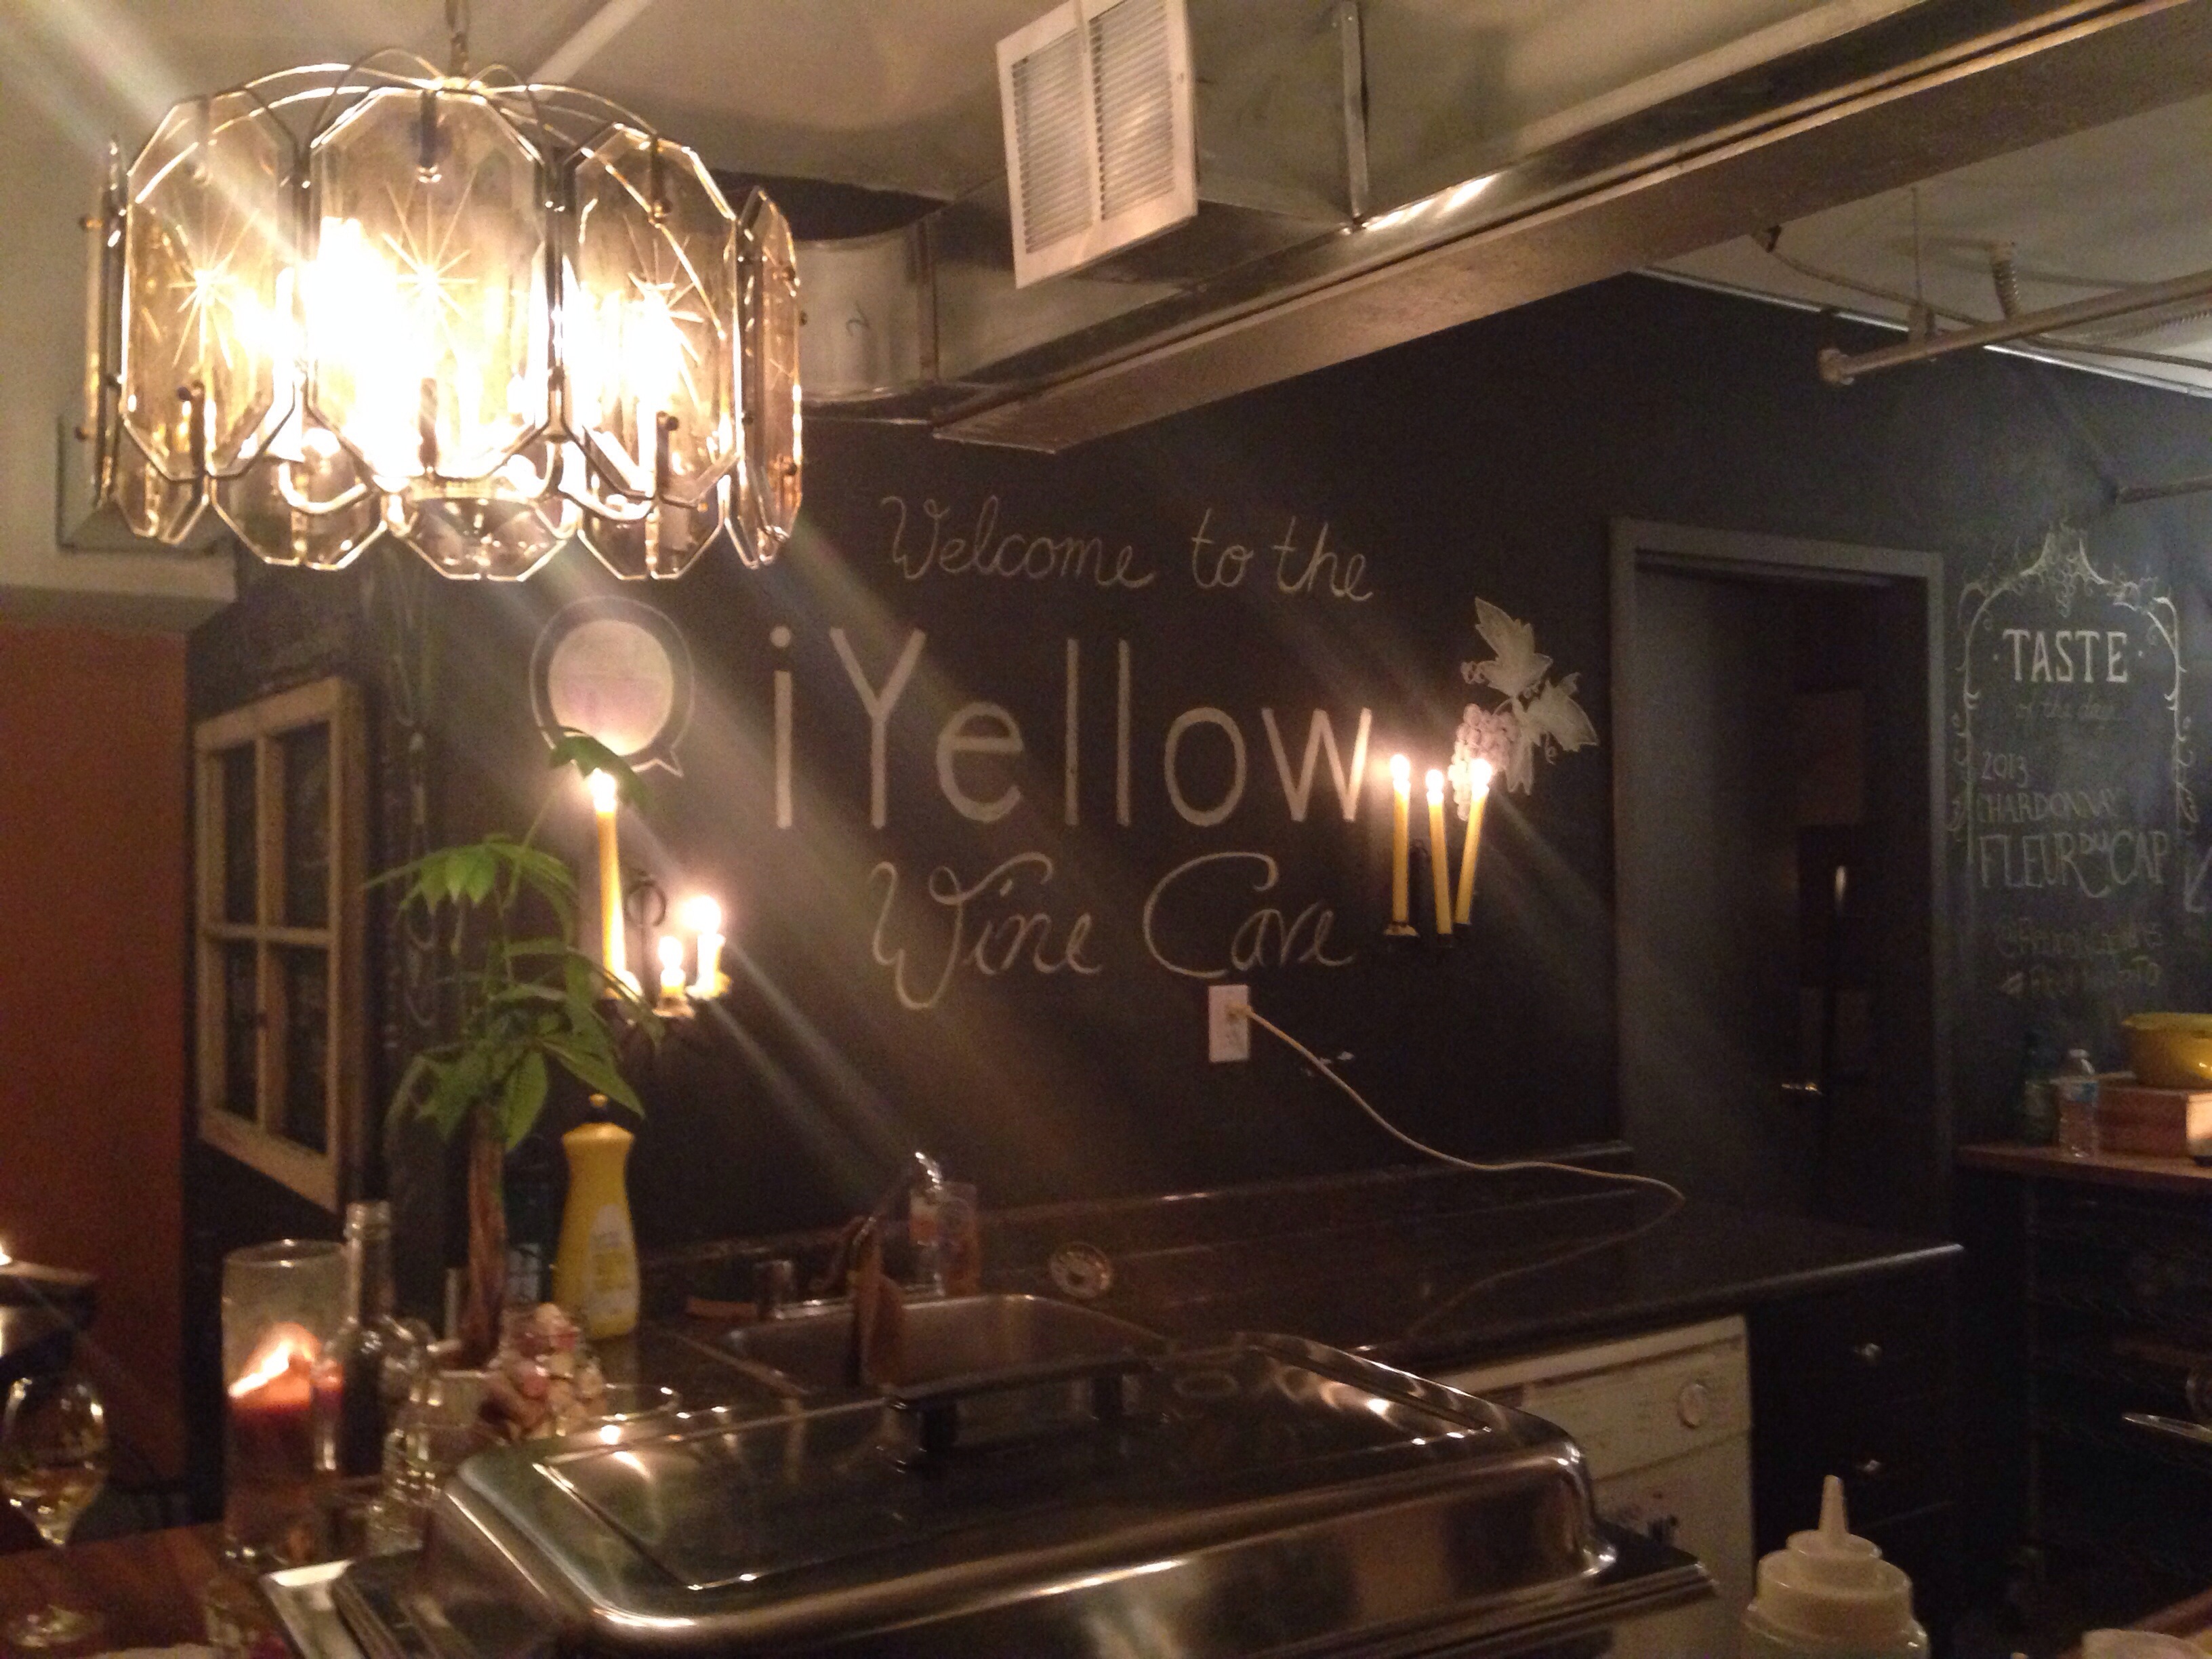
20140515-163945.jpg

Inside the cave.

I won’t lie, I’m no wine connoisseur. To be honest, I was a bit nervous at first about going to a wine event and not knowing enough about wine. Don’t sweat it. I found out within minutes that iYellow wasn’t about wine snobbery, but wine education…and fun! The iYellow Wine Club is a free-membership community of wine lovers founded by Angela Aiello with over 10,000 members. It’s a place where you can taste, learn and build wine confidence. I got a chance to chat with Angela, who explained the whole idea behind the club and told me about some of the events and tours they hold. They hold wine tastings, tours, classes, vacations and other events. Check their website for more details.

I was handed a wine glass and the evening began. This was a tasting event for a South African Chardonnay by Fleur Du Cap Wines. The wine was full-bodied and delish. (With my unrefined palette) I would say there was a nice fruitiness to it and I did go back for more…and more…and more. I found out this wine sells for about thirteen bucks a bottle at the LCBO. Bargain!

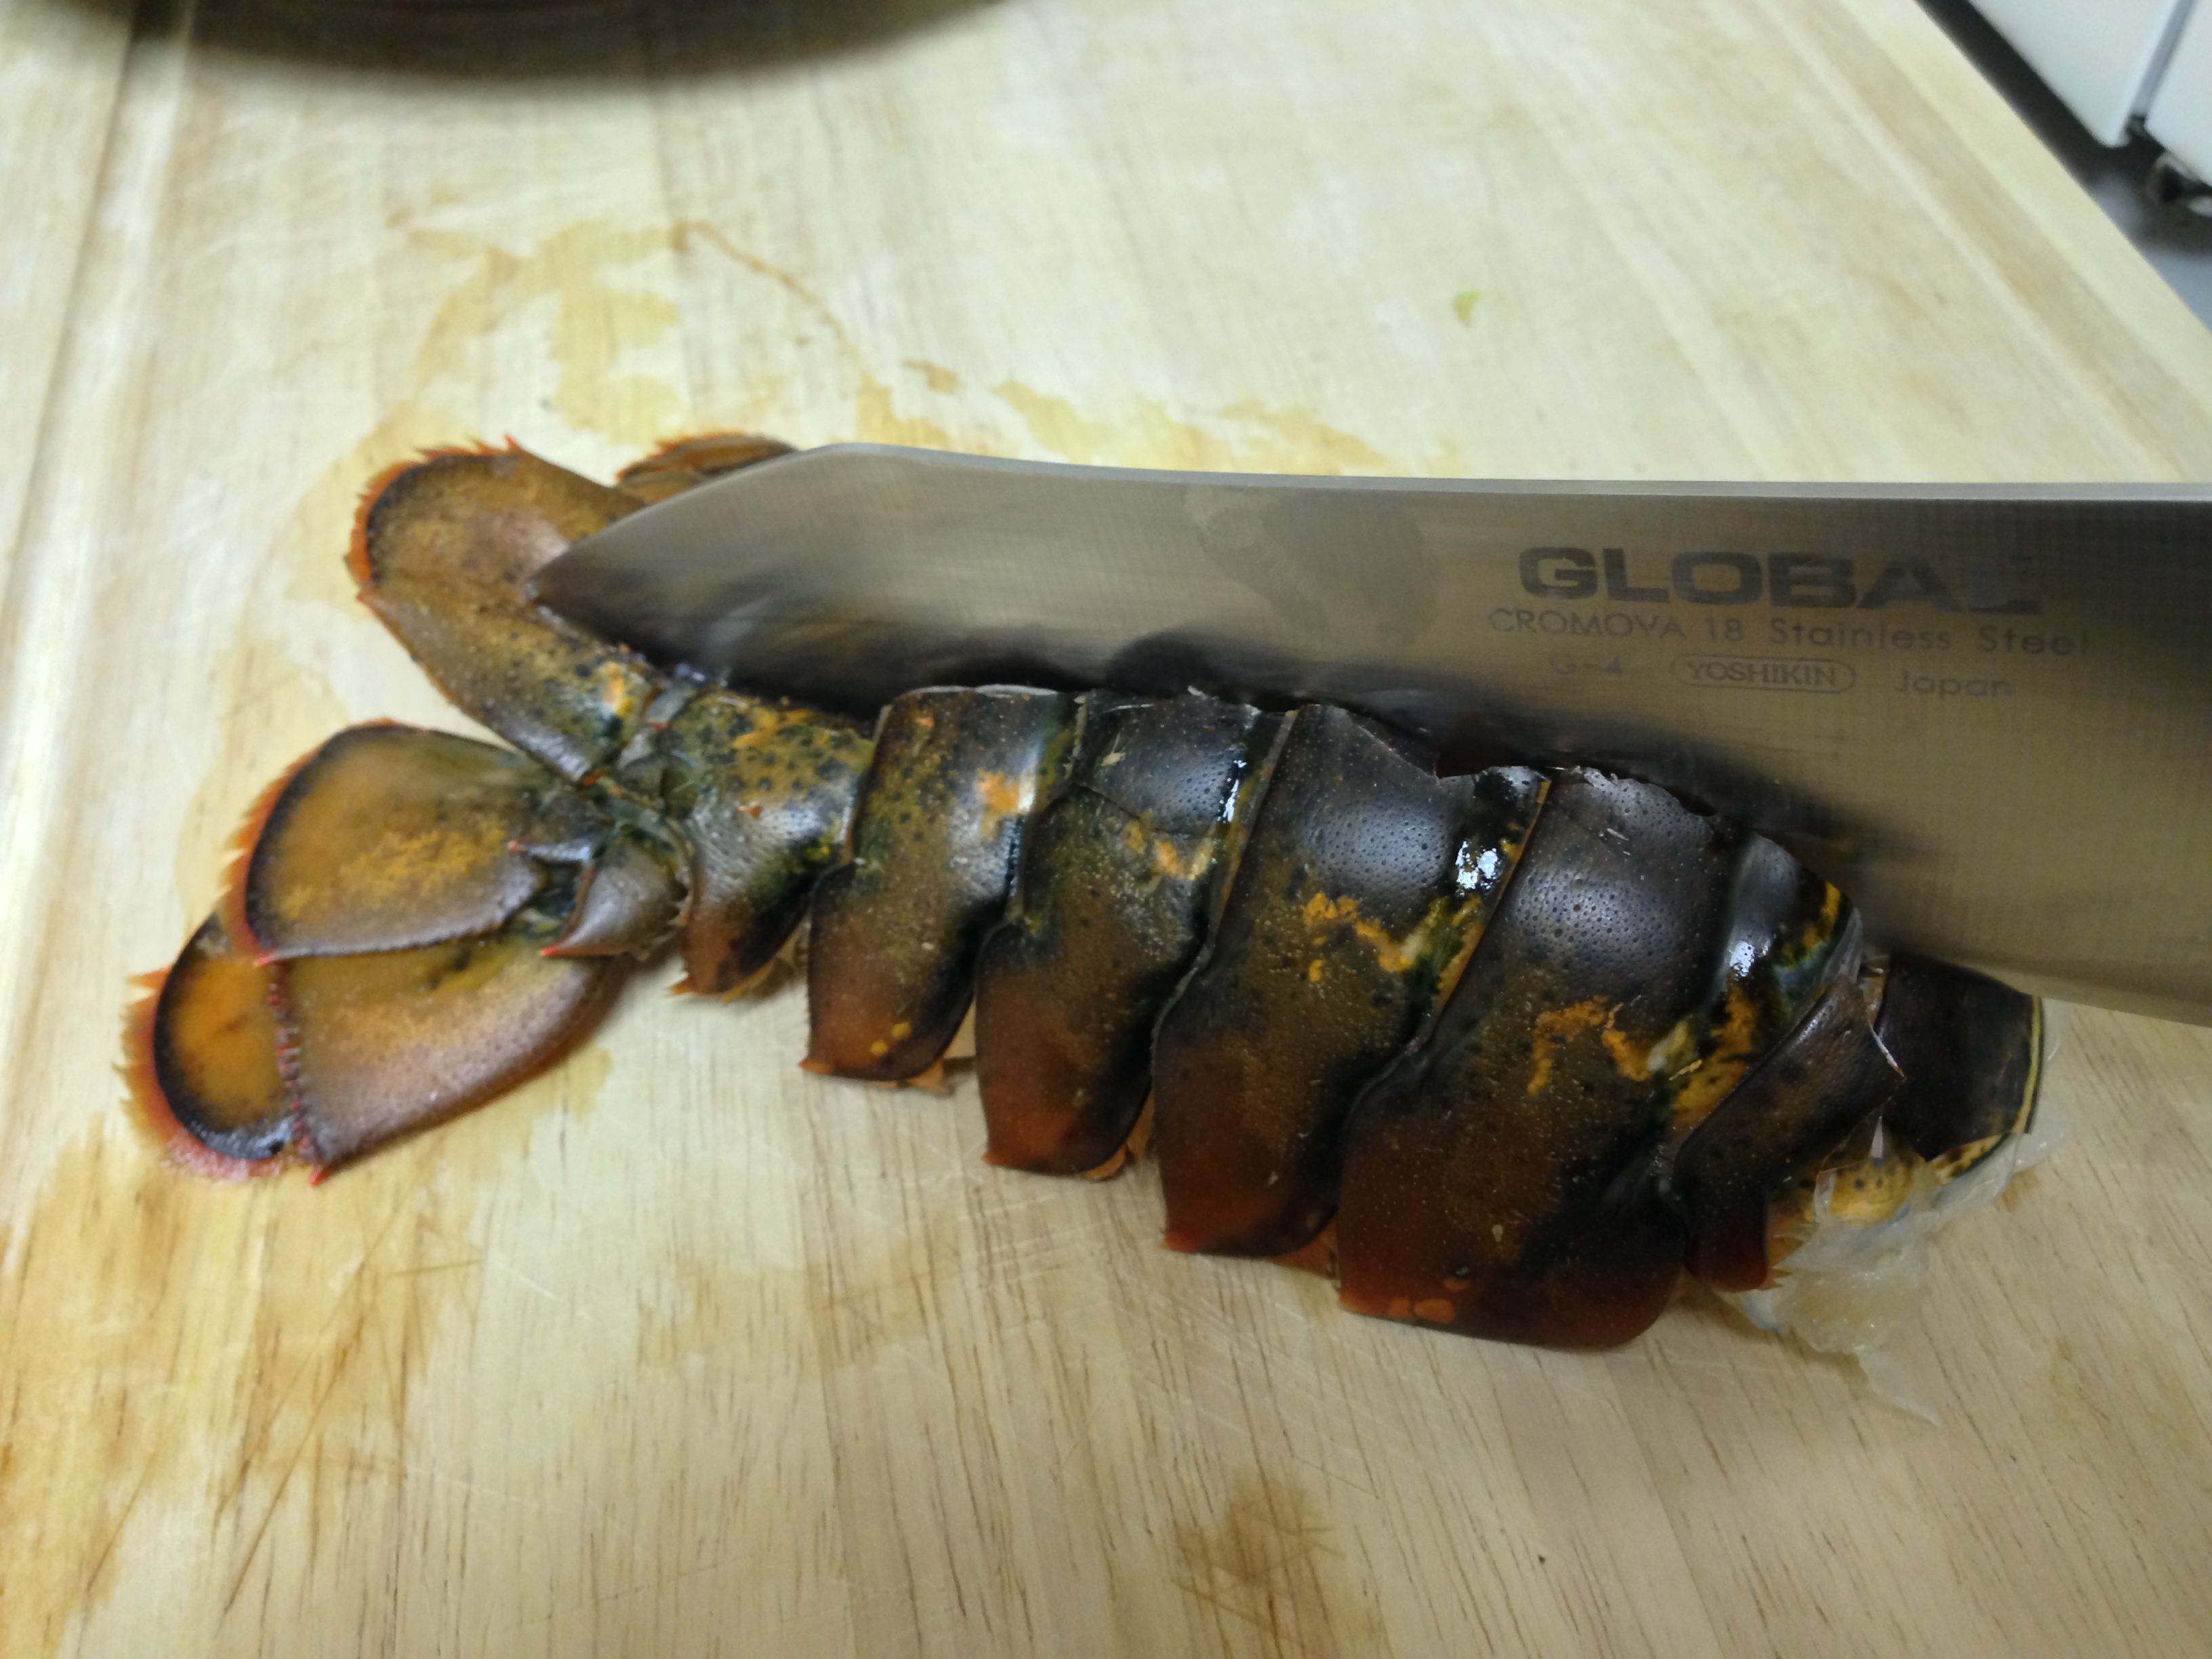
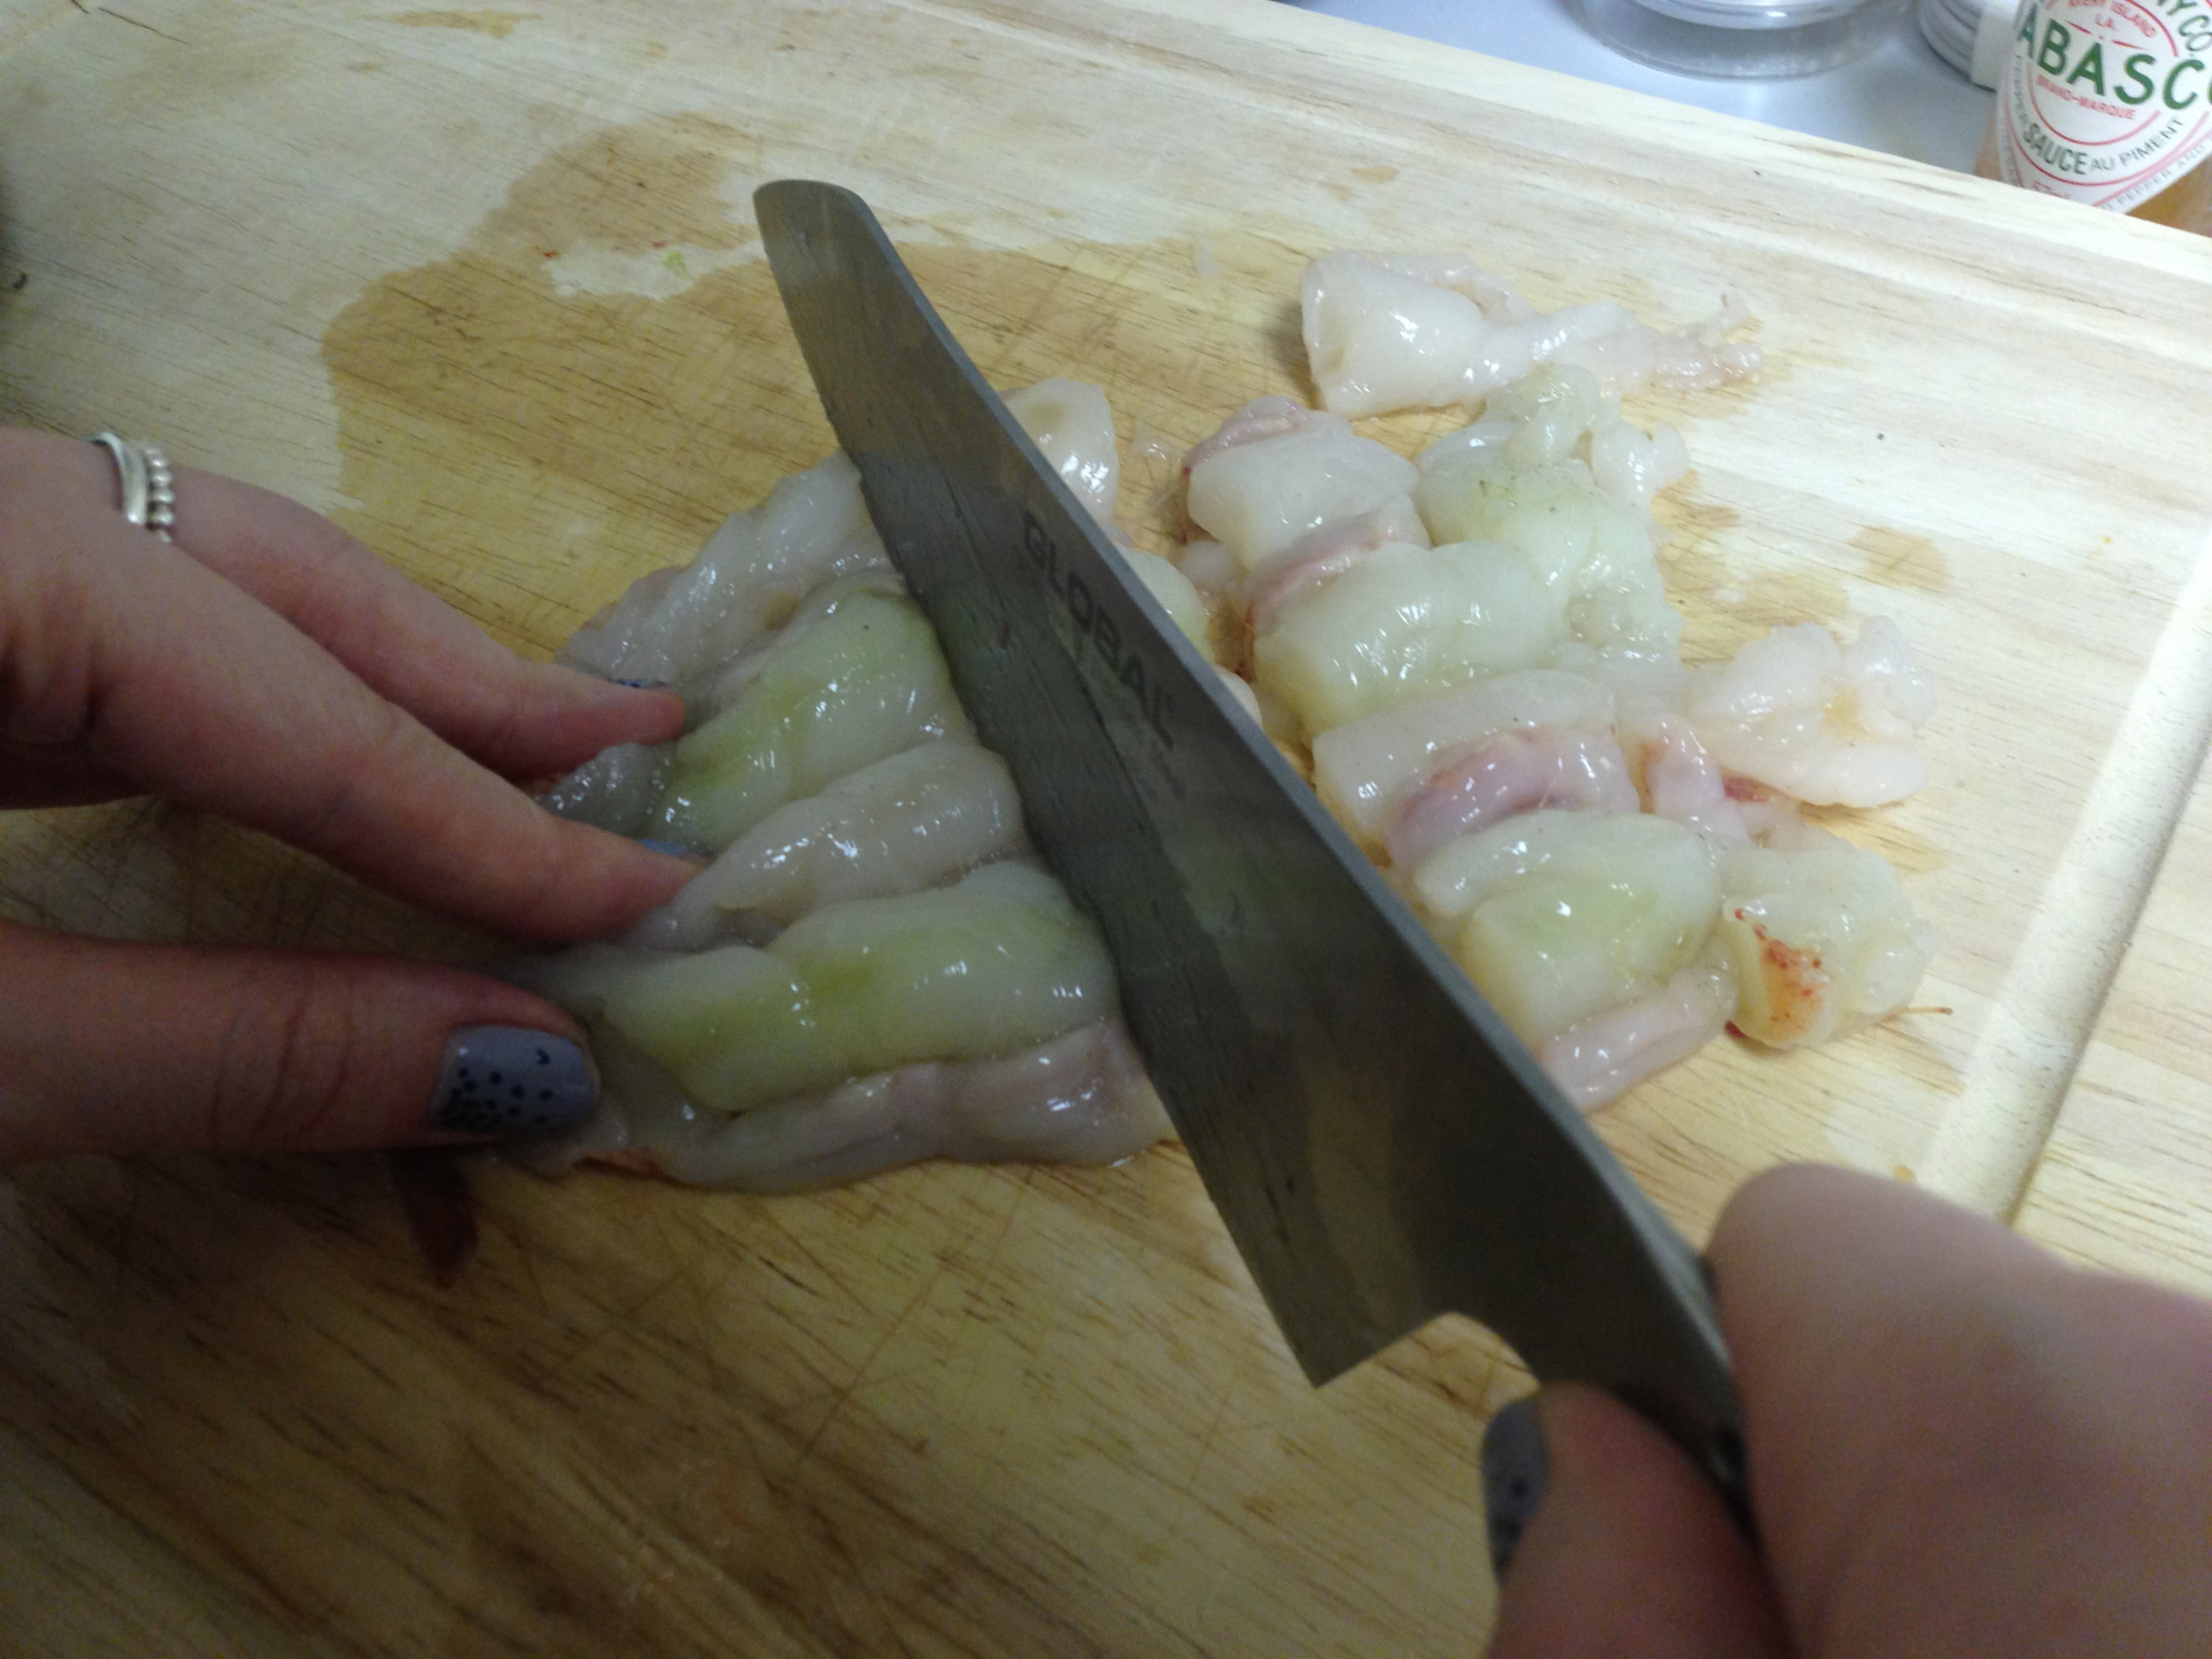
I jumped a little with excitement when I started to smell scallops sizzling on a pan nearby. The event was also catered by Sliced Gourmet. Scallops and quail were on the menu and both were cooked using the featured wine. Genius…and YUM. The roasted quail was served with preserved lemon over a bed of mielie pap (a South African staple very similar to polenta) with a balsamic drizzling over top. Scallops were seared and served over puréed peas with asparagus on the side. Some may have found the quail a little awkward/difficult to eat at an event as such, but we all know I have no problem going all cave woman in public when it comes to eating food. The wine paired wonderfully with both dishes.

All in all, it was a lovely time! I brought a friend and we mingled, nibbled and sipped to our hearts content. It did get a little crowded at one point, but I didn’t mind. It was short and sweet, lasting only a couple hours; perfect for a weeknight. Leaving the wine cave, I opened its’ door only to find that the sun was still out! Those two hours seemed so much longer, thanks to the enchanting effects of no windows. It was refreshing to know the night was still young (or younger than we thought) as we headed off to dinner.


Lobster & Shrimp Linguine in a White Wine Sauce

As promised, here’s the second half of the heavenly dinner I created last night. Of all the different pasta I’ve made, this is definitely one of my favourites. The recipe is really simple and outrageously delicious.

IMG_4990

I like to keep my pasta recipes simple. The fresher the ingredients, the less seasoning you need. Only add what you must. You want all the flavours to stand out, but also compliment one another. Keep it simple.

As we all know, I LOVE seafood. I was in the mood for shrimp linguine, but on my way to pick up the shrimp I noticed lobster tails were on sale. Why not make this pasta twice as good? I did.

Lobster & Shrimp Linguine in a White Wine Sauce
(Serves 2)

Ingredients:

  • 10 white tiger shrimps, peeled and deveined (I used 5 shrimps per person, you can use more or less. You can also use any type of shrimp you like)
  • 2 lobster tails, de-shelled and cut into 1-inch cubes (My tails were not too big. Again, use more or less if you like.)
  • 3 or 4 cloves of minced garlic (I like lots of garlic.)
  • truffle salt/sea salt
  • black pepper
  • 1/4 cup of butter
  • 1-2 tablespoons of butter or olive oil
  • 1/2 cup white wine (I used a chardonnay…it’s what I had at home.)
  • 2-3 tablespoons fresh chopped parsley (Use dry if you don’t have fresh.)
  • Linguine (enough for 2 servings)

I chose to cut my lobster tails in half, remove the meat, and then cut the meat into smaller cubes.

IMG_4985

IMG_5002

In a large saucepan of boiling salted water cook the linguine until al dente. You don’t want your pasta mushy, it should be firm but not hard. You should add about 1/2 a teaspoon of salt for every 8 cups of water. Don’t get salt-crazy.

Melt some butter in a pan at medium low heat. This is to cook the shrimp and lobster in. I mentioned, in the ingredients, that you could also use olive oil for this step if you prefer using less butter, just make sure the pan is well coated. Add in your garlic and some pepper (to taste). Let the garlic saute for 1-2 minutes. Don’t burn it, just let it sizzle a bit.

IMG_5001

Next add the shrimp and lobster. Spread the pieces out in the pan.

IMG_4999

You want to cook the shrimp until they’re just pink. Cooking them for about 2 minutes per side should be enough, depending on the size. Shrimp cooks fast! Don’t overcook! The lobster will cook quickly as well. It will be firm, white, and opaque when it’s done.

IMG_4998

Once cooked, move them quickly from the heat of the pan to a bowl or plate. In the same pan, add the butter and wine. Add some salt (I used truffle salt :)) and more pepper to taste. Let this simmer until the sauce starts to thicken a little.

IMG_4997

Next, add your shrimp and lobster back into the sauce along with 2 tablespoons of parsley and stir a bit. Everything’s cooked, you just want to warm it up and get everything to the same temperature. Add your cooked pasta into the pan and toss it all together.

IMG_4995

Now plate your pasta, you can add a bit of extra parsley on top, and dig in!!! This recipe is so simple and it tastes so good! Let me know how it turns out.

Happy eating! xx