Sloppy Joes are most certainly on my list of foods that make my tummy smile. Eating hot, saucy beef slopped down on a bun is the best. I also love the amazing fun in trying to scoop the sandwich up … Continue reading

Sloppy Joes are most certainly on my list of foods that make my tummy smile. Eating hot, saucy beef slopped down on a bun is the best. I also love the amazing fun in trying to scoop the sandwich up … Continue reading
Who says you can’t have cupcakes for dinner? Cupcakes made of meatloaf are an exception to the rule. Take that, mom! I’m eating “cake” for dinner!

I’ve been so excited to post this recipe! It’s all sorts of amazing baked together in a dozen muffin liners. I came across a photo of meatloaf cupcakes a while back and thought they were the cleverest thing I’d seen. You’ve got a popular classic food combo (meat and potatoes), easy recipe, delicious flavour and genius creativity all in one. If you know someone that doesn’t like sweets, this would be a fun surprise for them. (I smell a good April Fool’s Day prank!)
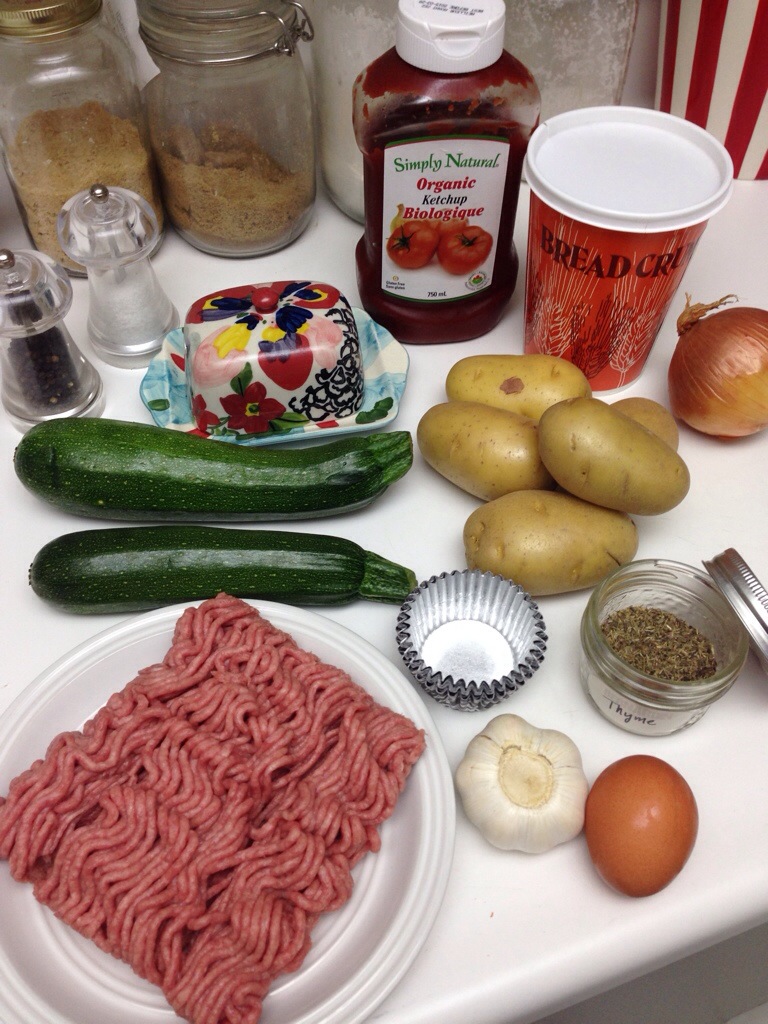
The beauty of meatloaf “cupcakes” is that you can use whatever meat or meatloaf recipe you like, and “frost” with any mashed potato or mash/purée vegetable you prefer! They reheat well, cook faster than an actual loaf, make for good “leftover lunches” and would be perfect for a potluck or fingerfood-y gathering. They’d be great for kids too, because they’re fun (and you can totally hide extra veggies in the meatloaf for added nutrition).
I used turkey zucchini meatloaf (which is really moist and delish) and topped it with creamy garlic thyme mashed potatoes. Fantastic combo! These “cupcakes” were definitely a hit!

Turkey Zucchini Meatloaf “Cupcakes” With Garlic Thyme Mashed Potato “Frosting”
Makes 12 “cupcakes”
You can pre-make and warm in the oven if it makes life easier…or just make and serve! 🙂
The weather outside is frightful…or becomingly so. As we enter into the cold months, I find ways in the kitchen to warm the body, heart and soul. The cold, crisp winter air chills you to the bone. There is no better comfort than to feel the warmth of the oven, watch buns bake and to have the smell of cinnamon and sugar fill your home.
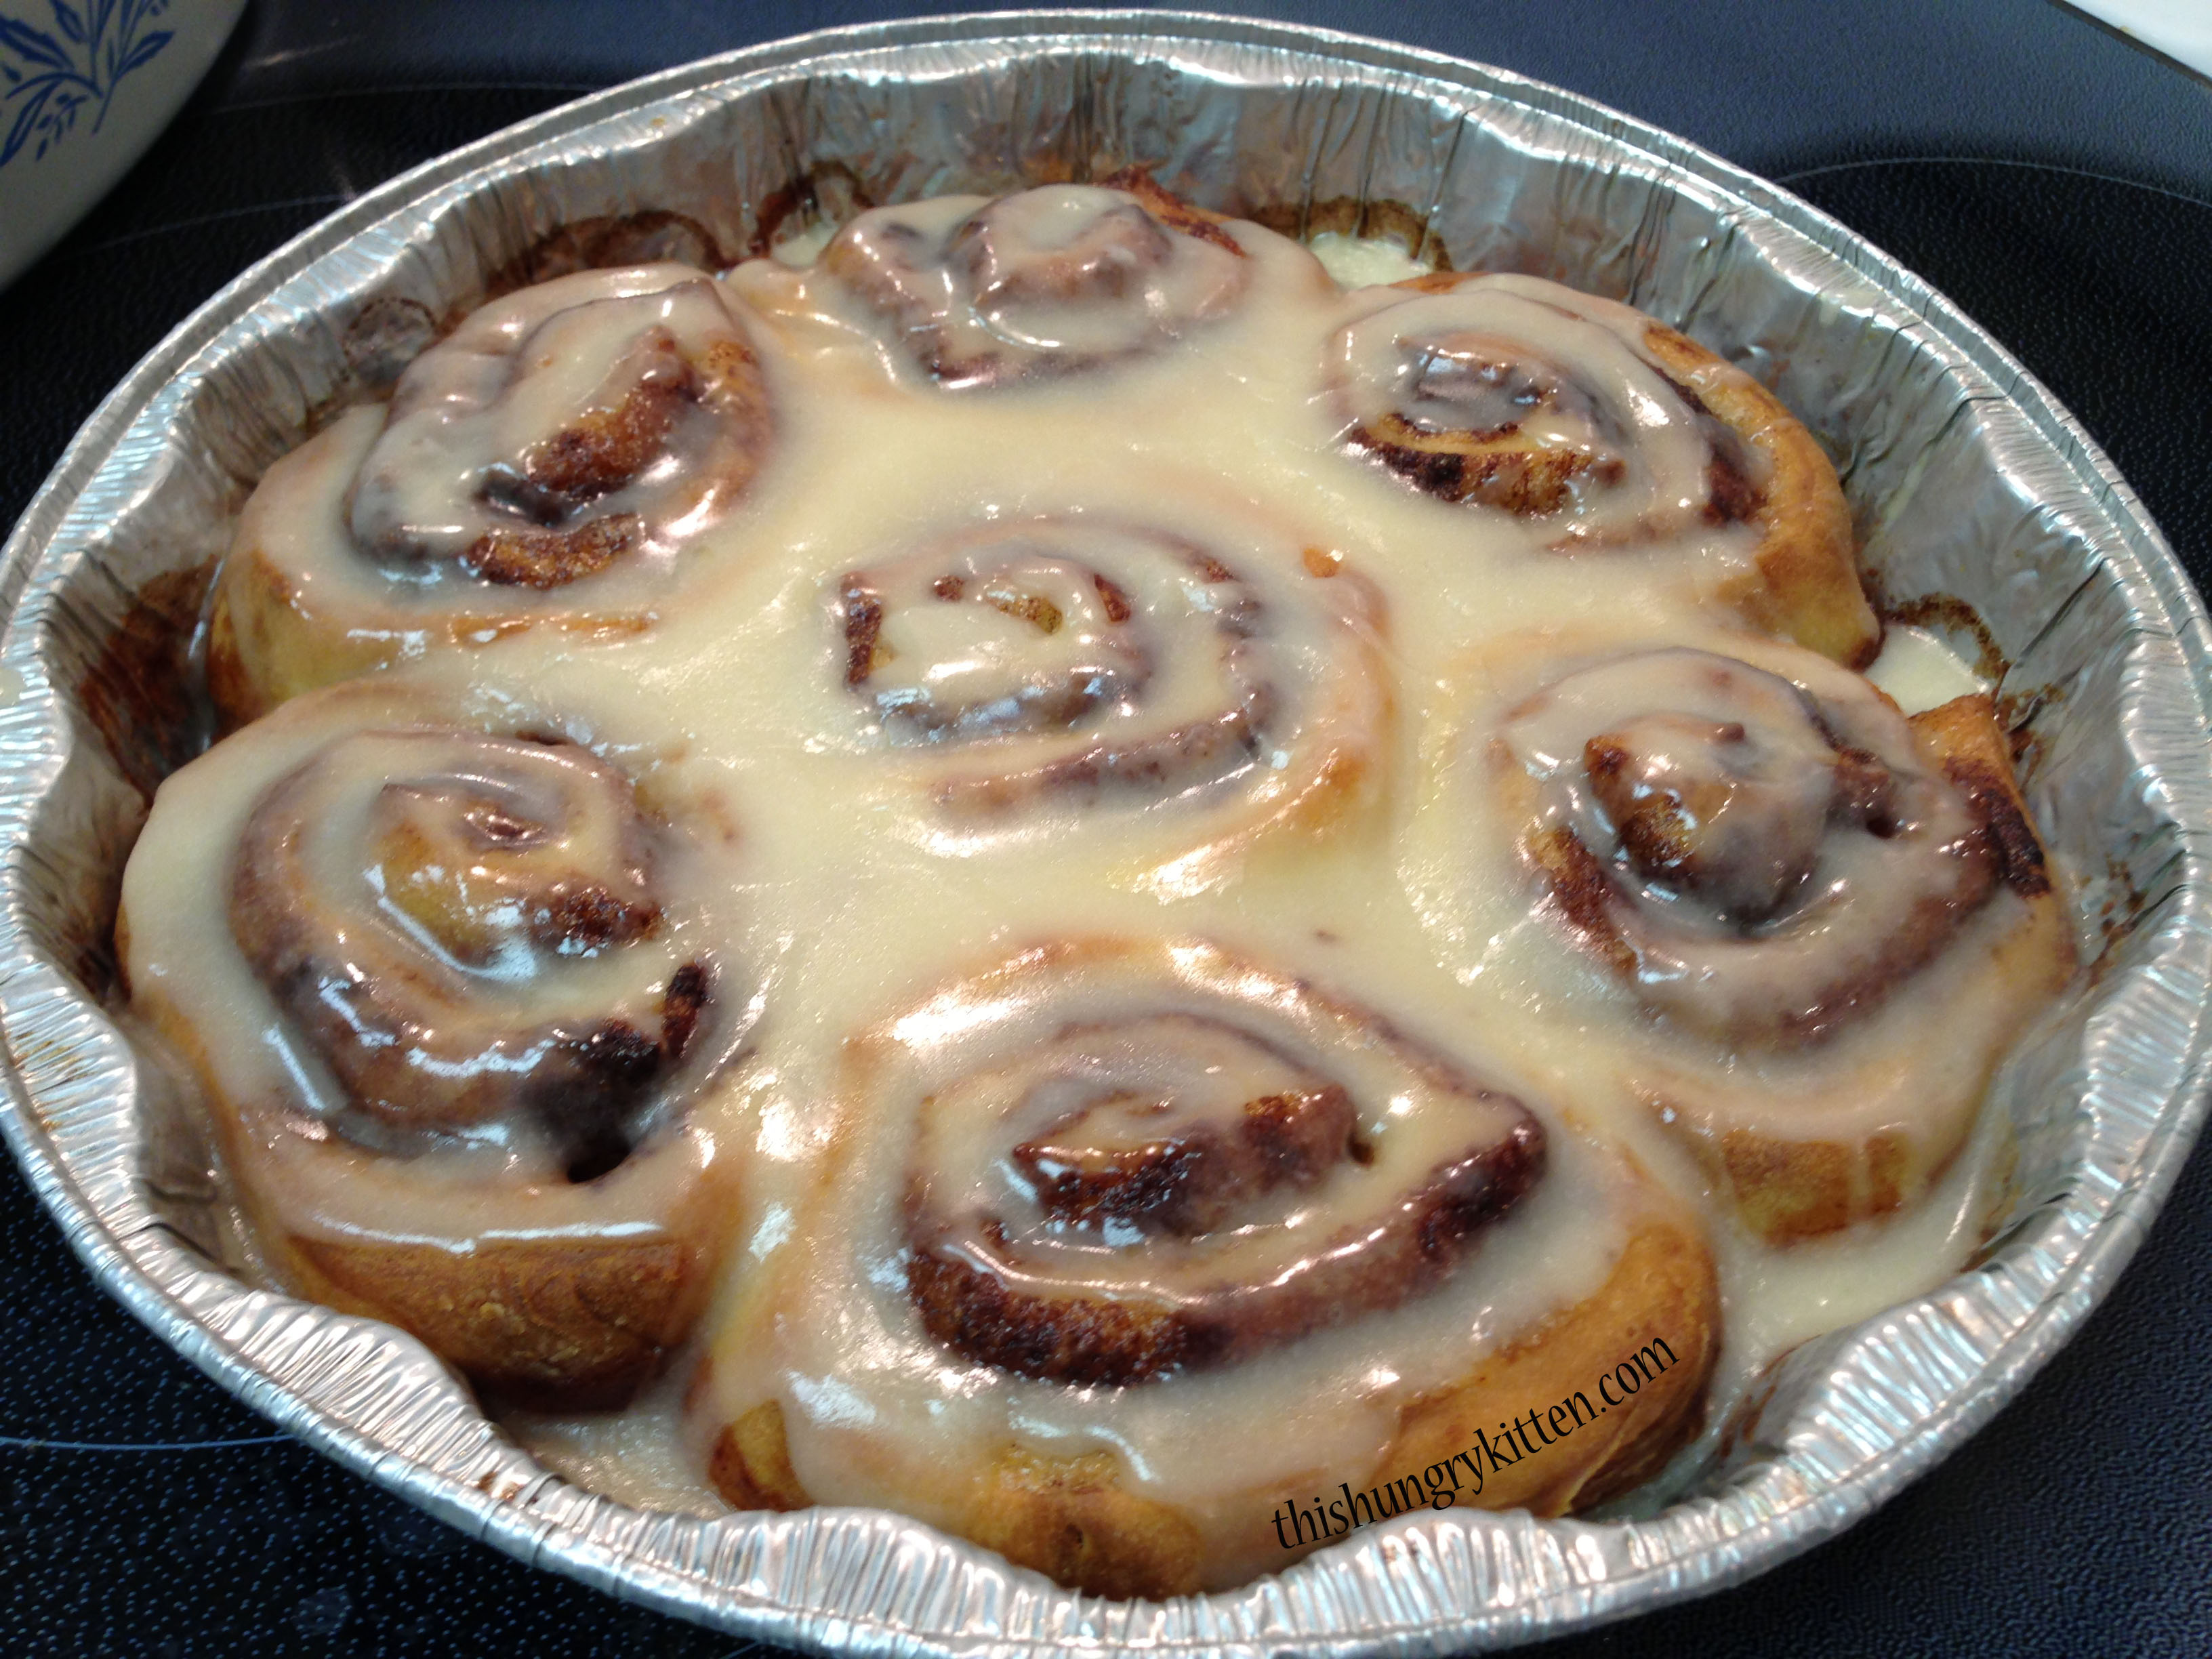
I LOVE CINNAMON ROLLS! (And it’s probably safe to say that you do too.) These sweet, sticky, oozing buns full of cinnamon flavour are something I can’t refuse. It’s a mystery why I hadn’t tried baking these sooner! The satisfaction of creating each gorgeous little bun, and perfect cinnamon swirl, is unsurpassed.
I’ve had my share of different cinnamon buns from all over the place and some are definitely better than others. A good friend of mine baked a batch last month and brought me a couple (I have the greatest friends!). I had to make them for myself, THEY WERE DELICIOUS, and so she sent me the recipe that she used. The original recipe is from The Pioneer Woman, Ree Drummond, who has a wonderful blog, great recipes and a cookbook. I made a few slight changes and cut the recipe in half, because who could eat 50 cinnamon rolls!? I mean, I could…but I wouldn’t… 🙂 Continue reading
Oatmeal cookies have always been a favourite of mine. But what’s better than oatmeal cookies? Oatmeal, chocolate chip, craisin cookies!
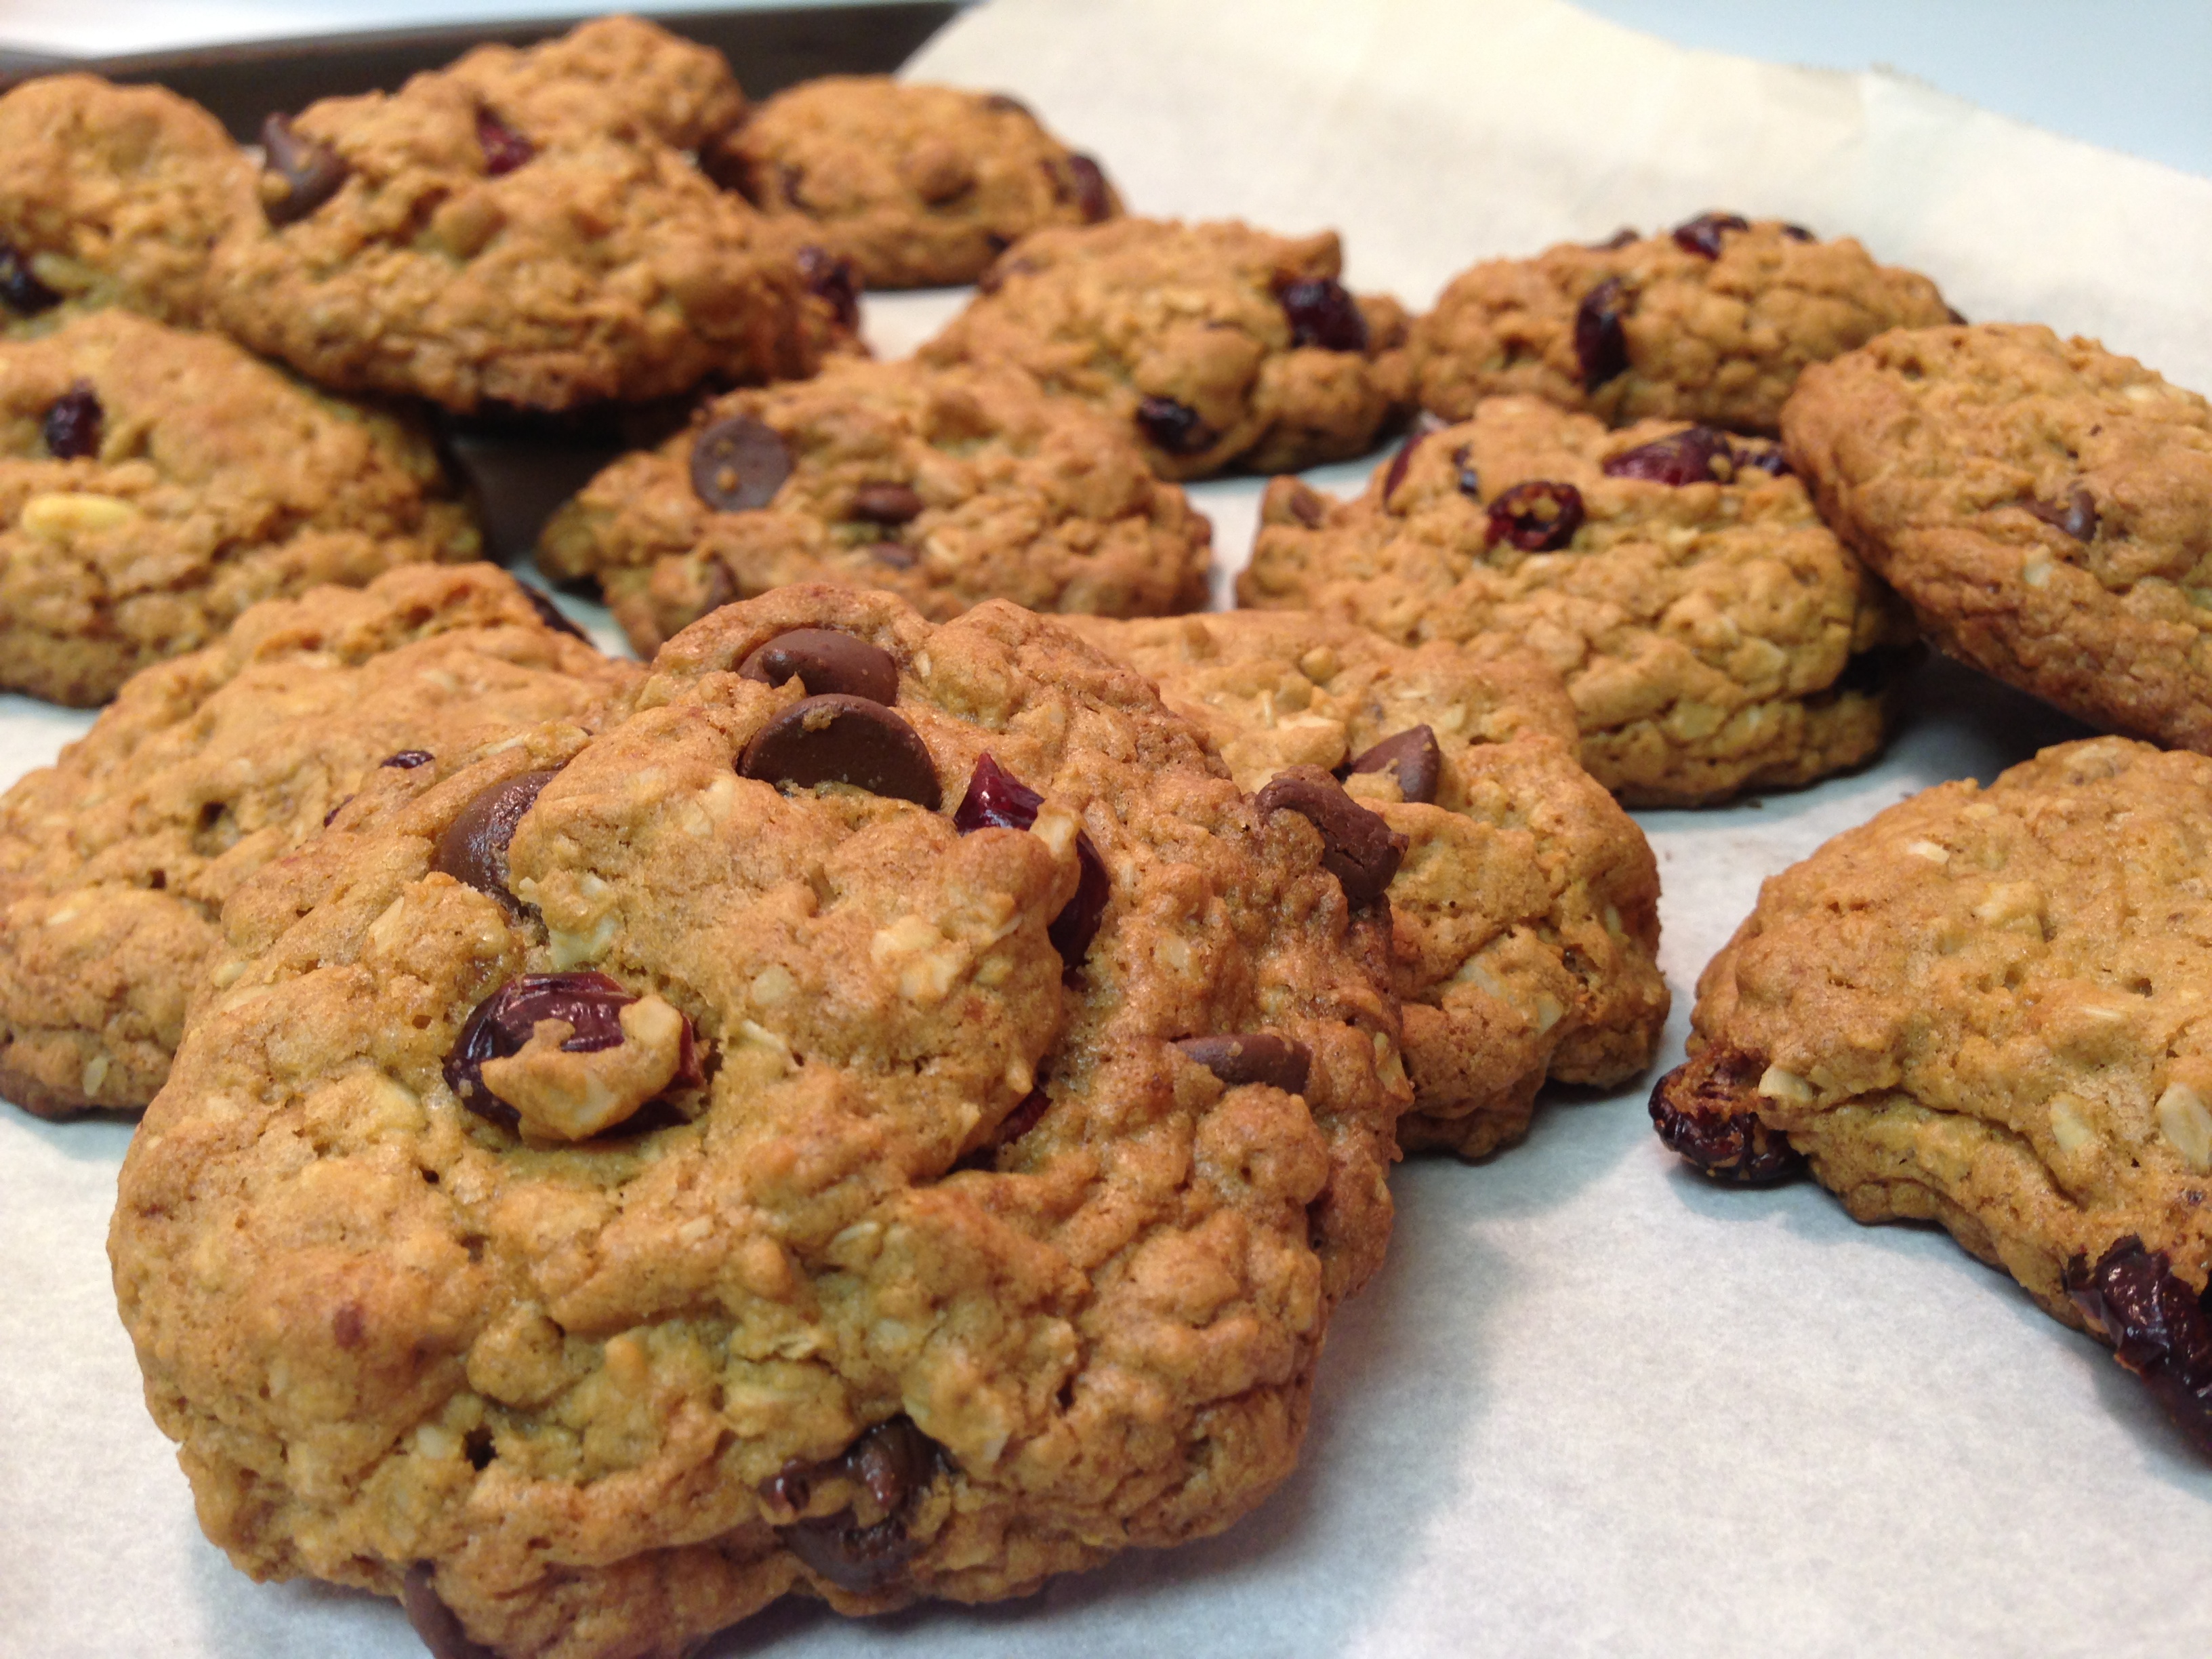
I thought I’d post this recipe because these cookies have become a staple in our home. I’ve been making them non-stop for a few years now. There’s always a jar full of oatmeal cookies. I often get a friendly reminder that we’re down to the last two or three cookies. That means: make more, cookie maker!
Oats are also good for you! Click here to check out some of the health benefits of eating oats. 🙂
I think this started out as just an oatmeal chocolate chip cookie recipe. It was one of those recipes you scribble down on a piece of paper and stuff into a cookbook for safe-keeping. It’s a classic, and I’ve used it time and time again. I started playing around with the chocolate chips, replacing them with other ingredients. My usual mix is chocolate chips, raisins and craisins, but it all works. Make these your own! You can try to incorporate other dried fruits or different chips. Semi-sweet chocolate chips work best though, I think.
Oatmeal cookies are nice and easy to make too! This recipe is great for all my first-time bakers. There’s absolutely nothing to fear! The worst thing you could do is burn them, so just keep an eye out and you’ll be fine! Continue reading
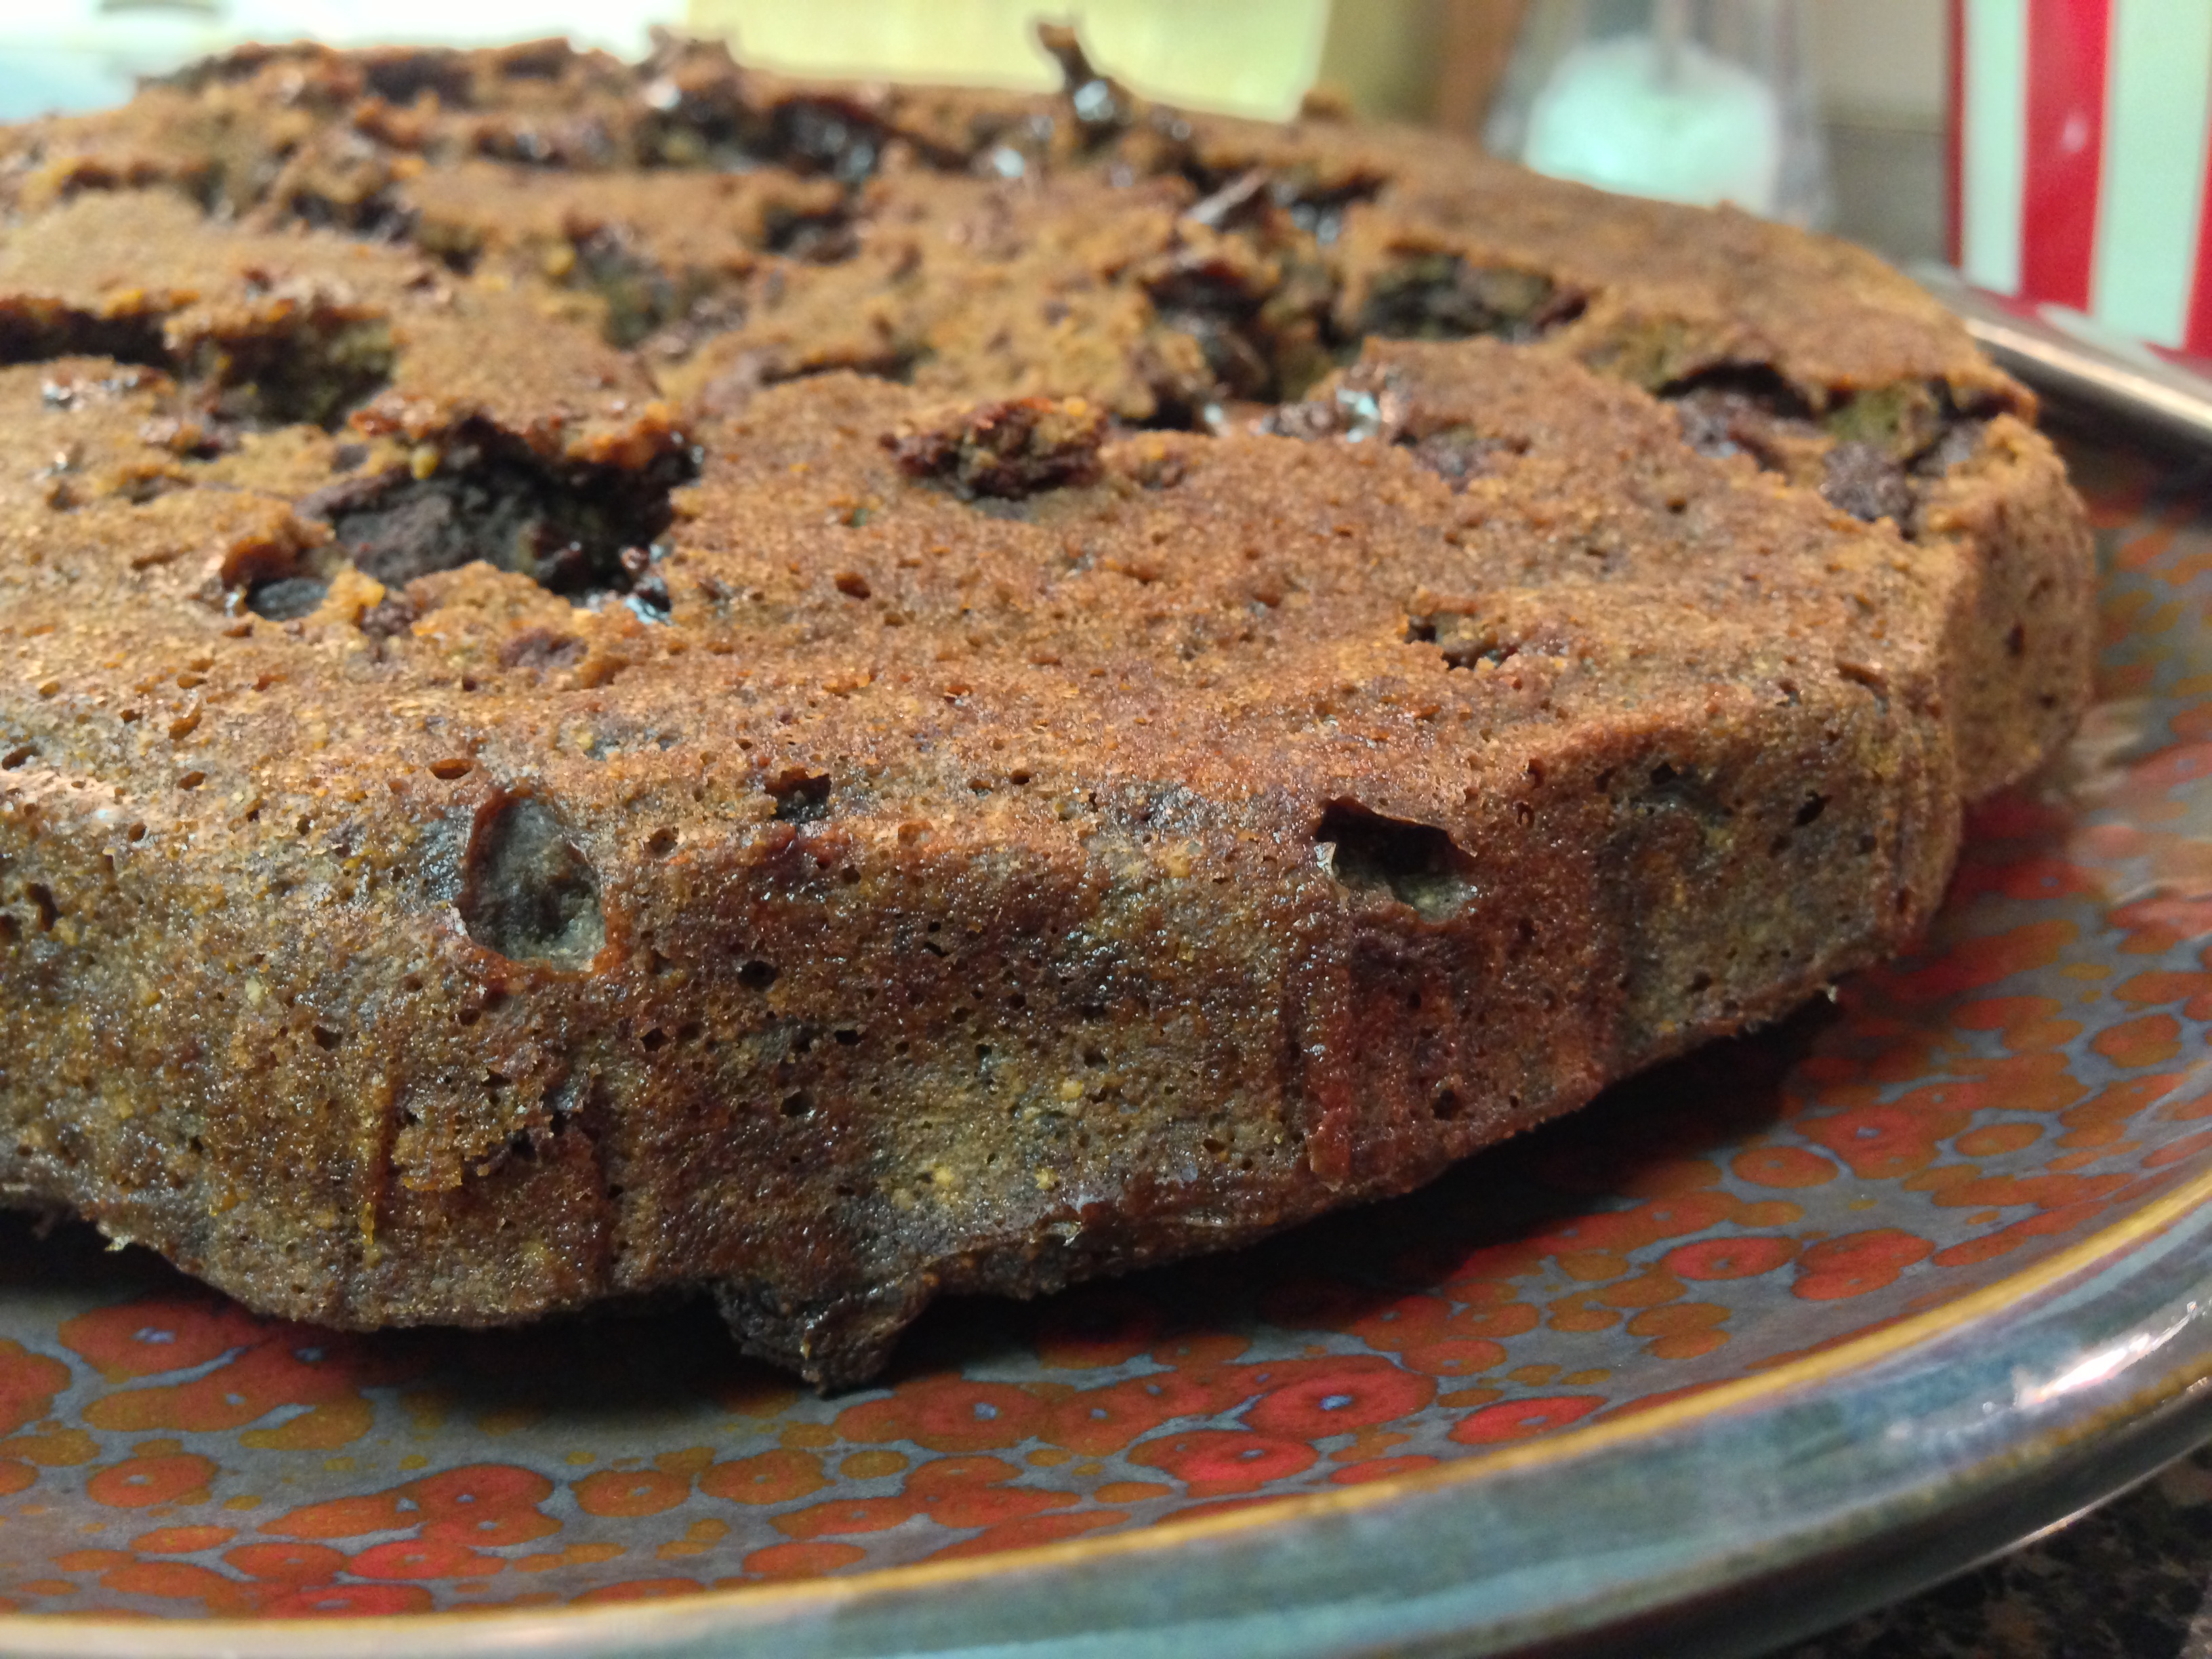
This is a recipe for the chocolate addicts, the bakers, the health-conscious eaters, the avocado lovers, and my non-gluten-eating friends. Despite the fact that I called these avocado brownies, these are regular brownies, that taste amazing. They’re not green, and the gluten-free aspect doesn’t change the texture or the taste of them. I know sometimes gluten-free baking results in a weird taste or texture you might not be used to, or like. I can assure you. These brownies are yummy!
Confession: I couldn’t wait for mine to cool before devouring…so it didn’t come too nicely out of the pan. (Note the giant holes.) It still tasted the great! 🙂
I definitely found the right recipe at the right time. After making my first turkey for Passover/Easter, I had a ton of turkey left over and didn’t know what to do with it. I decided to freeze it. Leftover turkey will stay fresh in the refrigerator for 3-4 days, but freezing it will extend it’s shelf life by months. So, I packed it into neatly labelled ziploc freezer bags to use for future meal planning.
I came across a chicken pot pie recipe from My Healthy ‘Ohana, a blog full of yummy recipes (go have a look and try some of them). I thought turkey would work wonderfully with this recipe as well. It turned out to be a great way to use up leftover roasted turkey, and the recipe is not hard at all. I’m so proud of my first pot pie! 🙂
Turkey Pot Pie (or chicken)
Ingredients:

Preheat oven to 425 degrees.
Place the chopped carrots and sweet potato in a small saucepan, cover with broth, and add thyme leaves and bay leaves. I used homemade turkey broth I had made from my roast turkey bones. Cover and bring to a boil. Cook until the carrots and potatoes are just tender. It’s easy to overcook the sweet potatoes, you don’t want them mushy.


In a separate pan, fry onions in butter until translucent.


Add flour, salt, pepper, and paprika and cook for a couple minutes, until the onions are well coated and everything’s mixed together nicely.


Next, add the milk in and stir until the mixture becomes a thick paste.

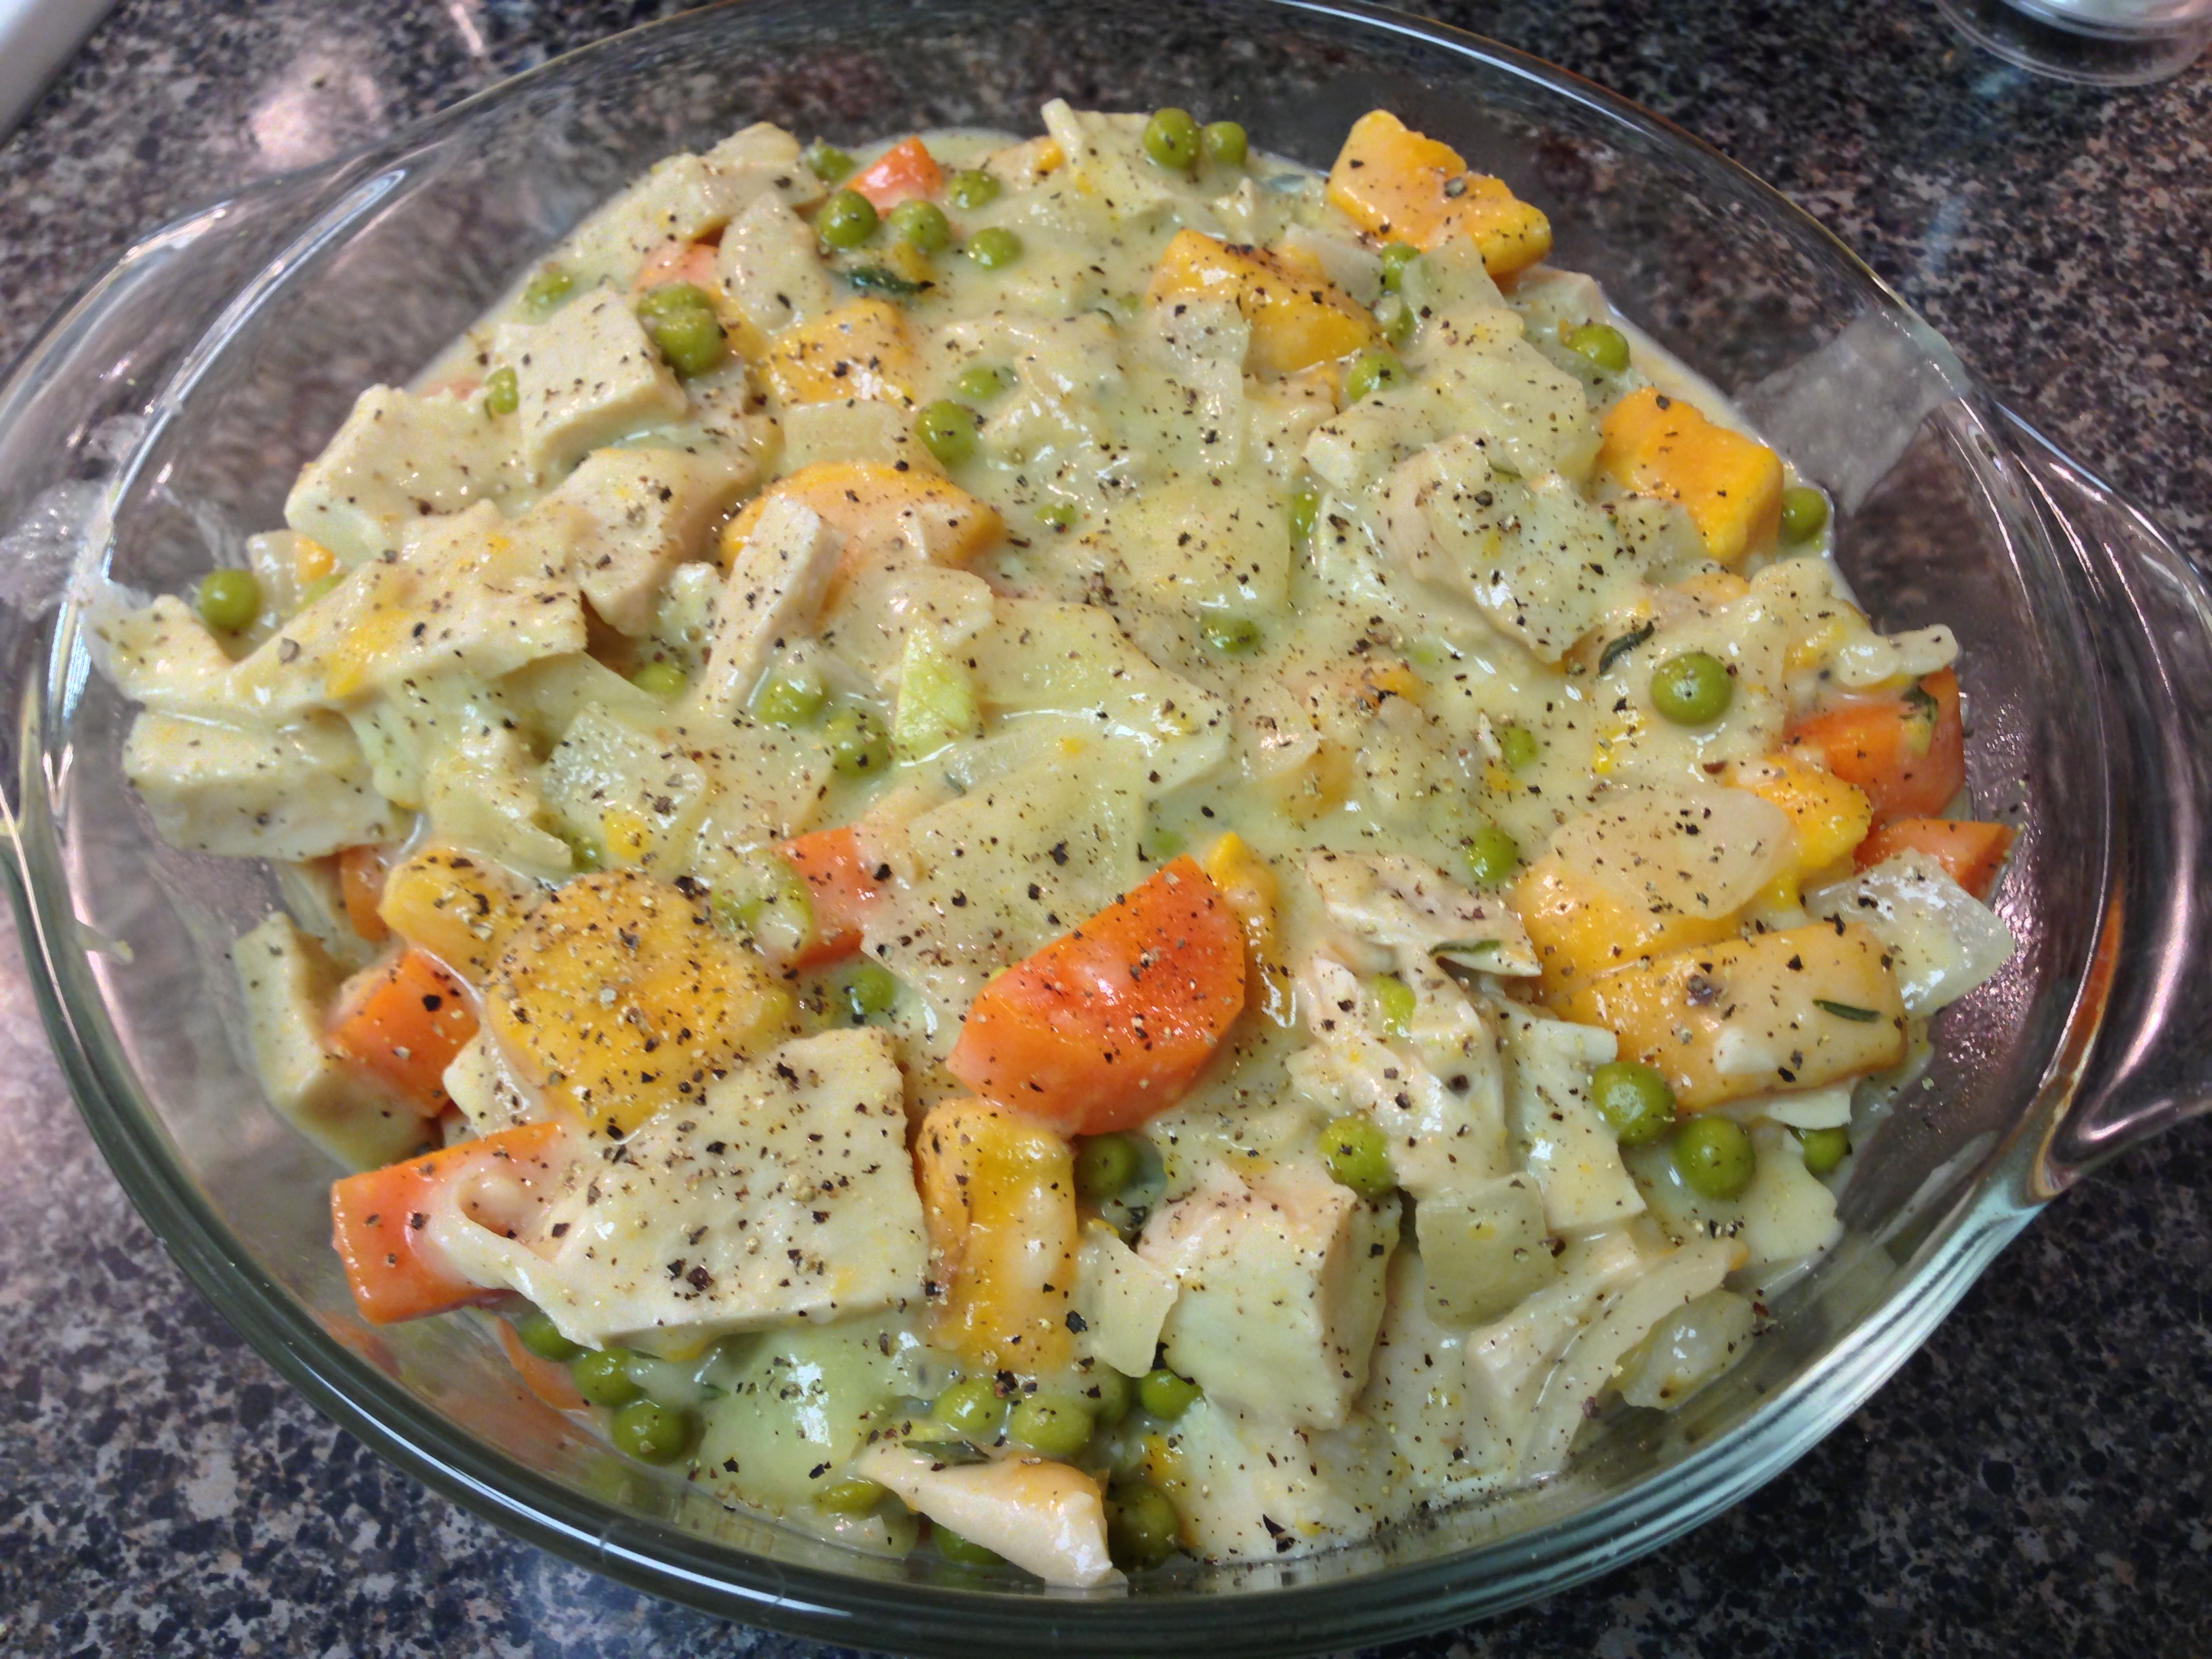
Remove the bay leaves from your pot of vegetables. Add the onion/flour paste to your vegetables and broth and continue cooking and stirring until the broth thickens to become a creamy sauce. (It doesn’t take long.) Fold in peas and leftover turkey (or chicken).


Place this mixture into a 9-inch pie dish. I used a round glass casserole dish that was a bit bigger than a pie tray, there was a lot of filling. You can also use individual ramekins if your want to make smaller pies. Sprinkle a bit of salt and pepper over the mixture before you put the crust over top.
Cover your filling with pie crust, making sure to seal the edges well. Remove the excess crust. You can shape this extra crust into fun decorative shapes to make your pie look extra special. I had a lot of extra crust, so I made an edge around my pie…and a heart. Next, brush the top of your pie with the beaten egg and cut several vents in the top to let steam escape. You’re ready to bake!


Bake the pie for 20-25 minutes at 425 in the oven (or until the crust is golden and crispy). I baked mine for 25 minutes.


I am so happy I tried this recipe. It was delicious! The sweet potatoes add a sweet creaminess that is really nice. My pie was done with one crust over top, but you can also use the same filling with two crusts. Line your pie tray with the bottom crust, fill, and then seal with the top crust. Play around with different spices too!
Enjoy! xx

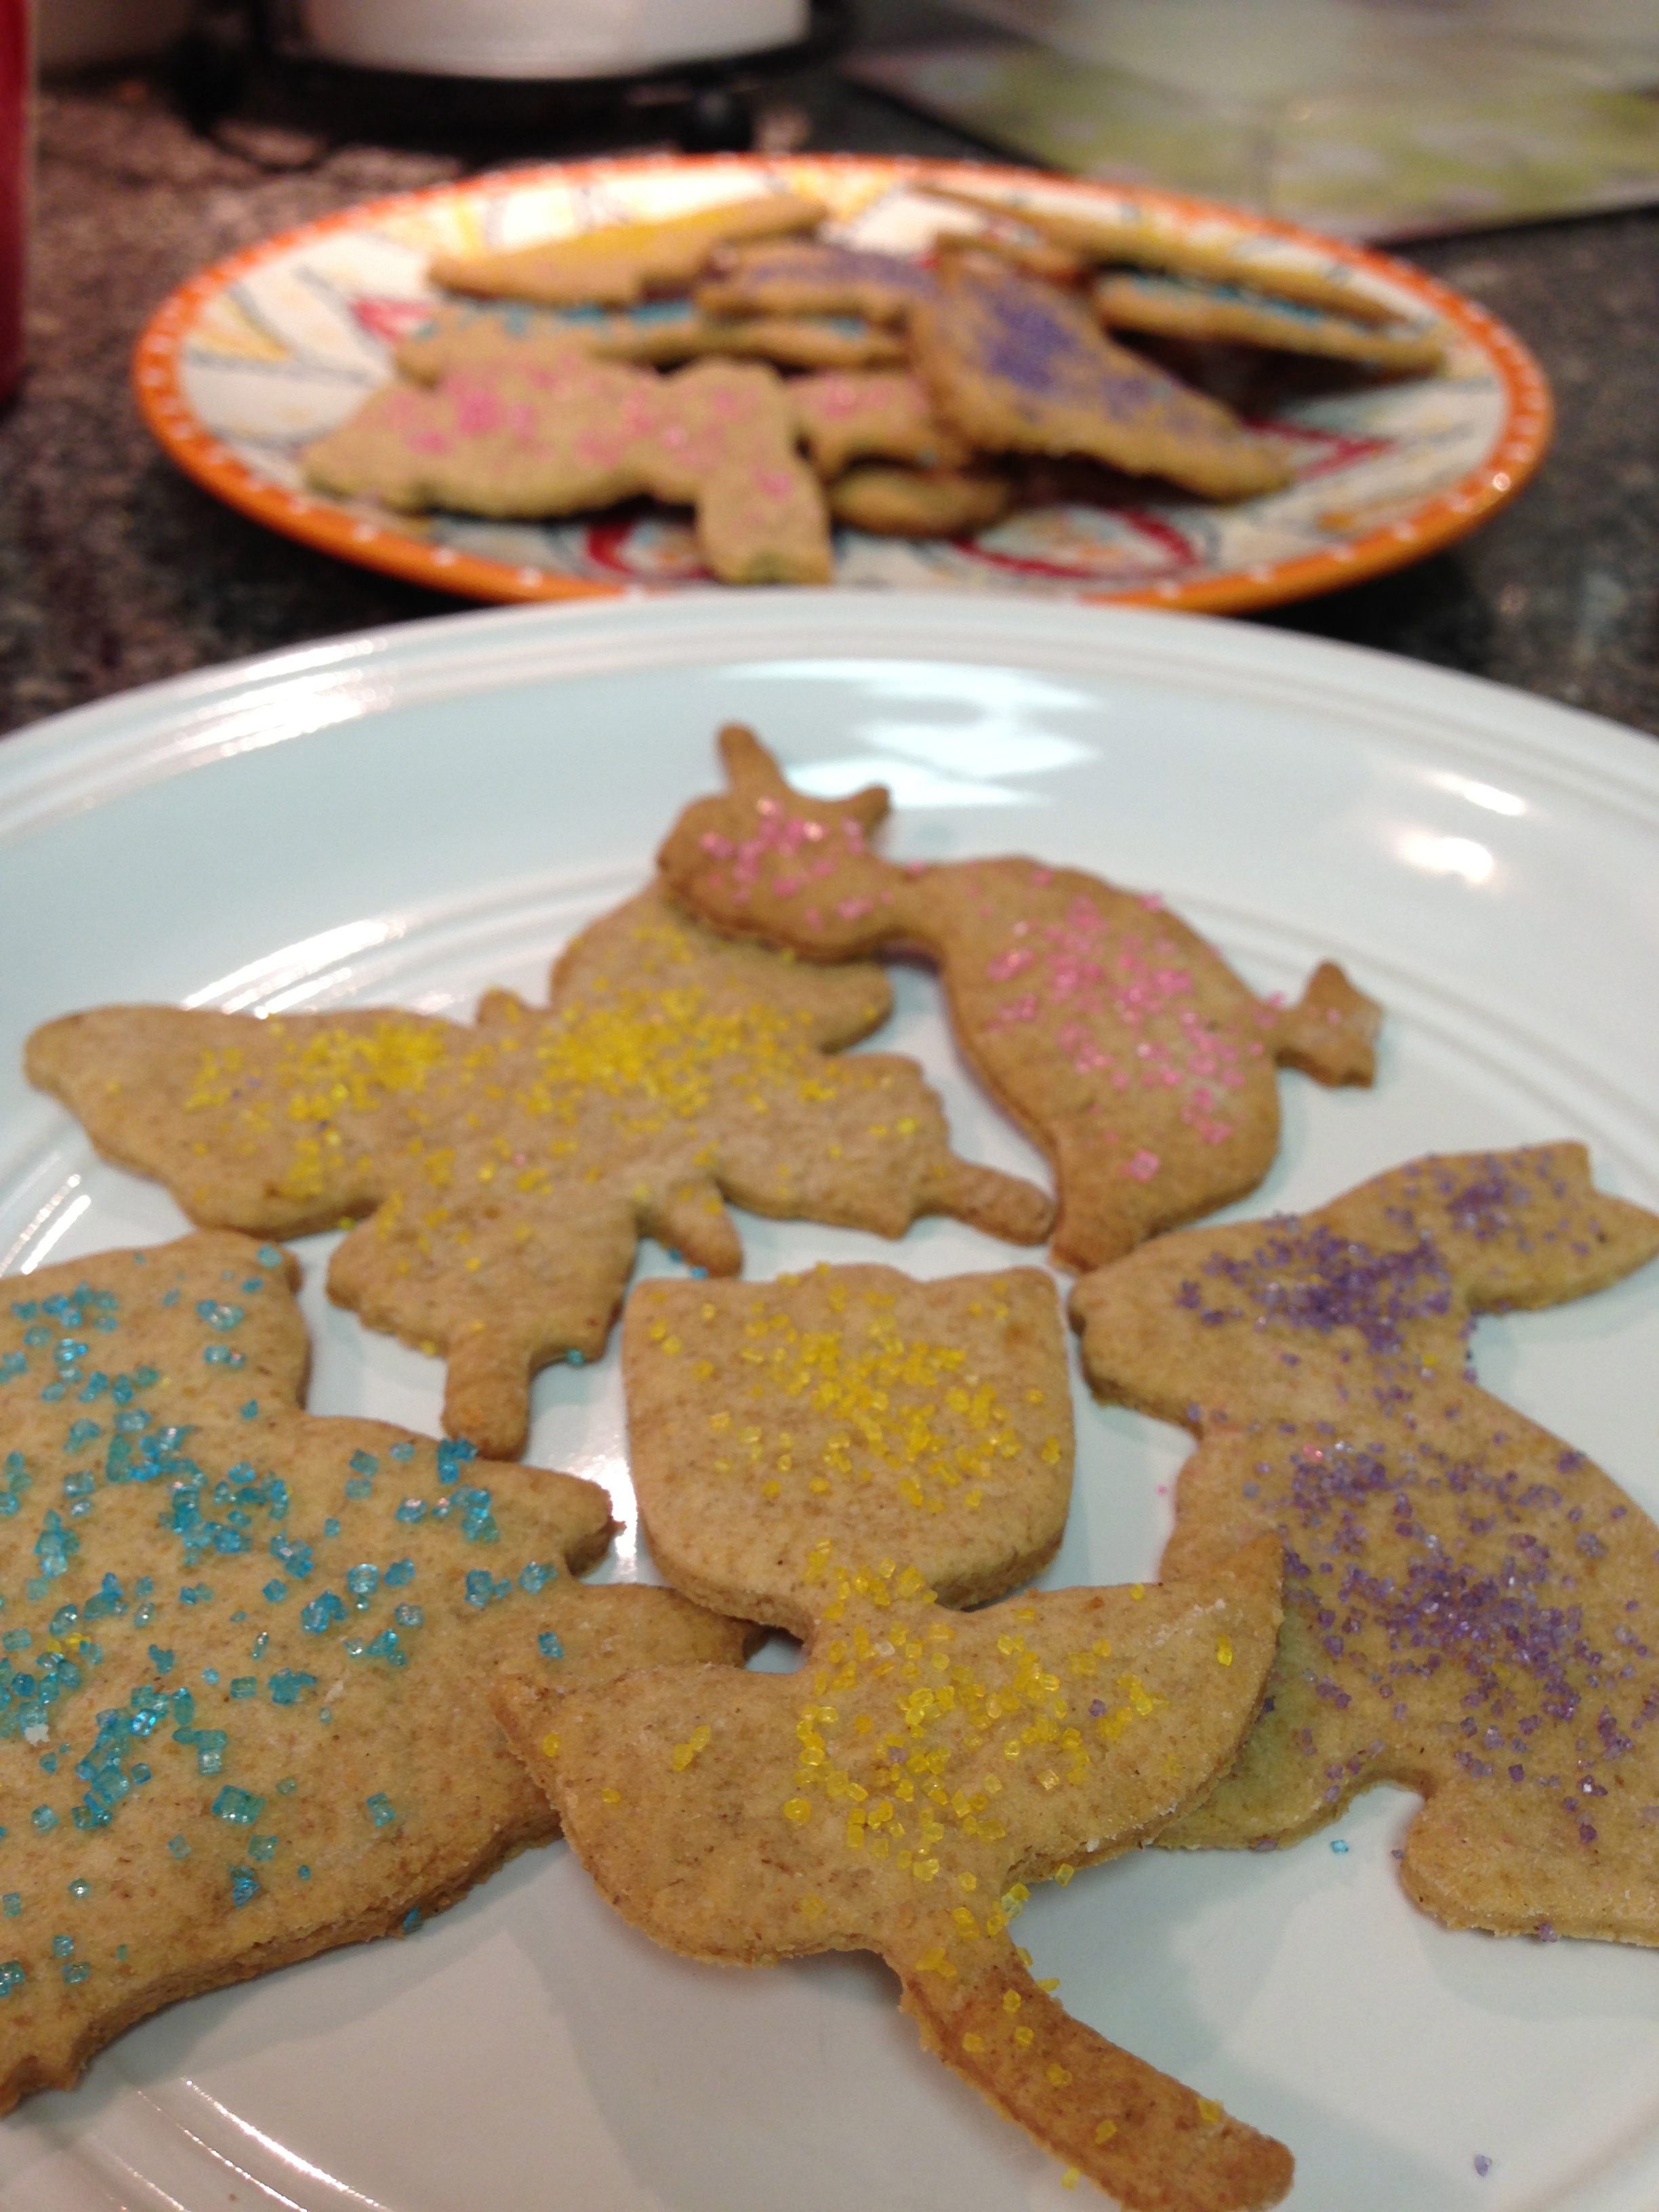
Birthday party tonight. Springtime is coming. I want to bake. Those are enough reasons to dig out the cute springtime cookie cutters I bought last spring, that were never used, and bake some cookies! I didn’t have a lot of time, so I wanted a simple recipe. Sugar cookies are really easy to make and don’t require many ingredients. Looking up some recipes, I noticed that classic sugar cookies are not particularly health-friendly. They’re mostly made of flour, lots of butter, and lots of sugar. I decided to try doing a version that’s a bit healthier. I switched most of the flour for whole wheat flour and didn’t use as much butter. I used 3 tablespoons of butter, as opposed to the 1 cup of butter in most recipes. I also used brown sugar, and less of it. I browned the butter and added a bit of spice to the cookies, which I think also cut some of the sweetness. I passed on the colourful, sugar-loaded (but so pretty) royal icing and opted to do just a light sprinkle of sanding sugar over top. I still got the springtime pastel colours I wanted!
Get baking! Spring is here!
Spiced Browned Butter Sugar Cookies

Ingredients:
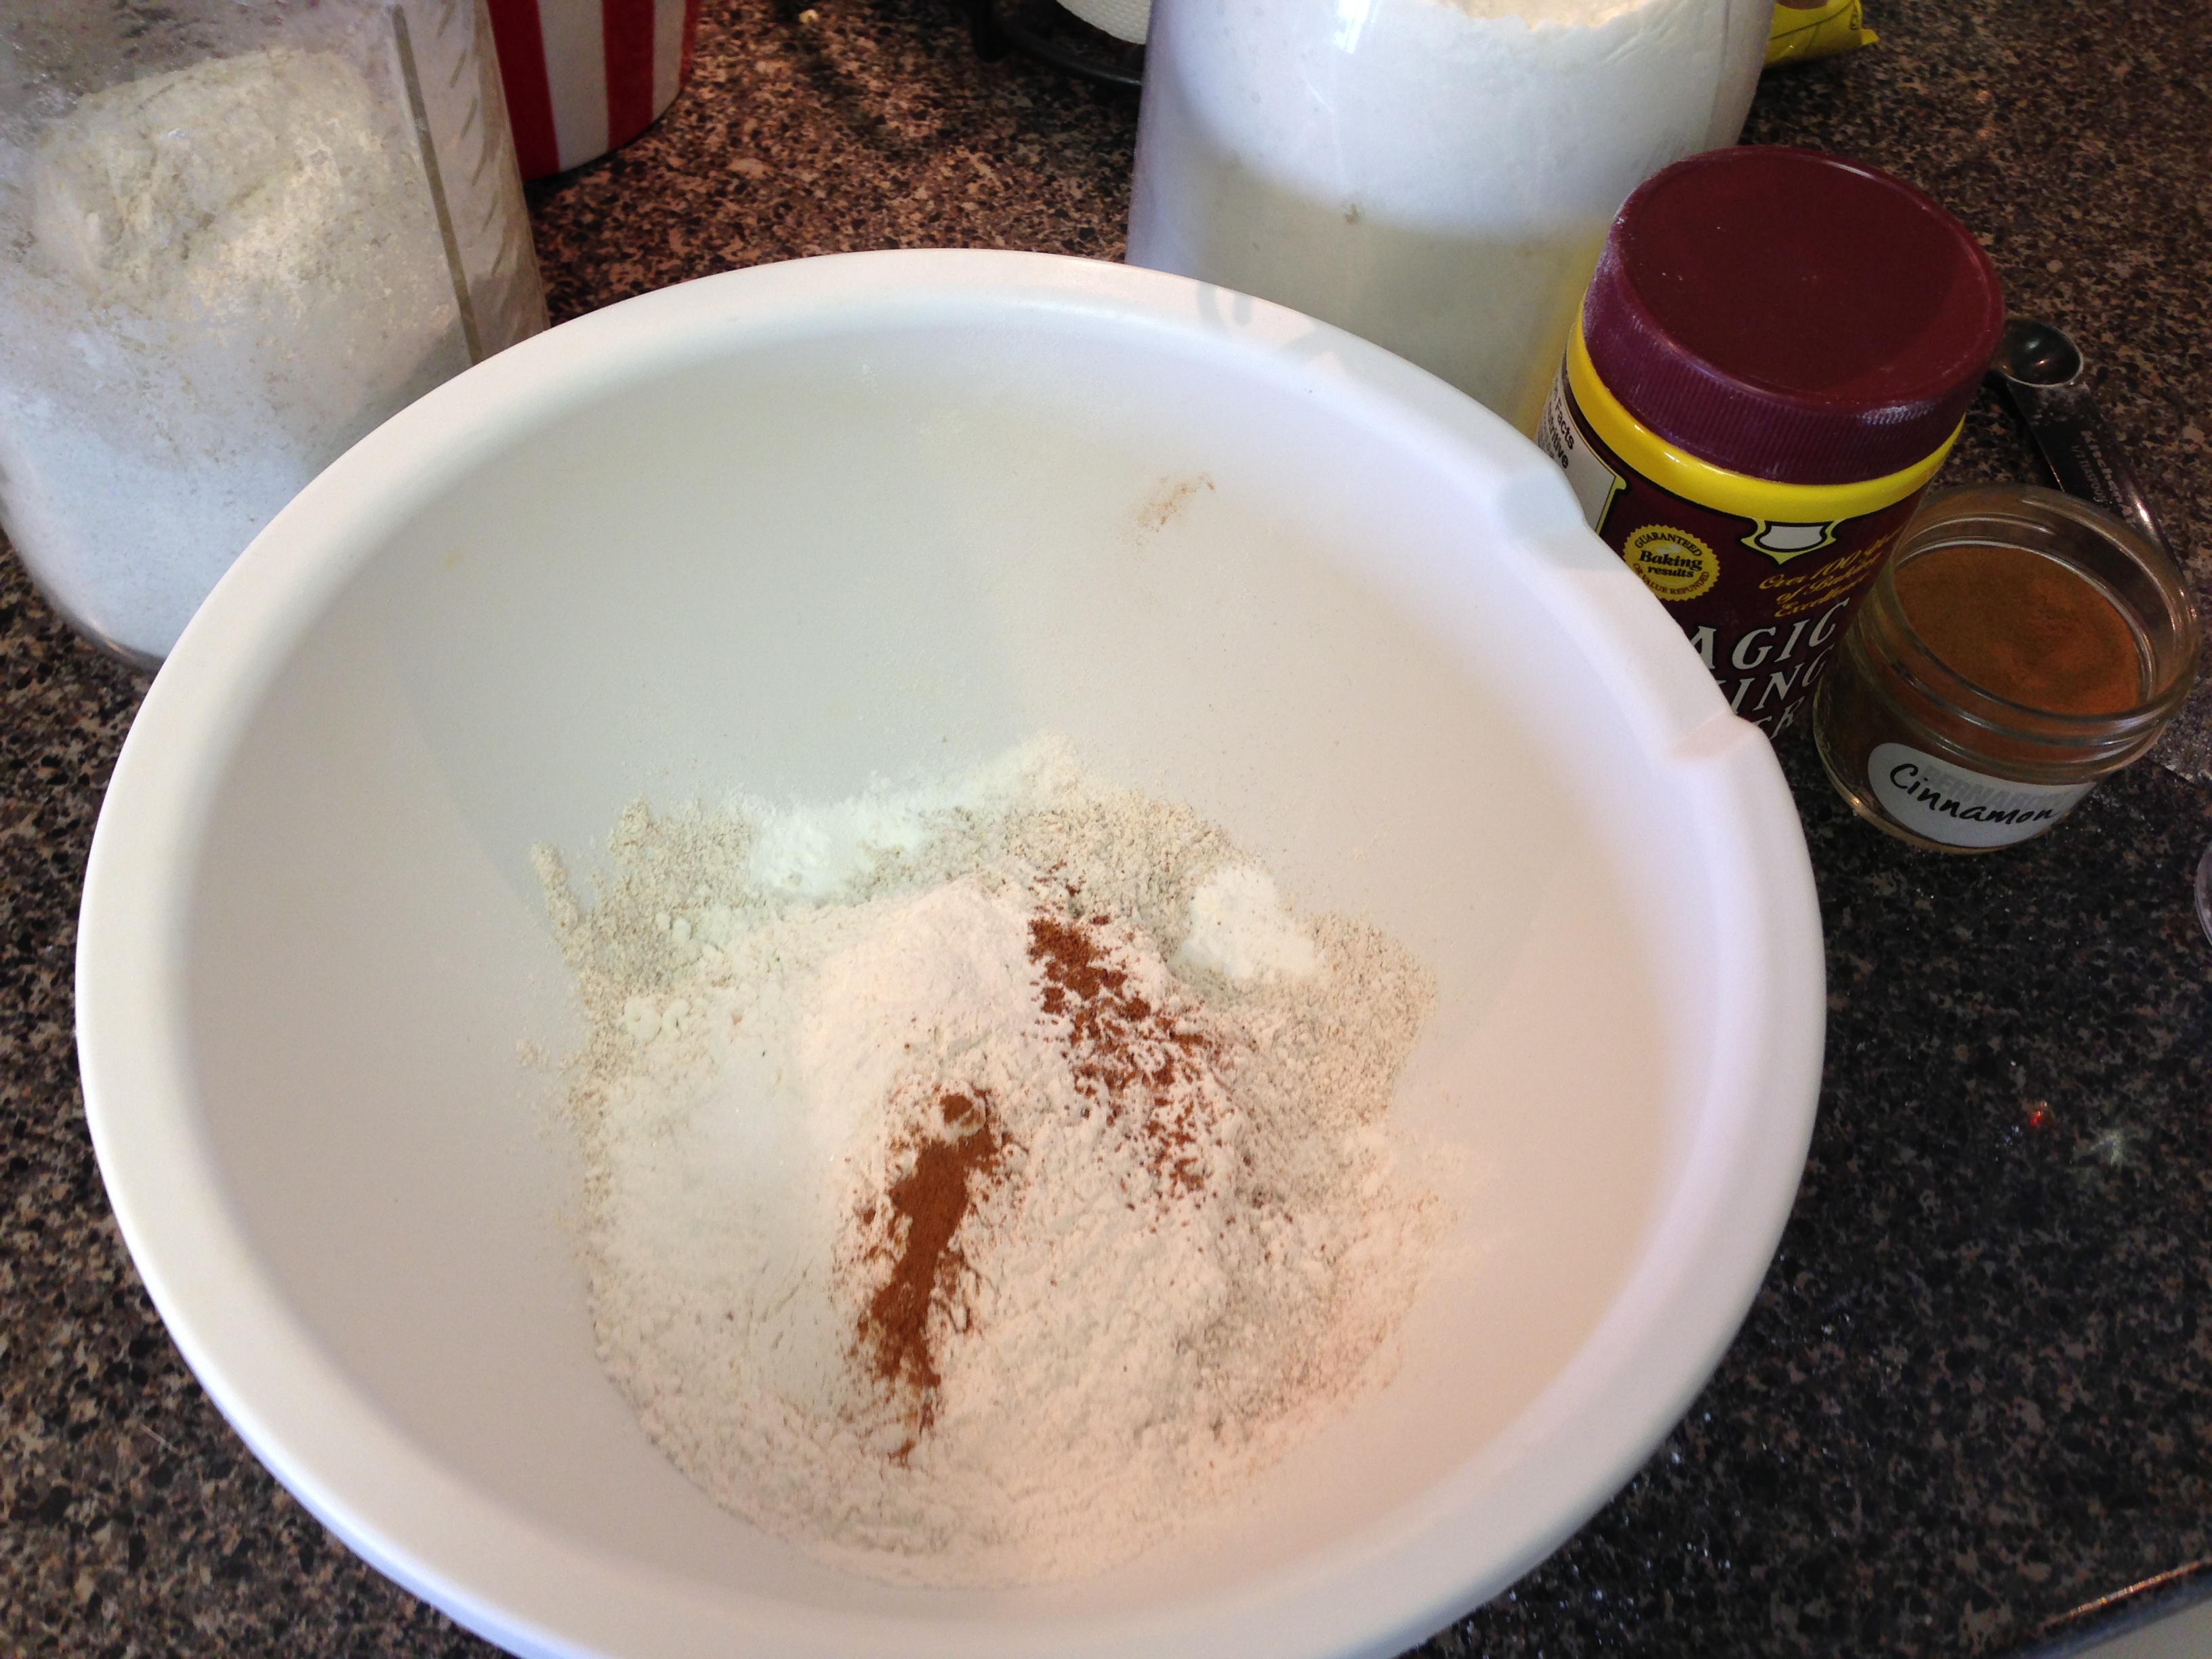
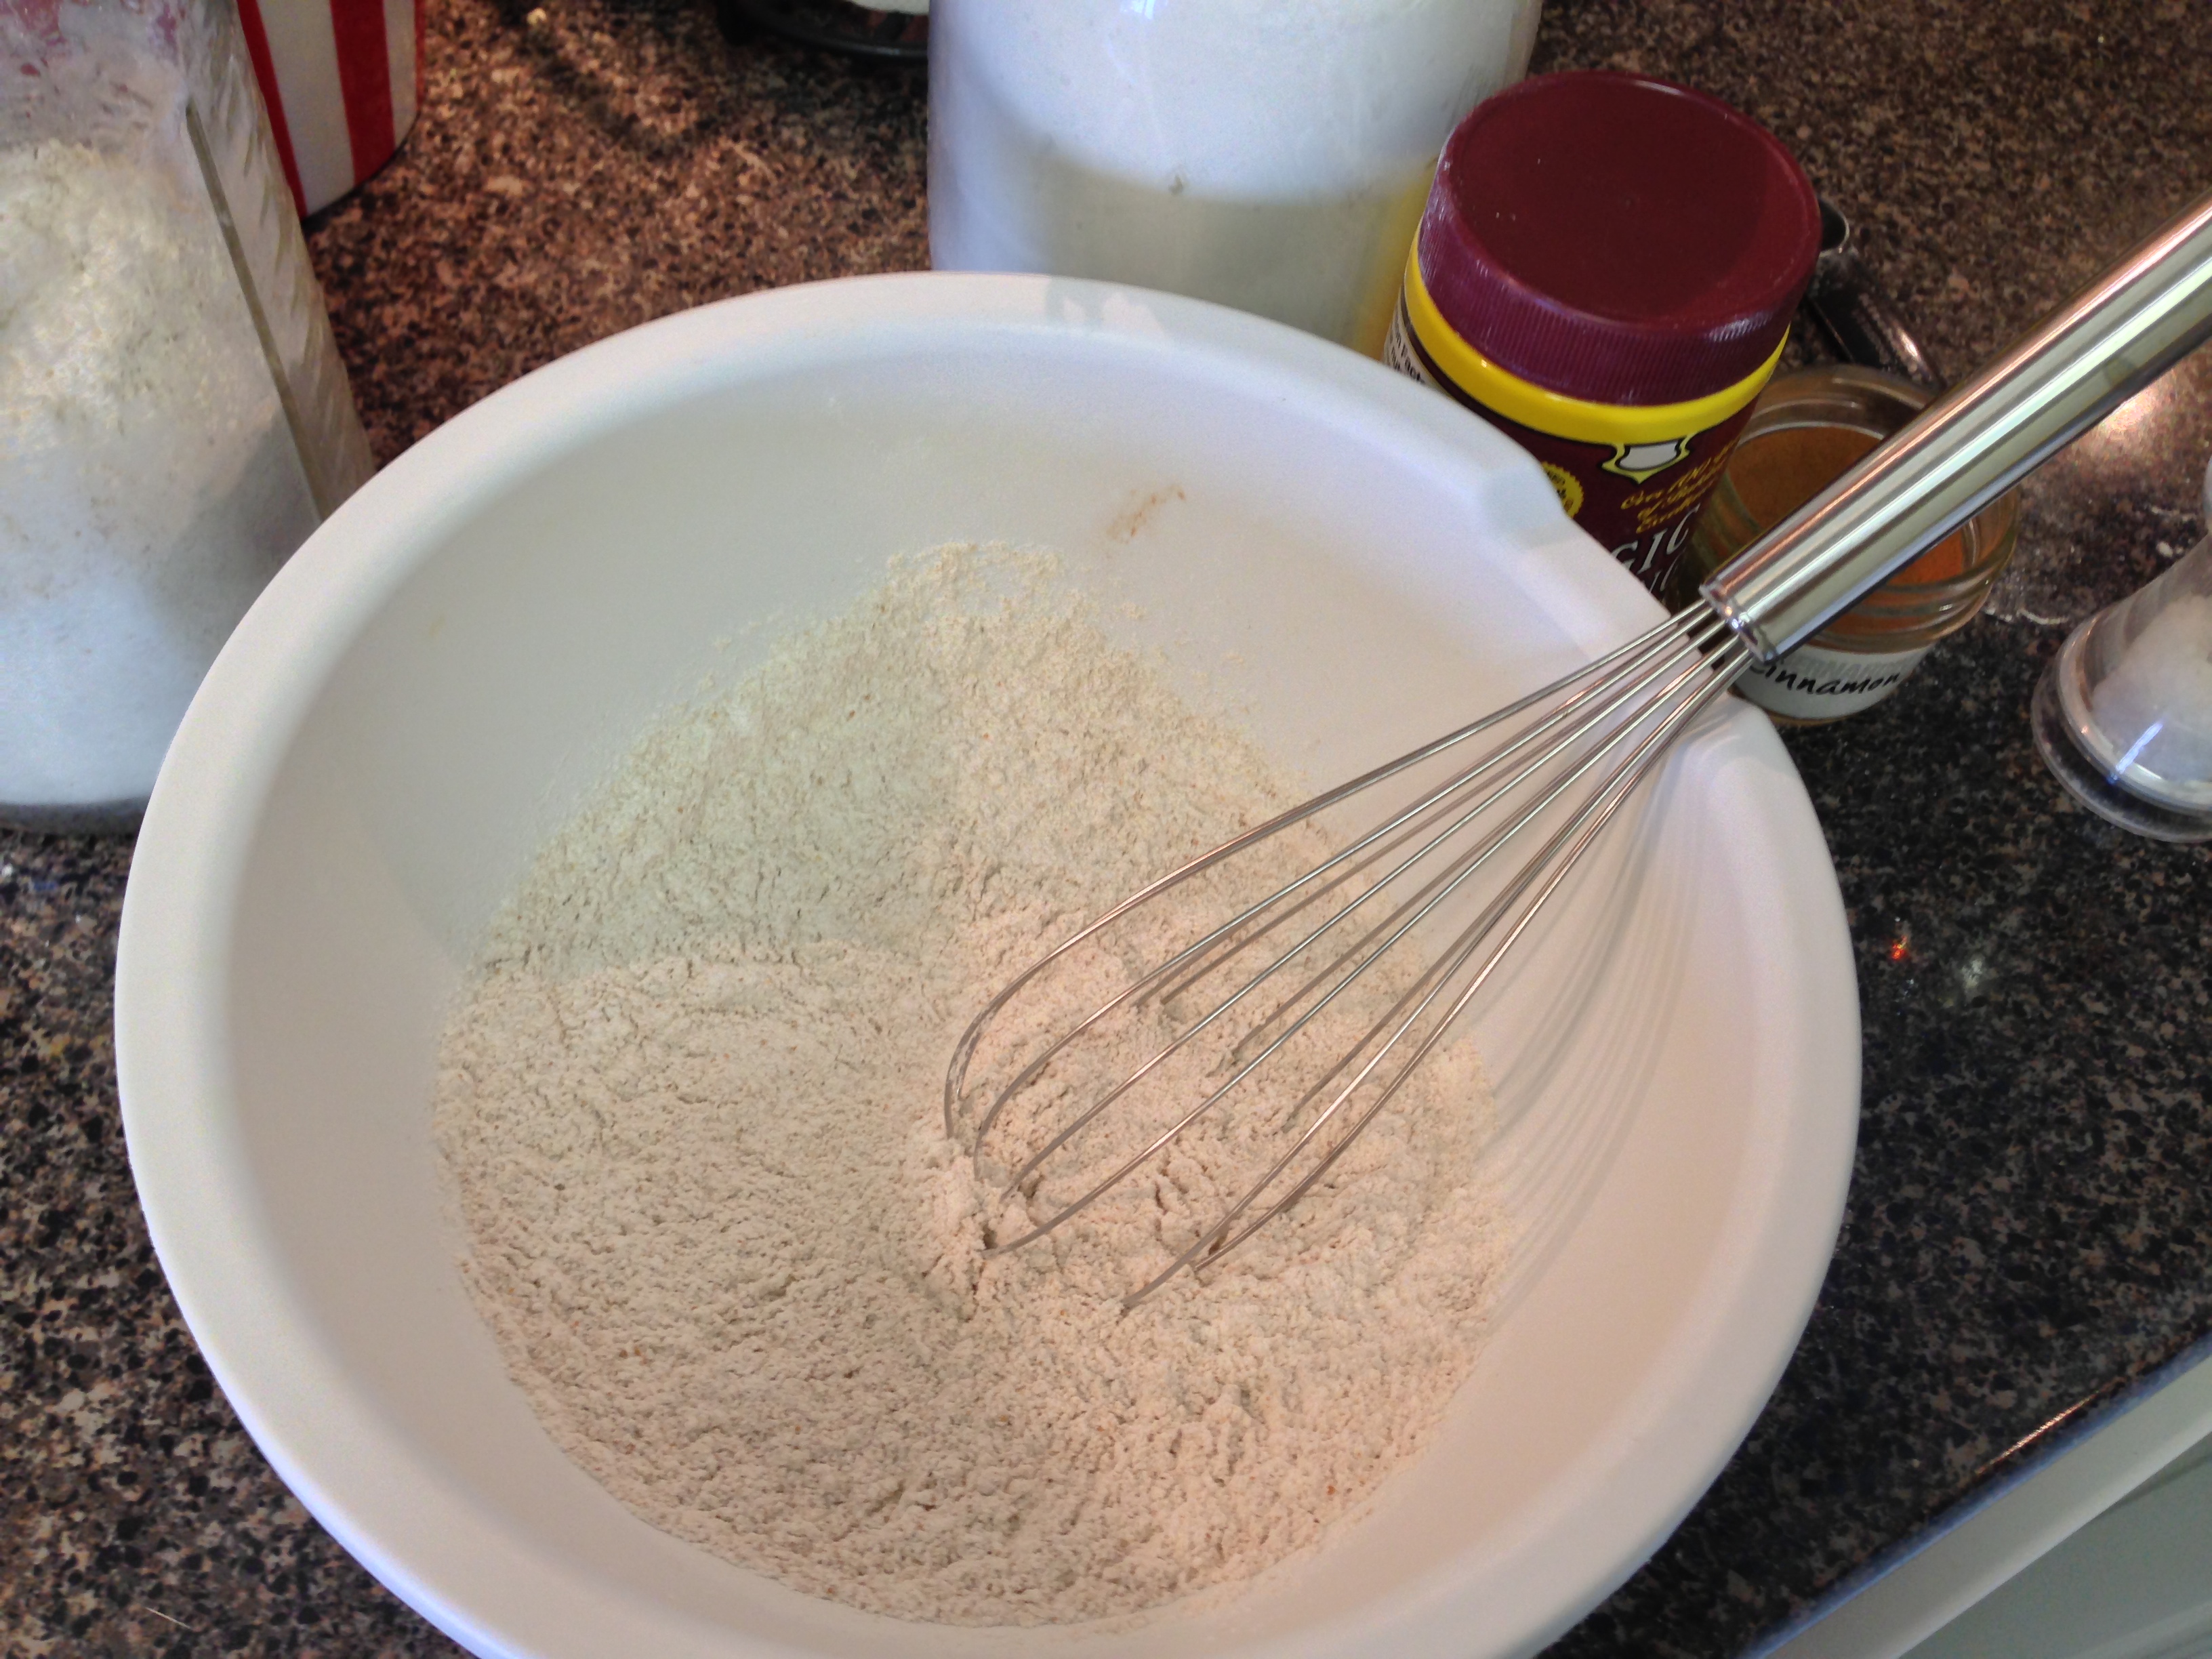
In a medium-sized bowl, mix both flours, baking powder, nutmeg, cinnamon, and salt together. Set aside.
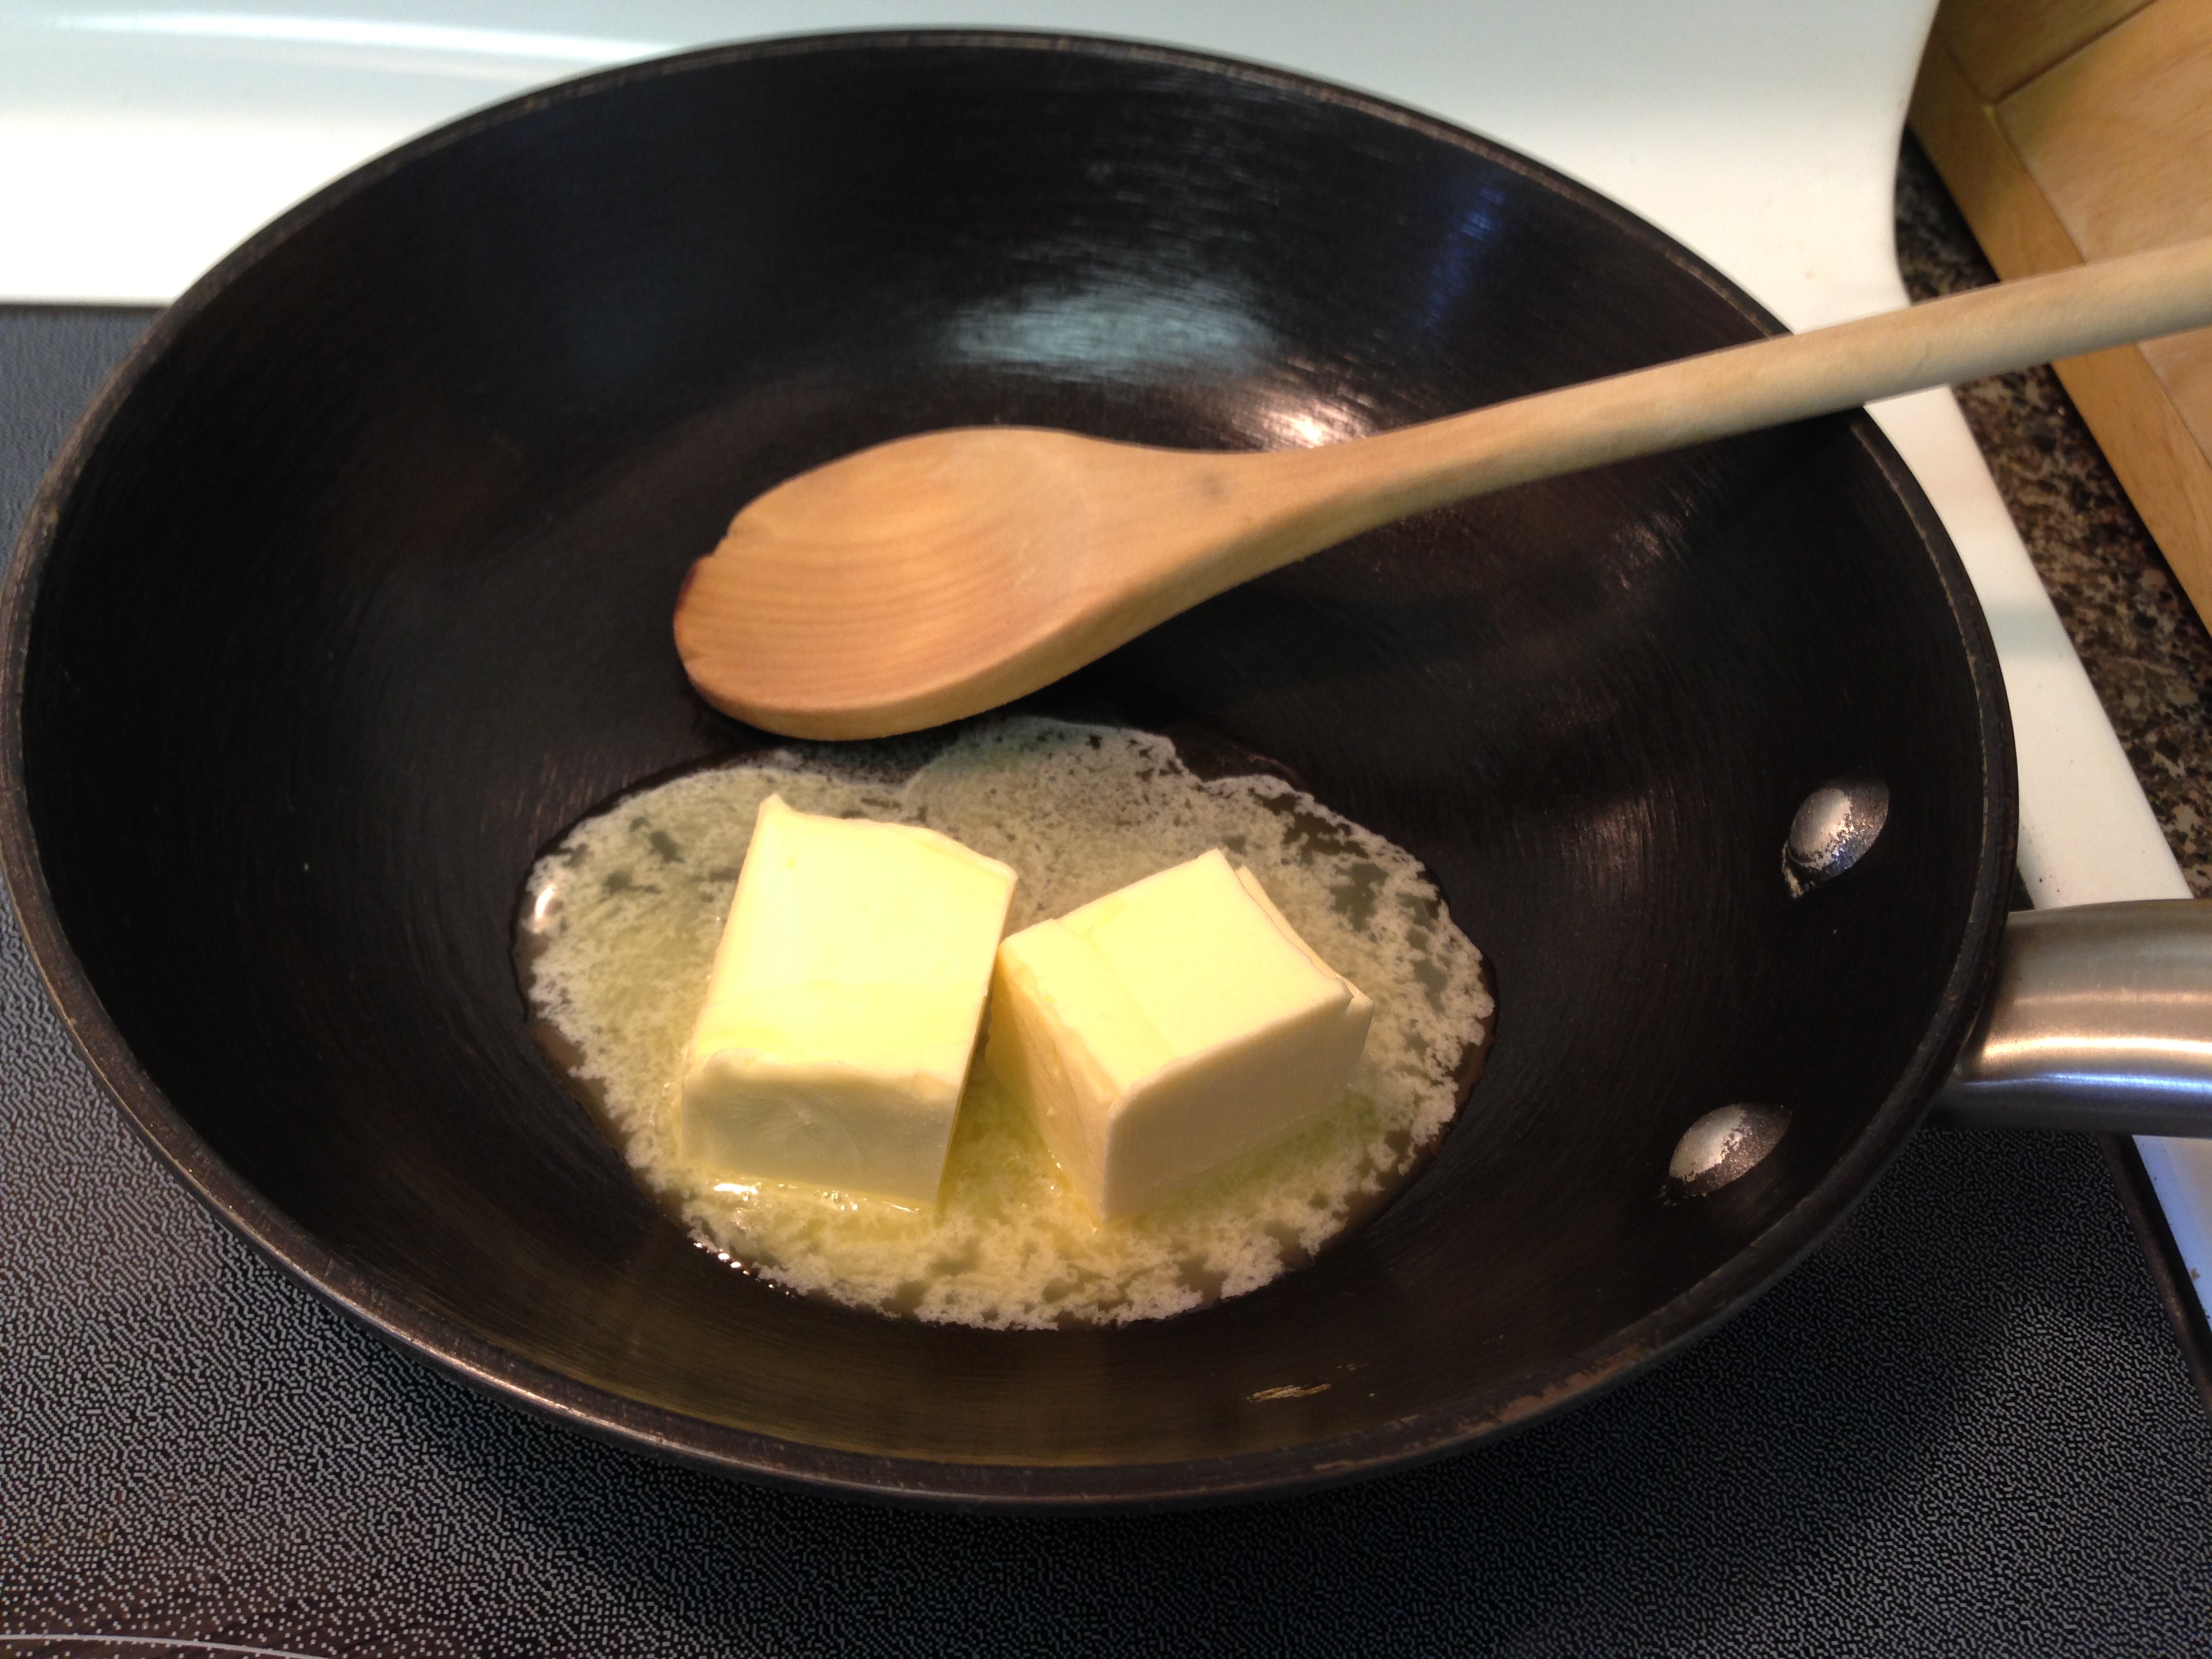
Now you’re going to brown the butter. Do this in a small skillet or pan on low heat. Keep stirring until fragrant and you can see it has become a slight light brown colour. It may take a few minutes (1-3). Don’t take your eyes off it, you don’t want it to burn. I love that buttery smell!


When your butter has slightly browned, remove it from the heat and set it aside to cool. Once it has cooled off, use an electric mixer to mix the browned butter together with the egg, oil, brown sugar, and vanilla extract. Mix until well blended.

Add the wet mixture to your flour mixture. Mix on low speed until it’s combined. (I started using my hands.)

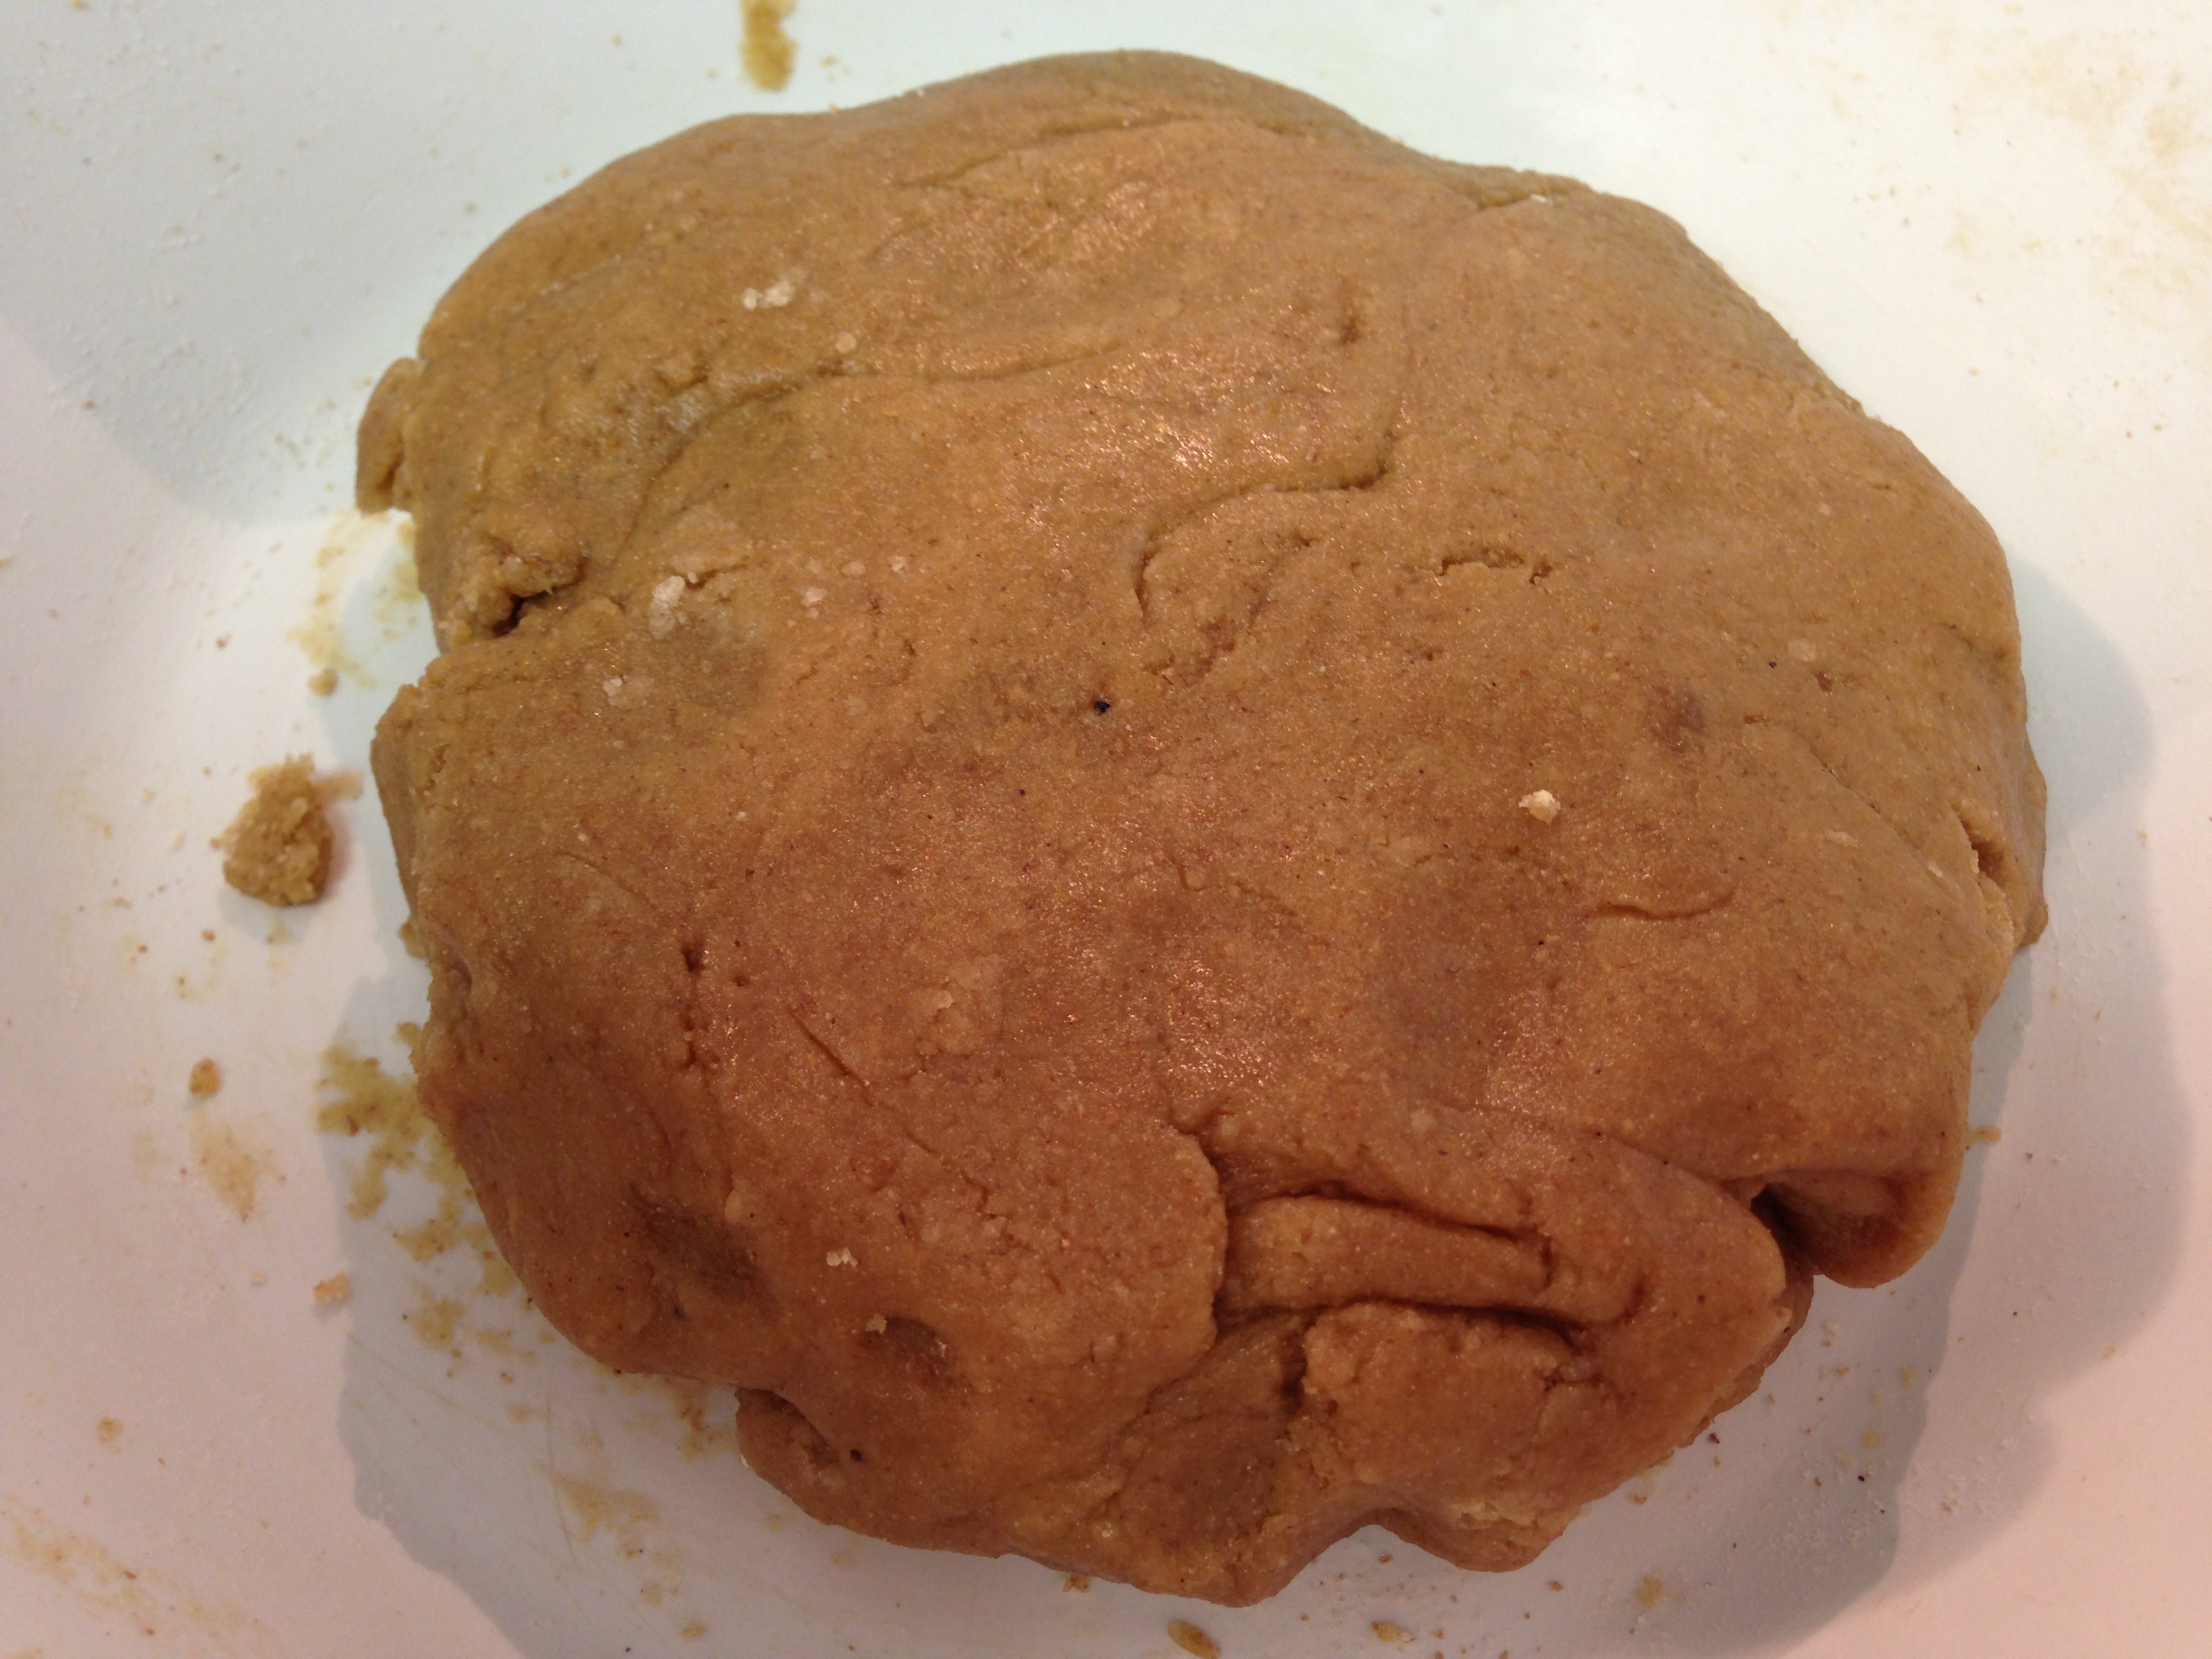
Using your hands, flatten the ball of dough into a disc shape, wrap in plastic wrap and refrigerate for at least an hour (you can leave it for up to 2 days).

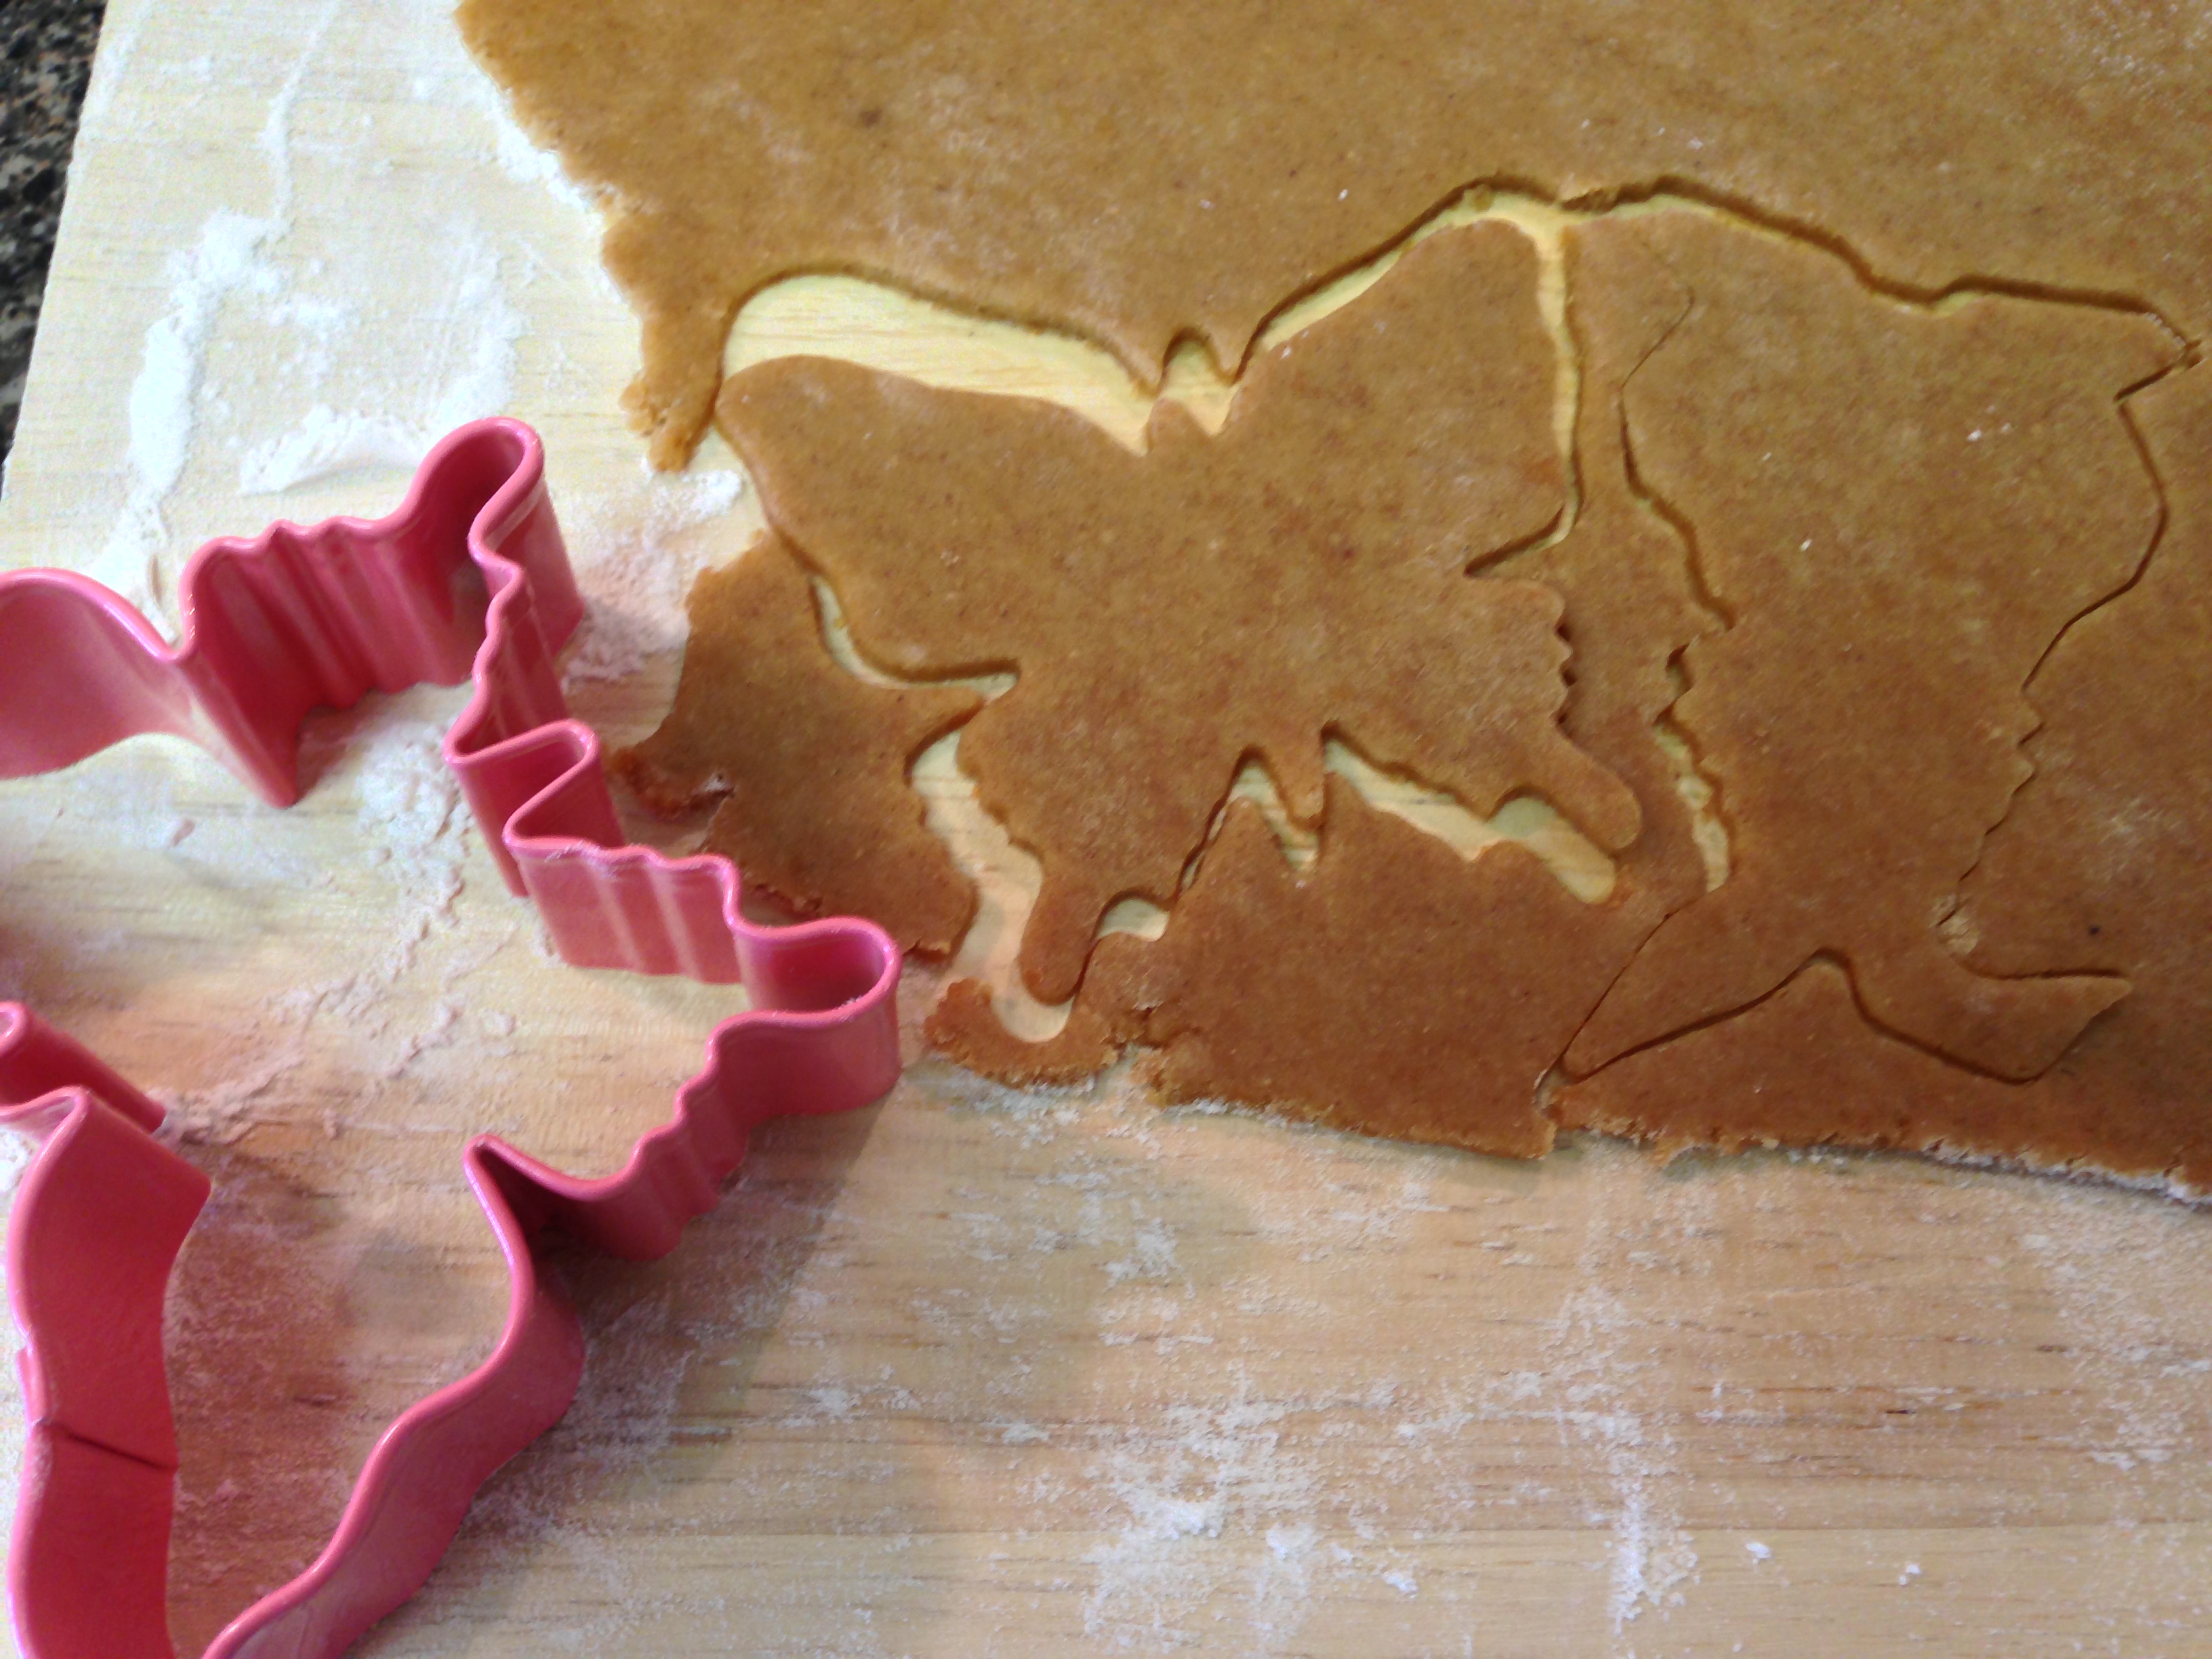
When done refrigerating, preheat your oven to 350 degrees, and remove the dough disc from the fridge. Line two baking sheets with parchment paper. On a lightly floured surface, roll out your dough. I made mine pretty thin. 1/8 of an inch is usually pretty standard.

FYI, you don’t need as much flour as in the picture above. I got a little flour-happy. Too much flour will dry your dough out and cause cracking.

Now for the fun! Cut your cookies into fun shapes! I stuck to my springtime theme of ducks, bunnies, flowers, umbrellas, lambs, and chicks. Transfer the cut cookies to your lined baking sheets. I used a butter knife to help me pick them up (or you could use a floured spatula).

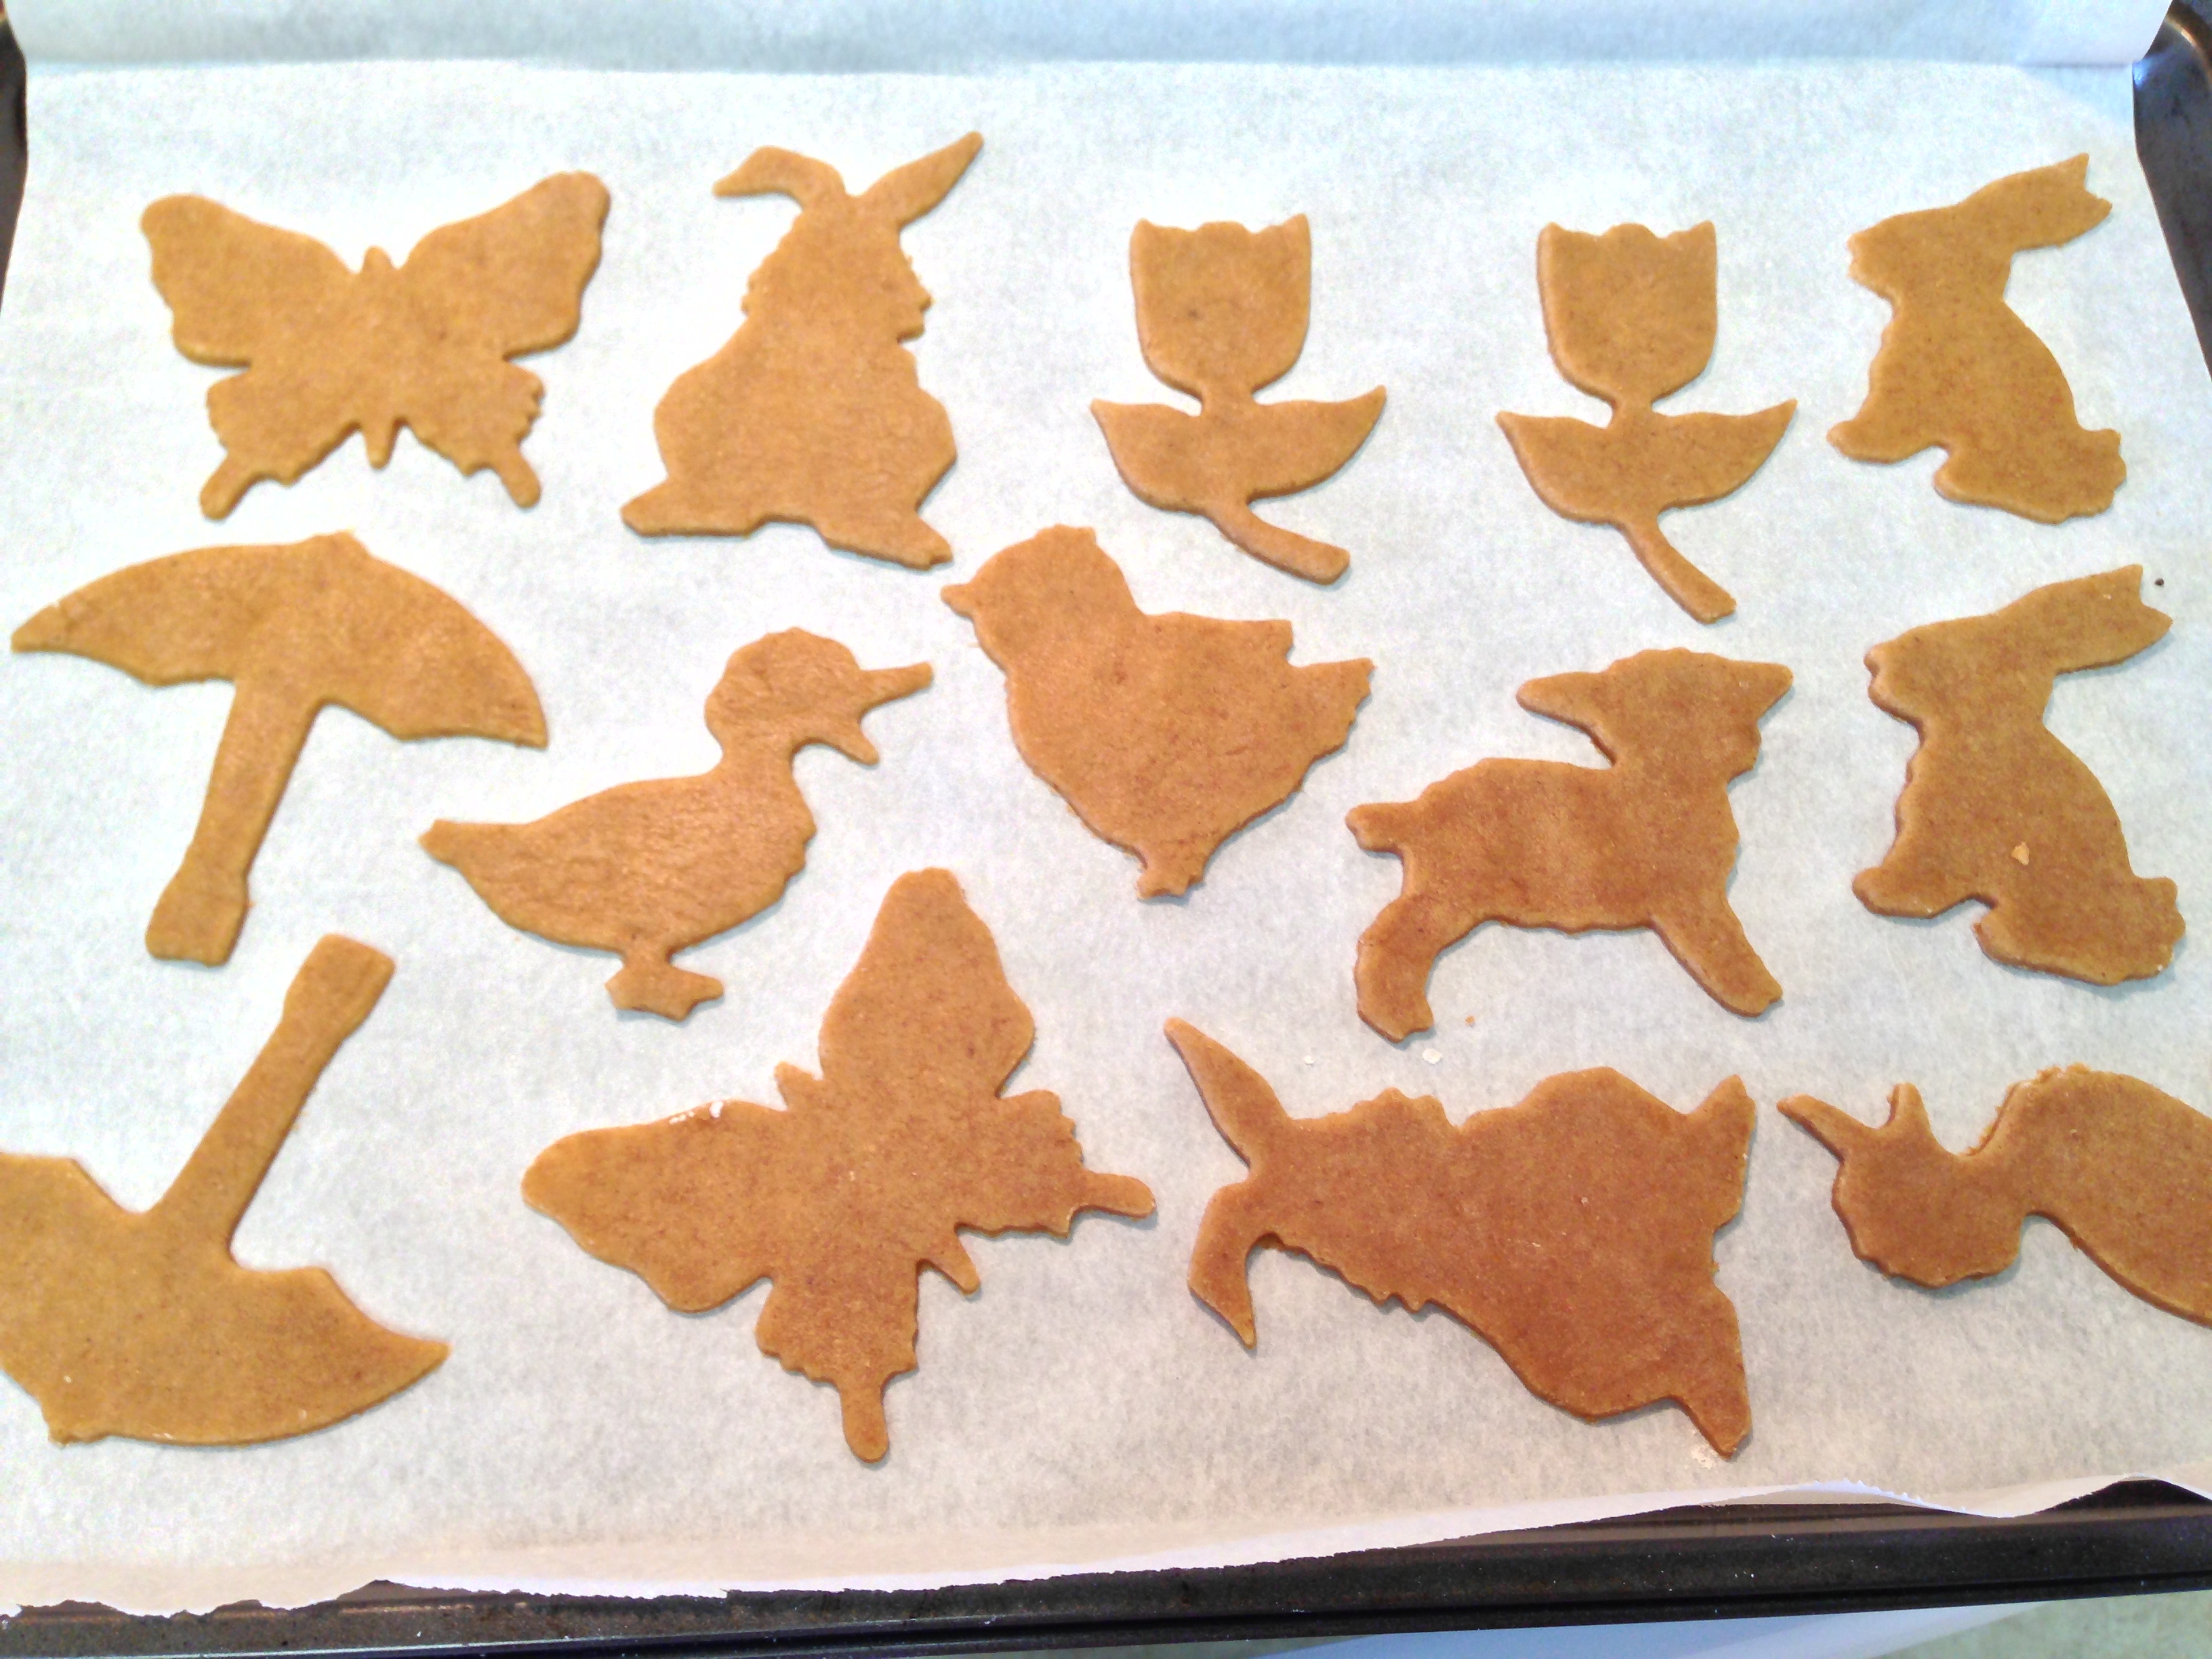
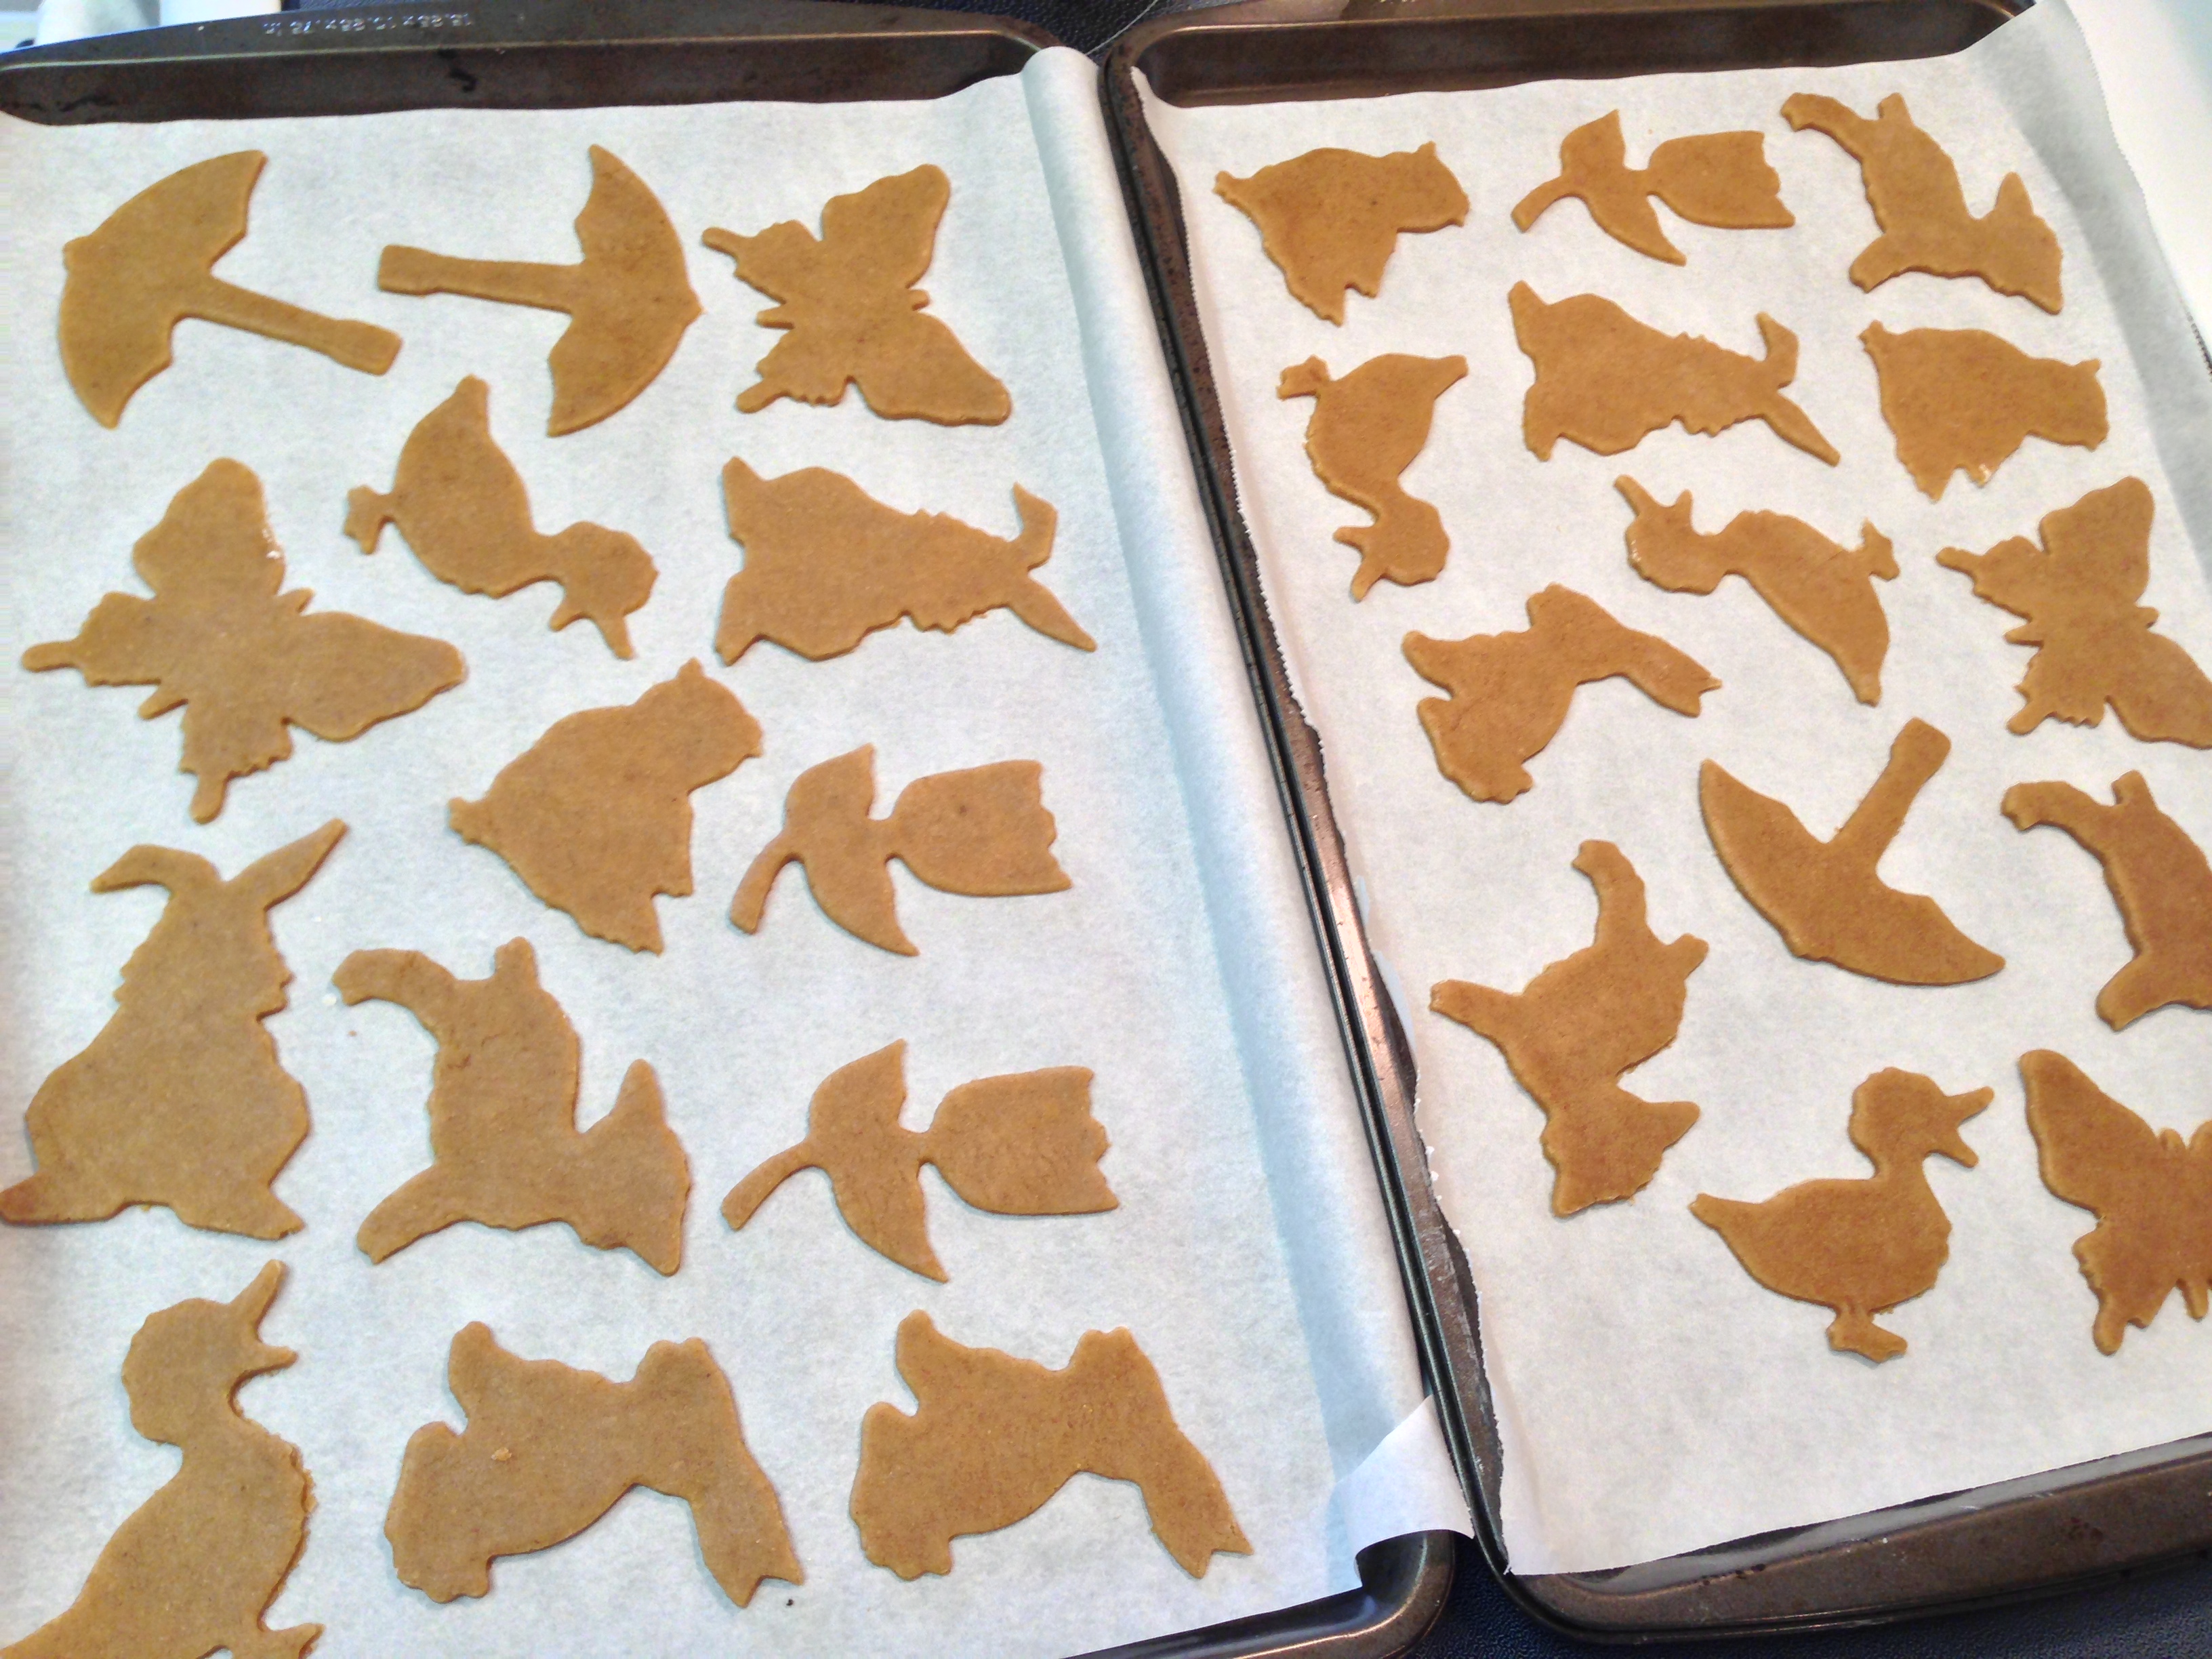
Once your cookies are all transferred, sprinkle them coloured sugars to make them extra pretty!


Bake your cookies for 6 to 8 minutes or until the edges just start to brown. Let them cool for a couple minutes before you move them from the baking sheets. I ended up baking mine a little too long, and some of them were burnt. 😦

Now, try a few! (I said FEW, NOT ALL.)
These cookies should stay good in an airtight container for about a week. Ha! They won’t last a week anyway. So tasty!
Happy springtime baking, friends!
xx
Got to try my key lime pie tonight! It was delish! Definitely recommend making it. 🙂 See my previous post for the recipe.


I made a spur of the moment decision that tonight was a good night to bake my first pie. And for some reason, right after I thought pie…I thought key lime. I didn’t even realize until just now how fitting it is to make a lime pie over the St. Patty’s Day weekend (limes…green…get it?). So I looked up the simplest recipes I could find, picked one that seemed foolproof, and picked up a few things from the store on the way home. I stuck to a simple recipe just to be safe. I always start simple when I’m trying something for the first time. Everything was going smoothly until I discovered that the recipe I was trying to follow, that was supposed to be for one pie, actually made enough filling for two. So I had to save half the filling and make a second crust. (Who wants a free key lime pie?!) Despite the fact that I try to be Chef Vanessa: Master Chef of the Universe in the kitchen, things don’t always go as planned. Most of the time they do not. But that’s what keeps things exciting, right?
A fresh chilled key lime pie is so refreshing. I love it’s tart, sweet, creaminess. Here’s how I made mine. Hope you find this recipe useful. It was really easy. You can do it!
Key Lime Pie (makes one pie)
Ingredients:
Let’s Bake!
Preheat the oven to 375 degrees F.

This part’s fun! In a bowl, mix the graham cracker crumbs, sugar and butter with you hands! Just keep squishing til the butter’s all mixed in. You’ll have a crumbly playdough kind of texture.


Take this crust mixture and press it firmly into a 10-inch pie pan. Really pack it down. And then bake until the crust is brown, about 20 minutes.

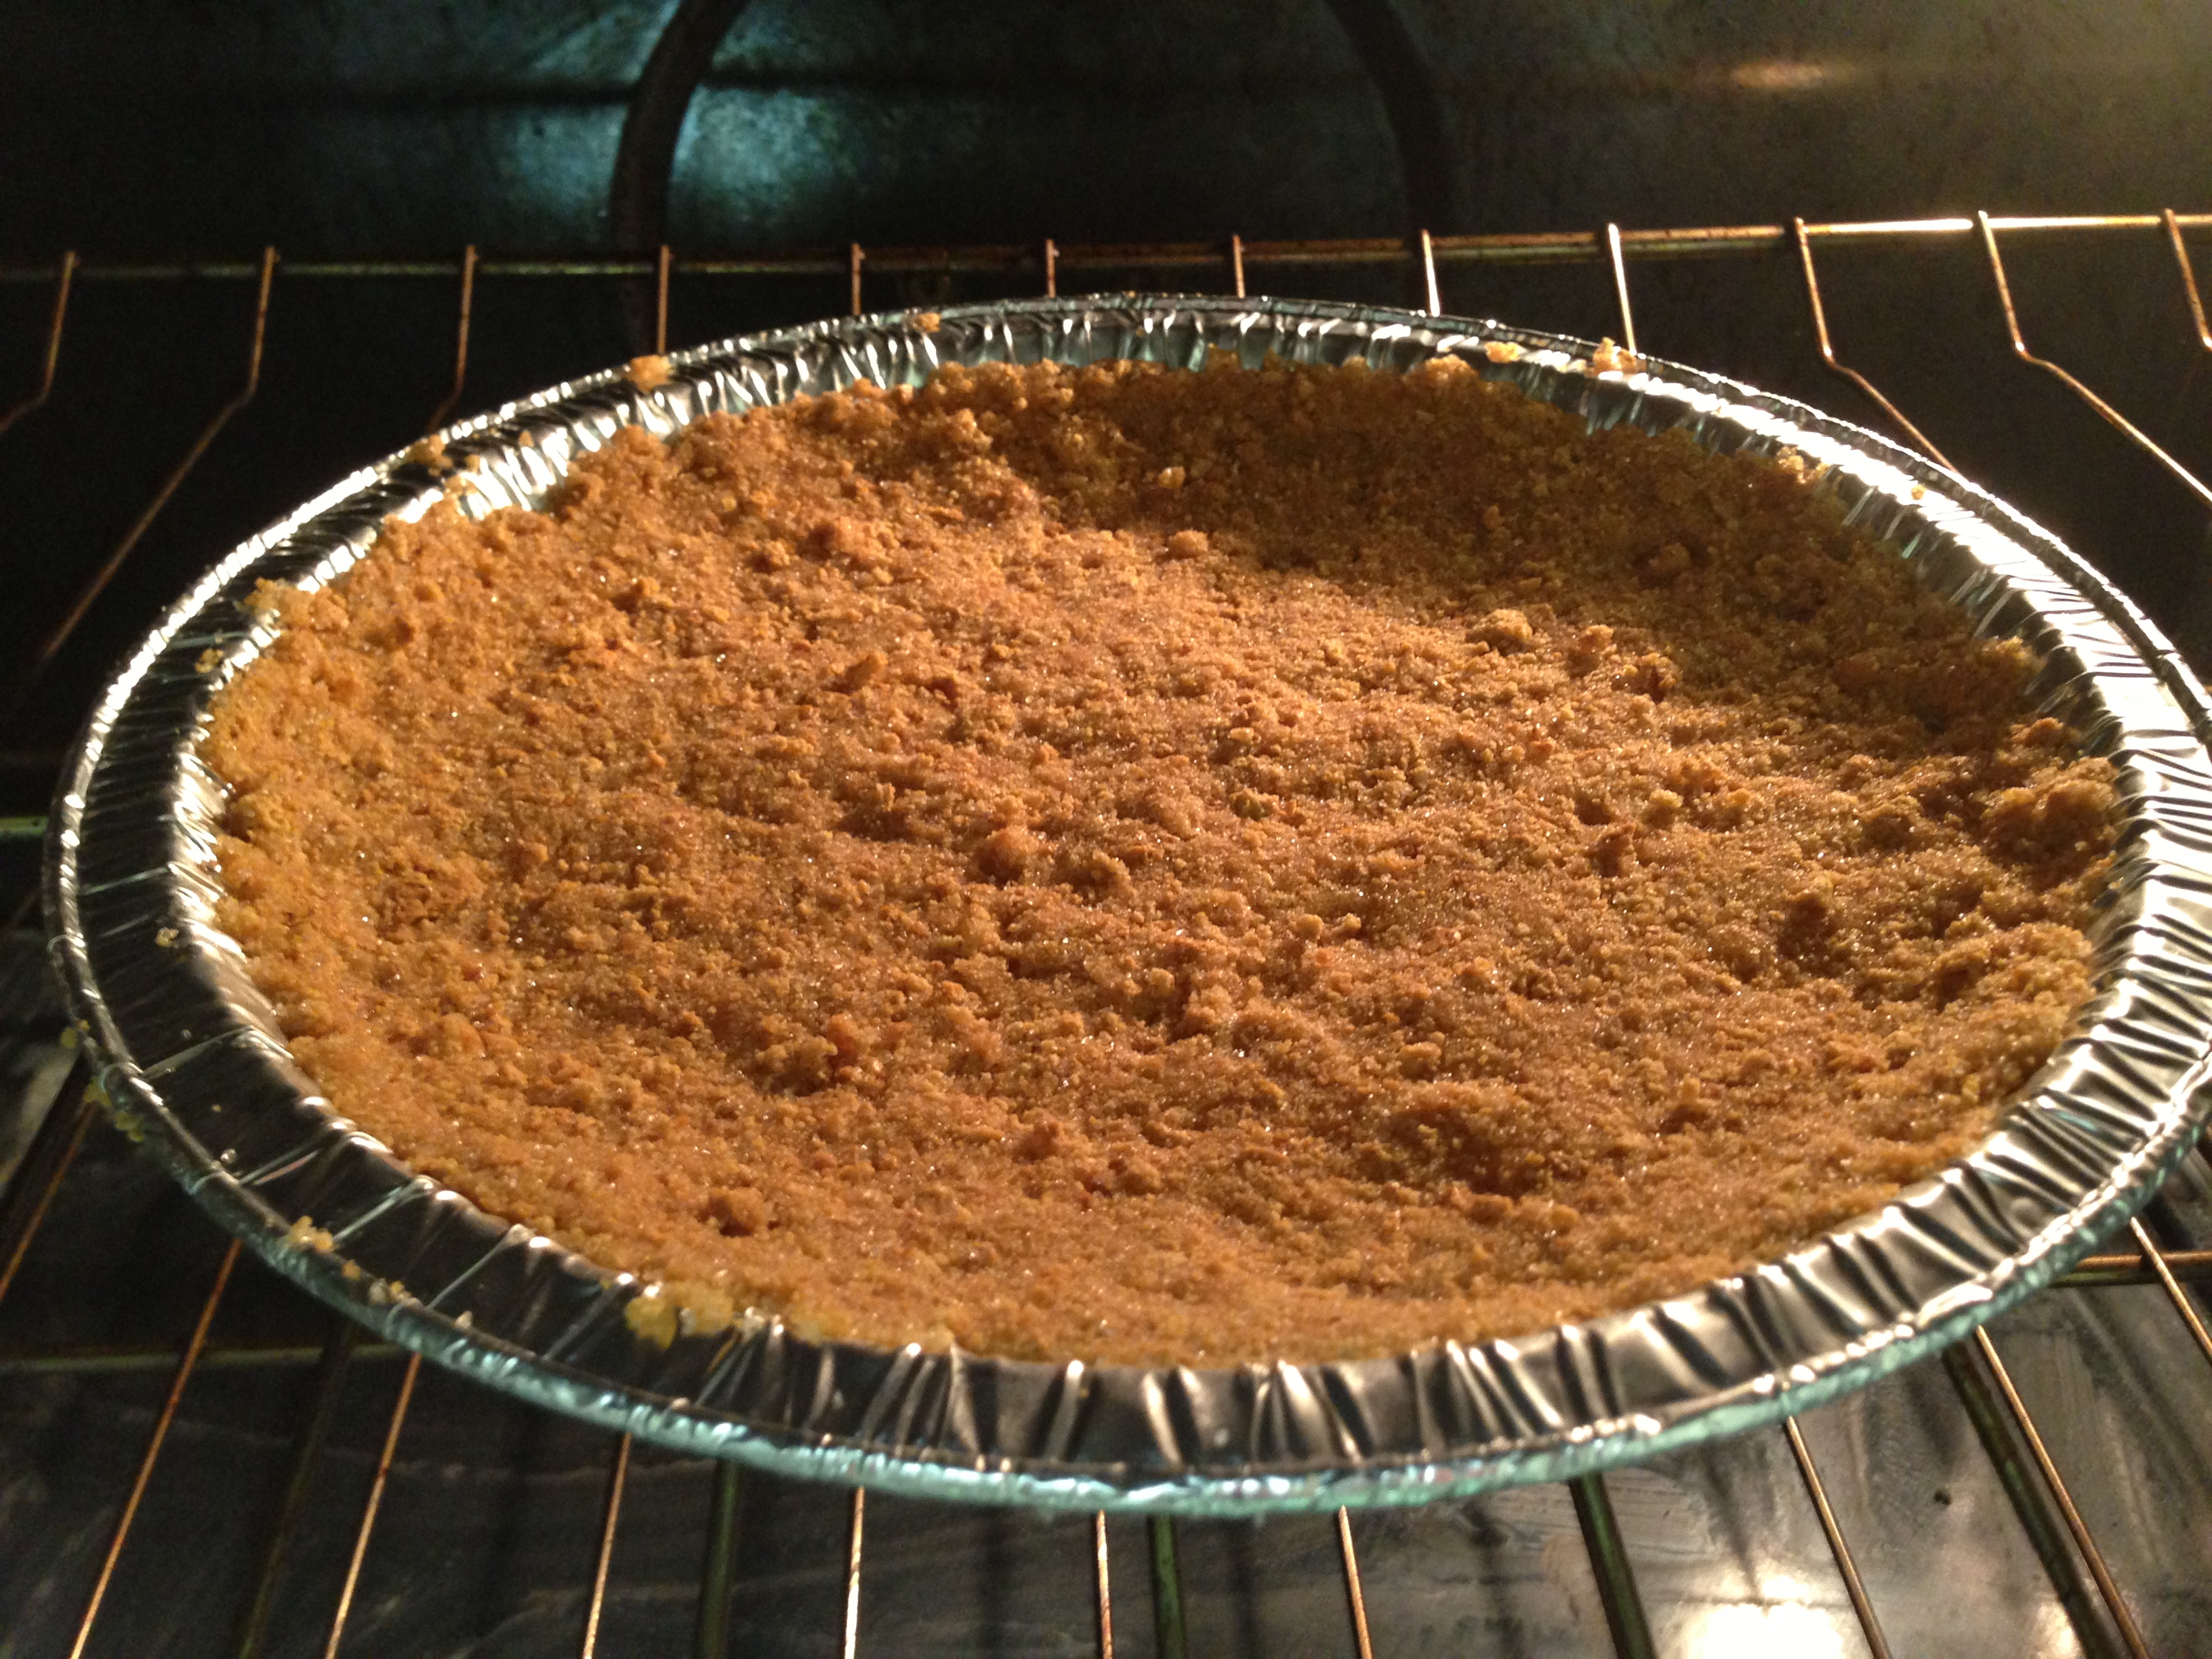
Crust done! Remove it from the oven and let it cool to room temperature. Lower the oven temperature to 325 degrees F.
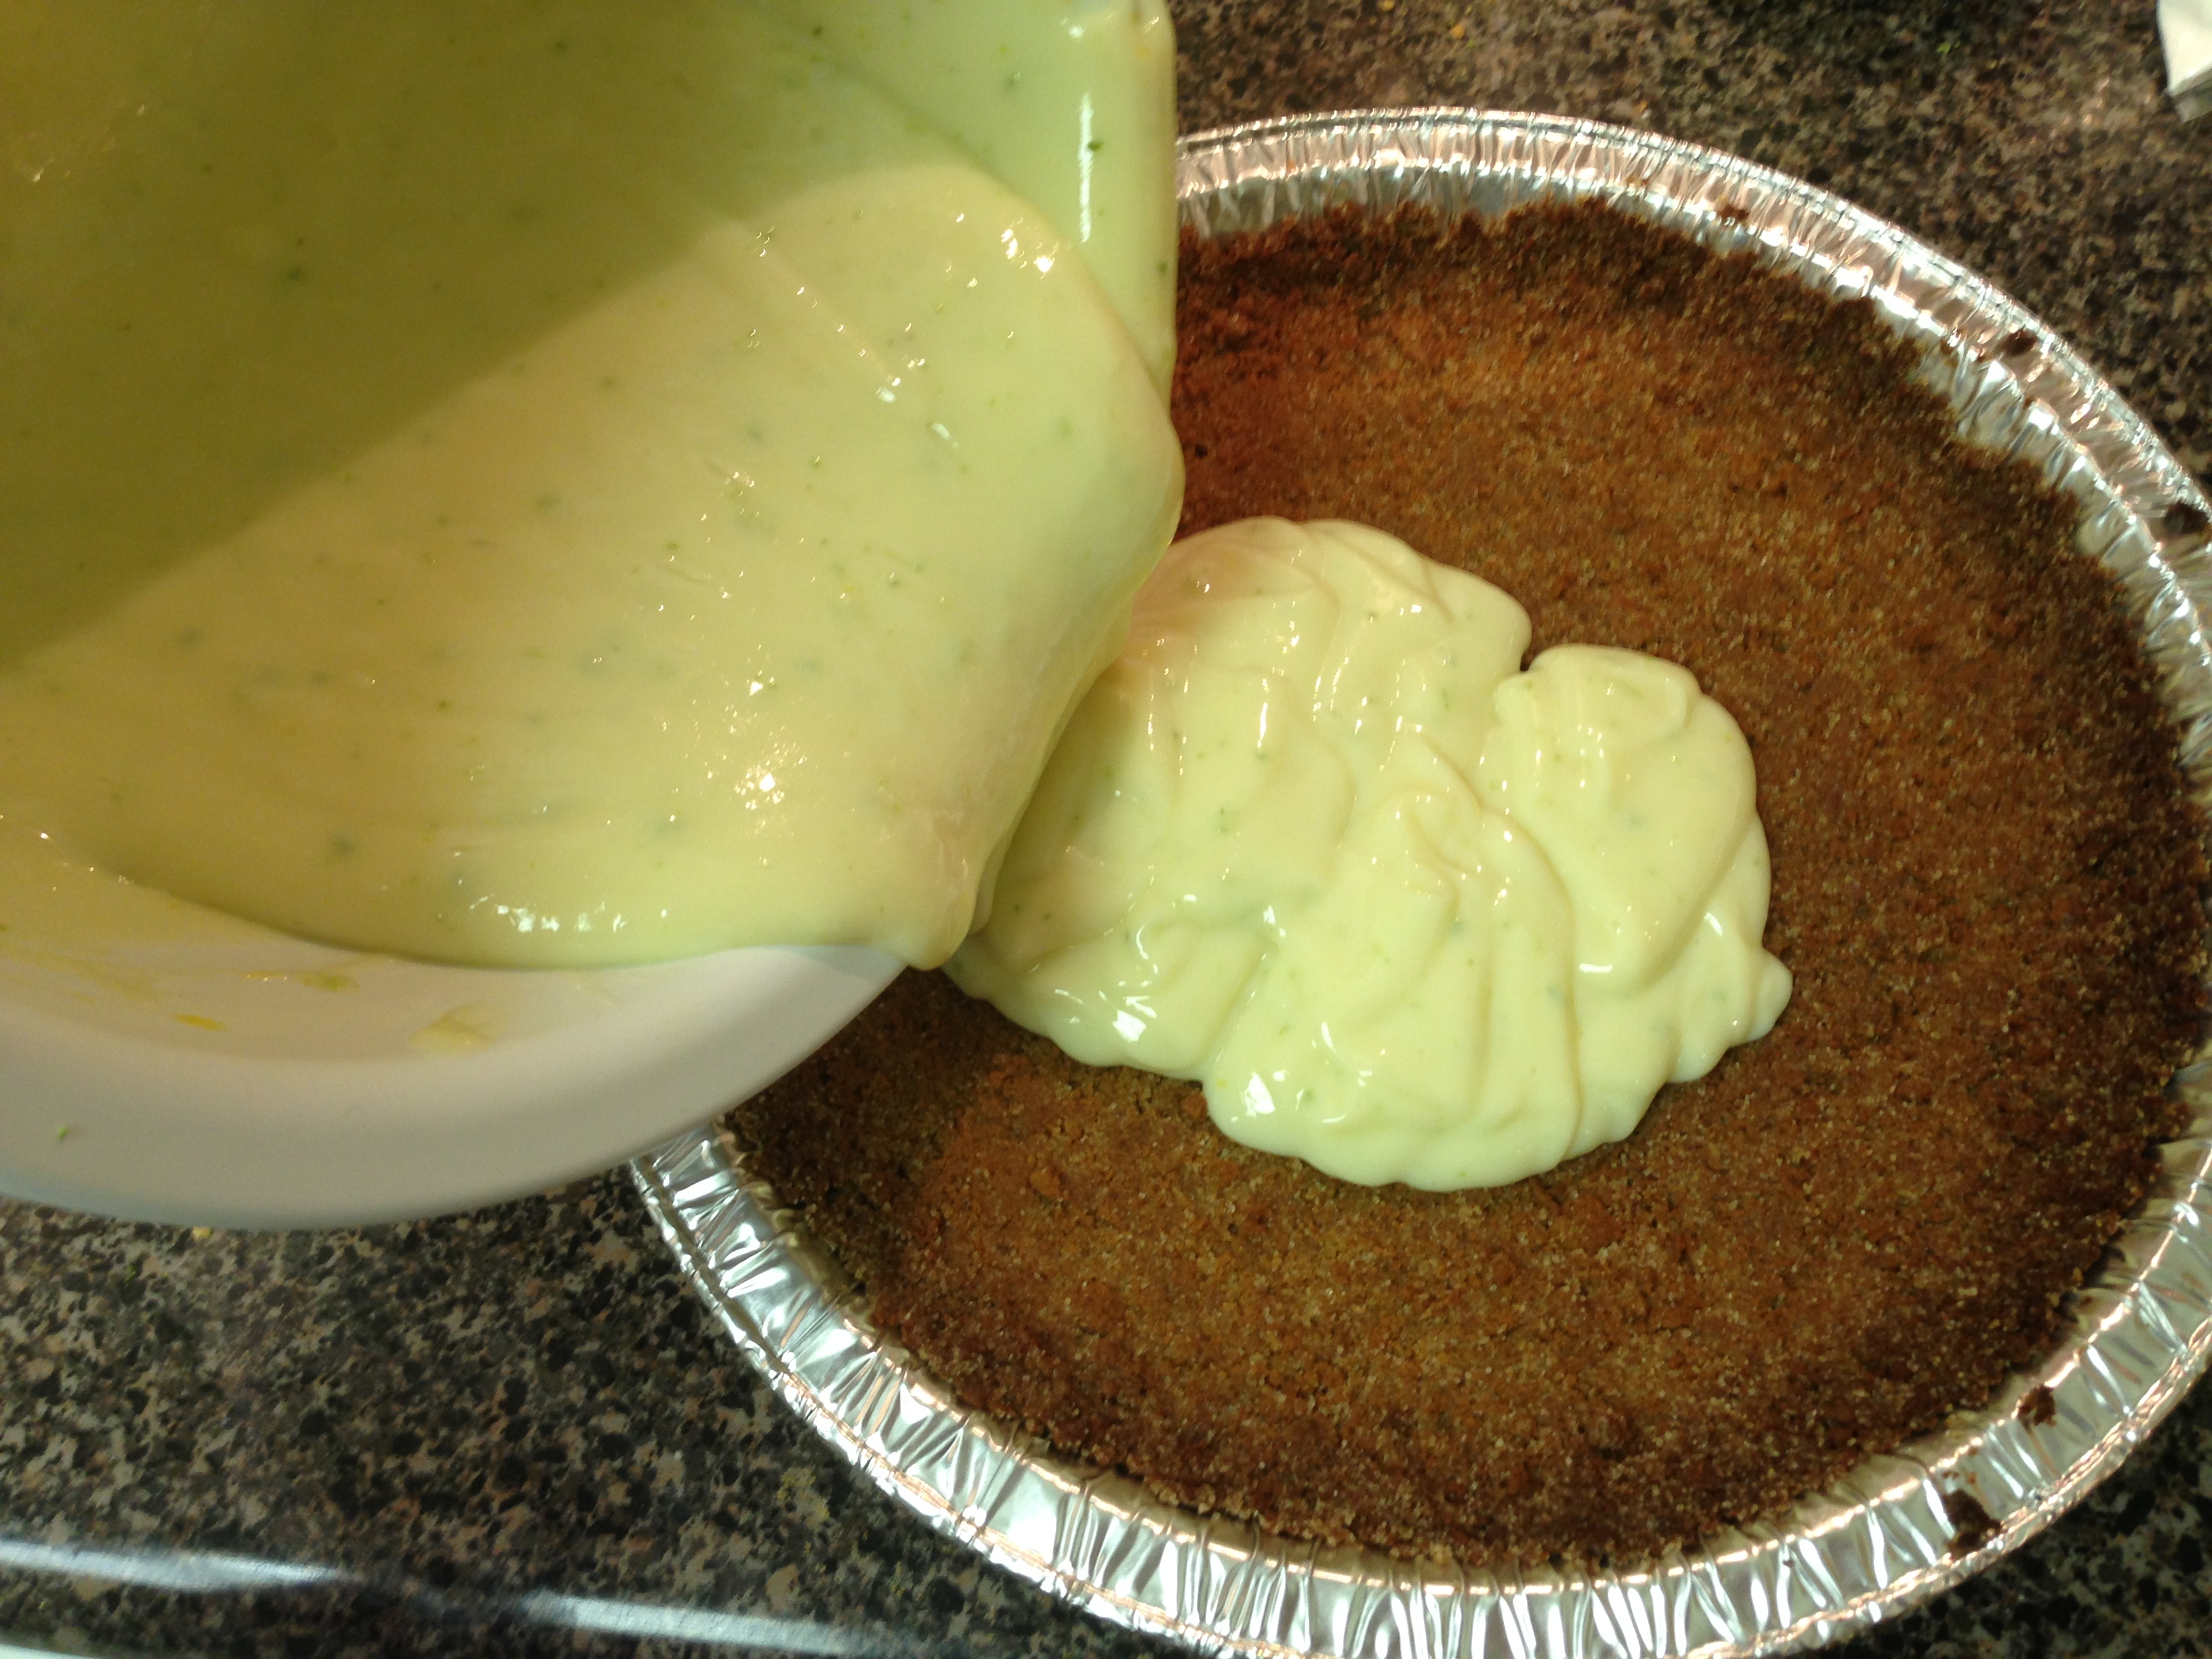
Now in a separate bowl, you will make the filling. Combine condensed milk, lime juice, egg, and lime zest. Whisk until well blended.


Place the filling into the cooled pie shell and bake in the oven for 15 minutes (at 325 degrees).

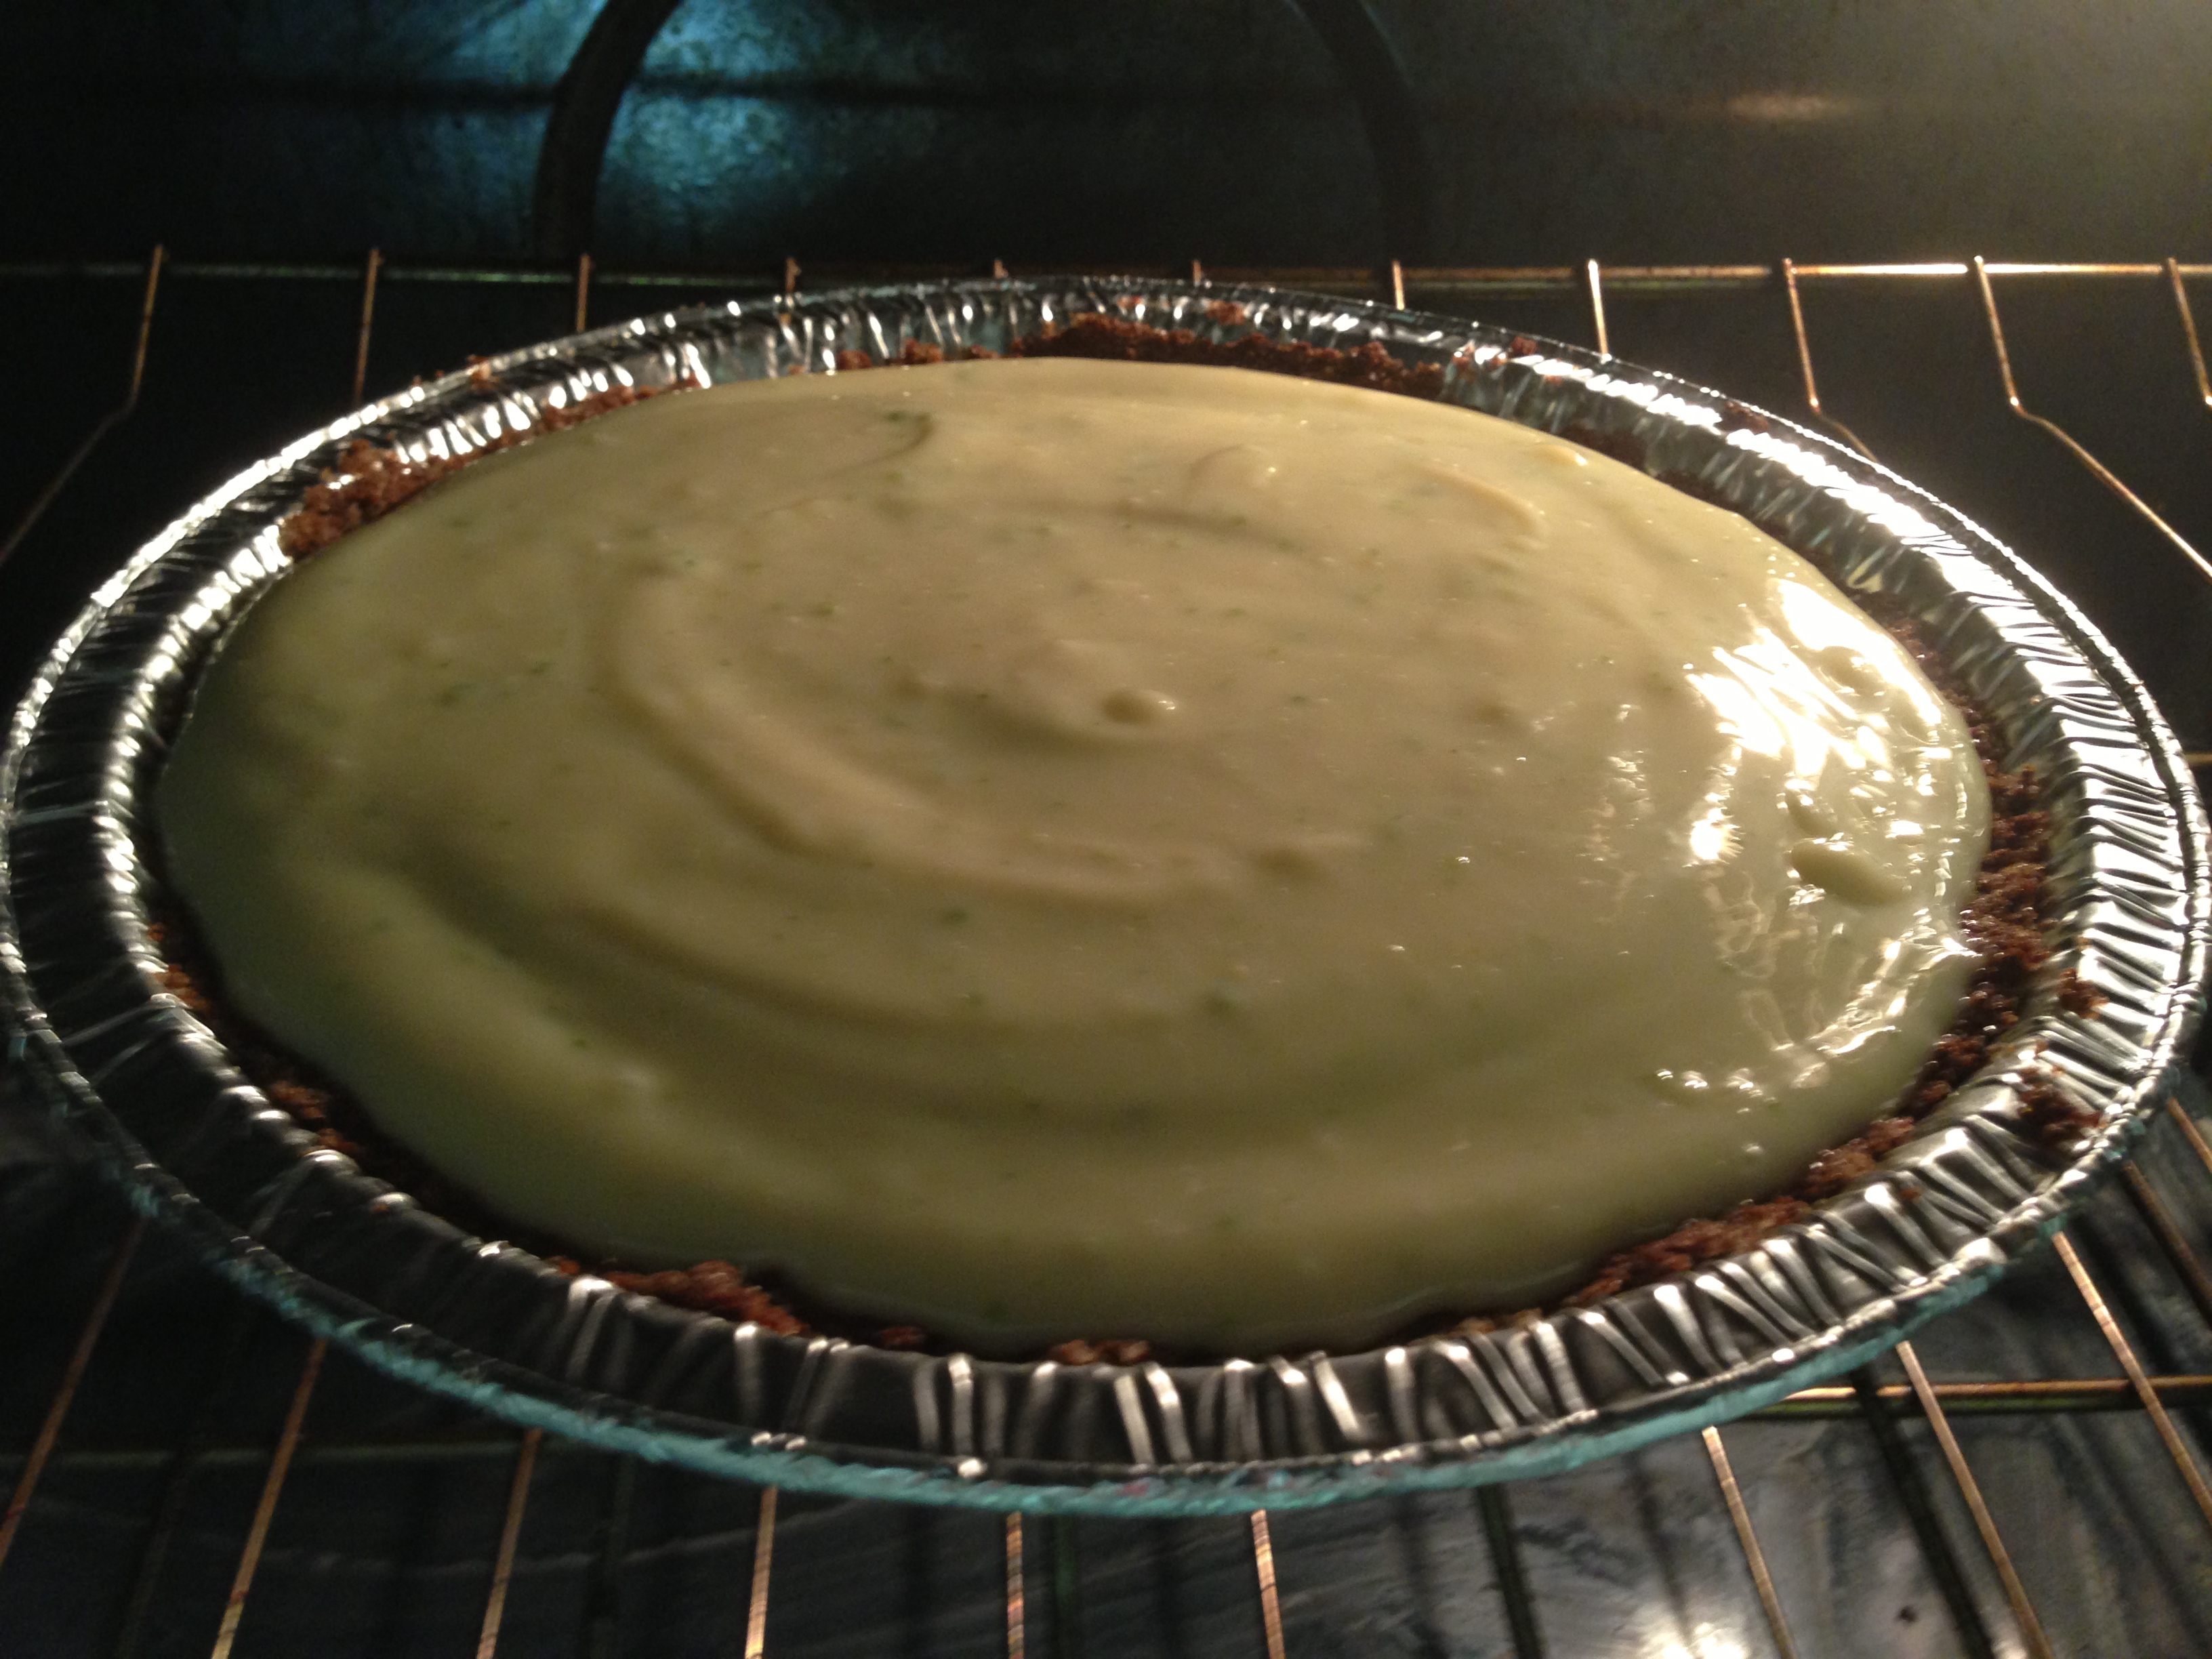
The pie won’t look any different then it did when you put it into the oven. The filling is baked and solidified now. Chill it in the refrigerator for at least 2 hours. I chilled mine overnight because it was so late.
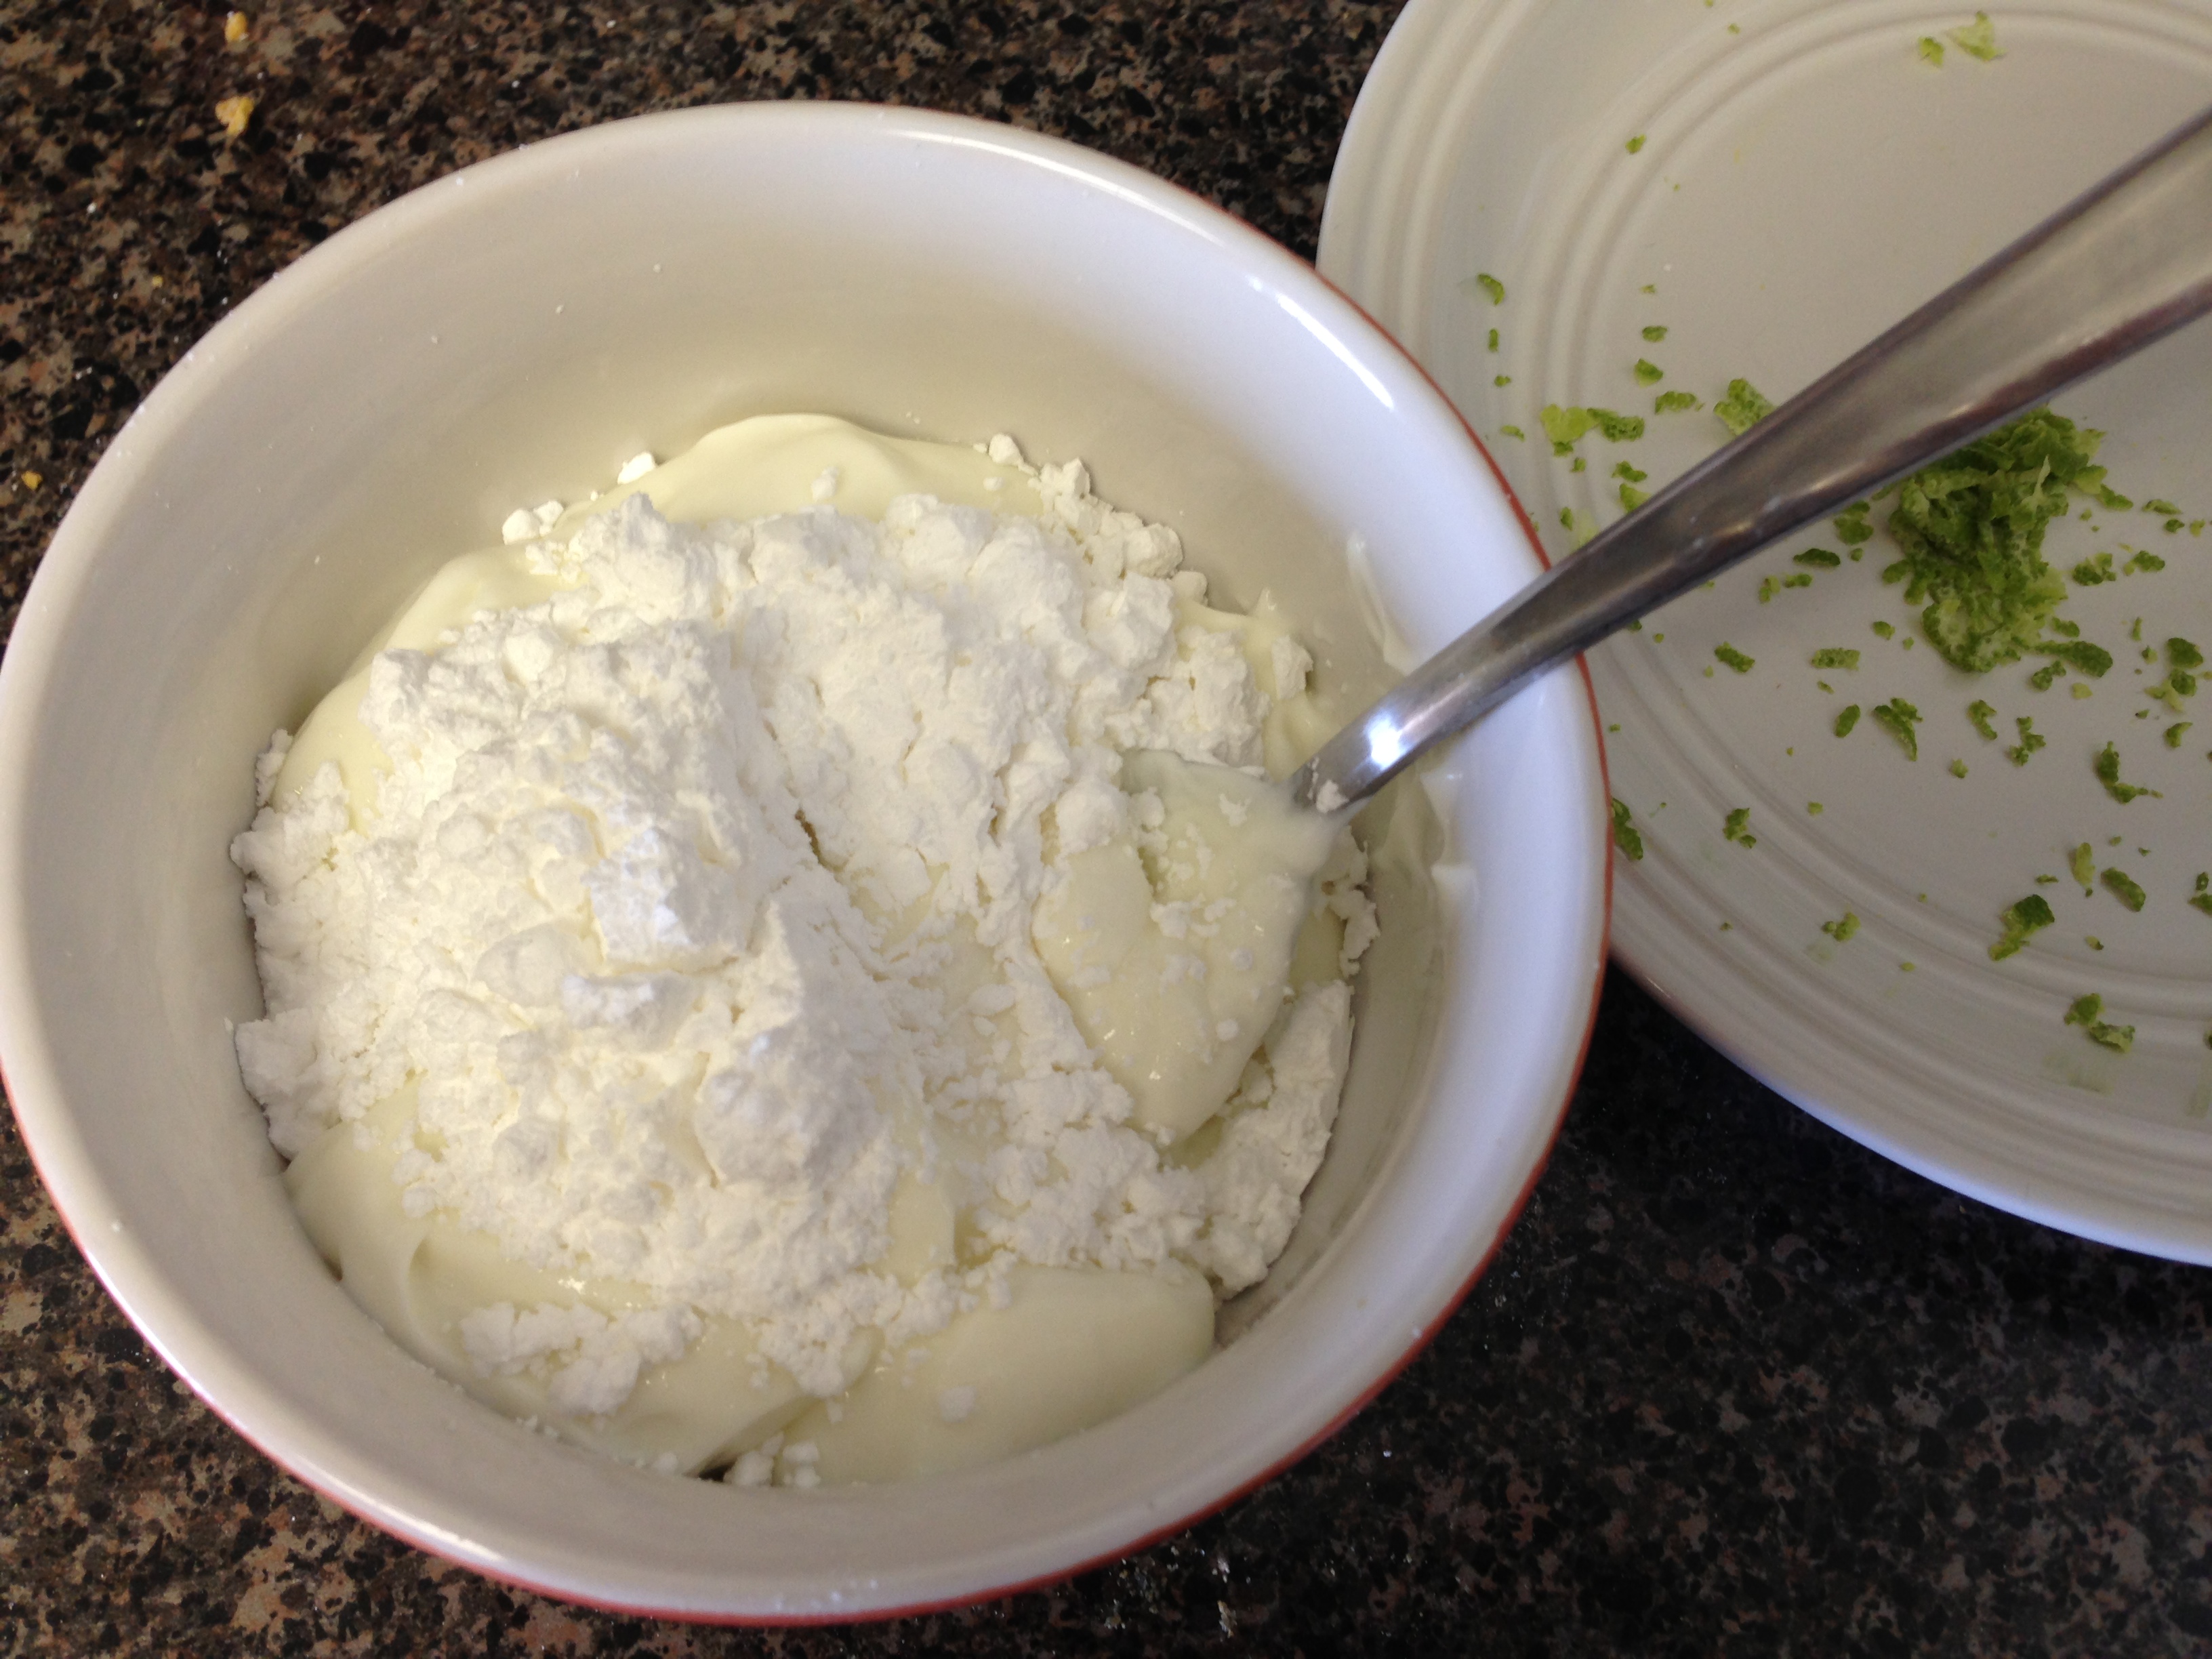
Once your pie is chilled, mix the sour cream and icing sugar and spread the mixture over the top of the pie with a spatula. I added a little lime zest on top to make it pretty. Serve chilled!


Mission complete! So proud of my first pie! Happy St. Patrick’s Day! And happy baking! xx
(Maybe I’ll add to this post when I’ve eaten the pie later tonight.) 🙂
May your glass be ever full.
May the roof over your head be always strong.
And may you be in heaven half an hour before the devil knows you’re dead.
—Irish prayer